How To Fix A Leaking Water Heater
- Rated as EASY
- 1 repair story
- 3 step by step videos
Drain Valve
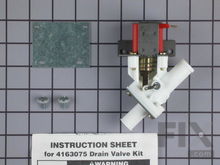
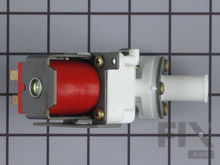
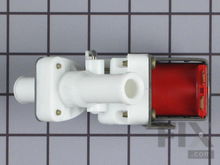
If your hot water heater seems to have developed a leak, one of the first things to look at is the drain valve. All hot water heaters come equipped with a drain valve located on the side of the tank. They are often made of plastic and can be prone to leaking. If this is the area where the leak appears to be coming from take a close look to see if the water is coming from the spigot of the valve or from where the valve attaches to the tank. If the leak is from the fitting to the tank, you can try removing the old valve and cleaning up the threads and then re-installing it, but it would be more practical to remove and replace with a new valve. If it is leaking out the spigot, allow a little water to drain out by opening the valve a few turns. Use caution as the water will be very hot! When you tighten the valve again the leak may stop if the problem was just some sediment in the valve seat. If this was the case, it is probably time to drain and flush the tank to remove the sediment buildup. If the leak persists from the spigot, you will need to replace it. To replace the valve, start by turning off the power to the tank if it is an electric water heater, or set the gas valve to pilot only if it is a gas fired heater. Turn off the cold water inlet valve and attach a hose to the drain valve that can be placed into a floor drain opening. Open the drain valve as well as a nearby hot water faucet to allow air into the tank while it drains. Use caution as the water will be very hot! (Tip: Before turning off the inlet valve and draining the tank, open a hot water tap in the home and allow the hot water to run until it drops to a safe temperature.) When the tank has drained you can remove the old valve with a pipe wrench or adjustable pliers. Clean the threads on the tank body and apply pipe dope or Teflon tape to the threads of the new valve before installing the replacement. Tighten securely with the outlet facing down and fill the tank with water before turning the gas or power back on.
Temperature Pressure Relief Valve
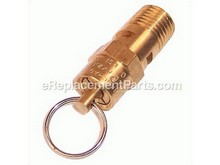
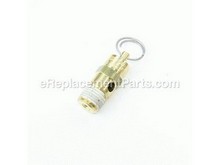
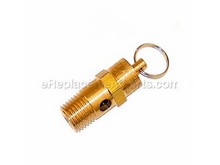
If your hot water heater appears to be leaking, take a look at the pressure relief valve. All hot water heaters come equipped with a pressure relief valve and it is normally located on the side of the tank. The valve is a safety device to prevent the tank from rupturing in case of runaway temperatures or an unsafe pressure build-up. The relief valve will often have a plastic or copper extension tube attached to the outlet to safely direct any discharge downward. If the leak is from the fitting to the tank, you can try removing the old valve and cleaning up the threads and then re-installing it, but it would be more practical to remove and replace with a new valve. If it is leaking from the outlet, the valve will need to be replaced. To replace the valve, start by turning off the power to the tank if it is an electric water heater, or set the gas valve to pilot only if it is a gas fired heater. Turn off the cold water inlet valve and attach a hose to the drain valve that can be placed into a floor drain opening. Open the drain valve as well as a nearby hot water faucet to allow air into the tank while it drains. Use caution as the water will be very hot! Tip: before turning off the inlet valve and draining the tank, open a hot water tap in the home and allow the hot water to run until it drops to a safe temperature. When the tank has drained below the level of the relief valve, you can remove the old valve with a pipe wrench. Clean the threads on the tank body and apply pipe dope or Teflon tape to the threads of the new valve before installing the replacement. Tighten securely making sure that the valve outlet is pointing downward and the re-install the extension tube. Fill the tank with water before turning the gas or power back on.
Element Gasket
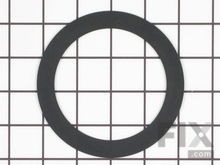
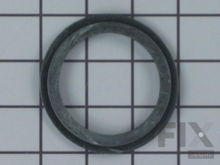
If your electric hot water heater appears to be leaking from the bottom or inside the cover, you should have a look at the heater element gasket. Electric hot water heaters usually have two elements that fit into the tank. These are located behind access covers on the side of the water heater. Start by turning off the power and then remove the screws that secure the covers. Pull the insulation aside and look for signs of water leaks. If the leak appears to come from where the element is threaded into the tank, the gasket may be damaged. You will need to remove the element to replace the gasket and therefore, will need to drain the tank first. Turn off the cold water inlet valve and attach a hose to the drain valve that can be placed into a floor drain opening. Open the drain valve as well as a nearby hot water faucet to allow air into the tank while it drains. Use caution as the water will be very hot! Tip: before turning off the inlet valve and draining the tank, open a hot water tap in the home and allow the hot water to run until it drops to a safe temperature. Drain until the water level is below the opening for the element. Use the proper size socket or an element wrench to remove the old element. Remove the damaged gasket and clean the surface on the element and the opening in the tank before installing the new gasket and the element. Tighten the element securely and then reattach the wires to the terminals. Close the drain valve tightly, turn the inlet supply on and allow the tank to fill completely. Check for leaks before replacing the cover and turning on the power.
More Repair Parts
Still not sure which part is broken? We can offer you custom troubleshooting help if you search with your model number.


