


How to Fix a Suspension Rod for a Washer That is Shaking and Moving
When your washer shakes and moves a lot more than normal, it might be caused by an issue with its suspension rods. These rods work with the suspension plates, springs and pads to form the overall suspension within your washer – and when they’re bad or broken can cause the suspension to not be able to hold your washer together properly. But just below we have a detailed guide to help you through the entire repair process!
What are Suspension Rods?
Suspension rods form part of your washer’s suspension. They keep the cabinet stable and secure during the washing and spinning cycles. These rods are normally attached to the suspension springs.
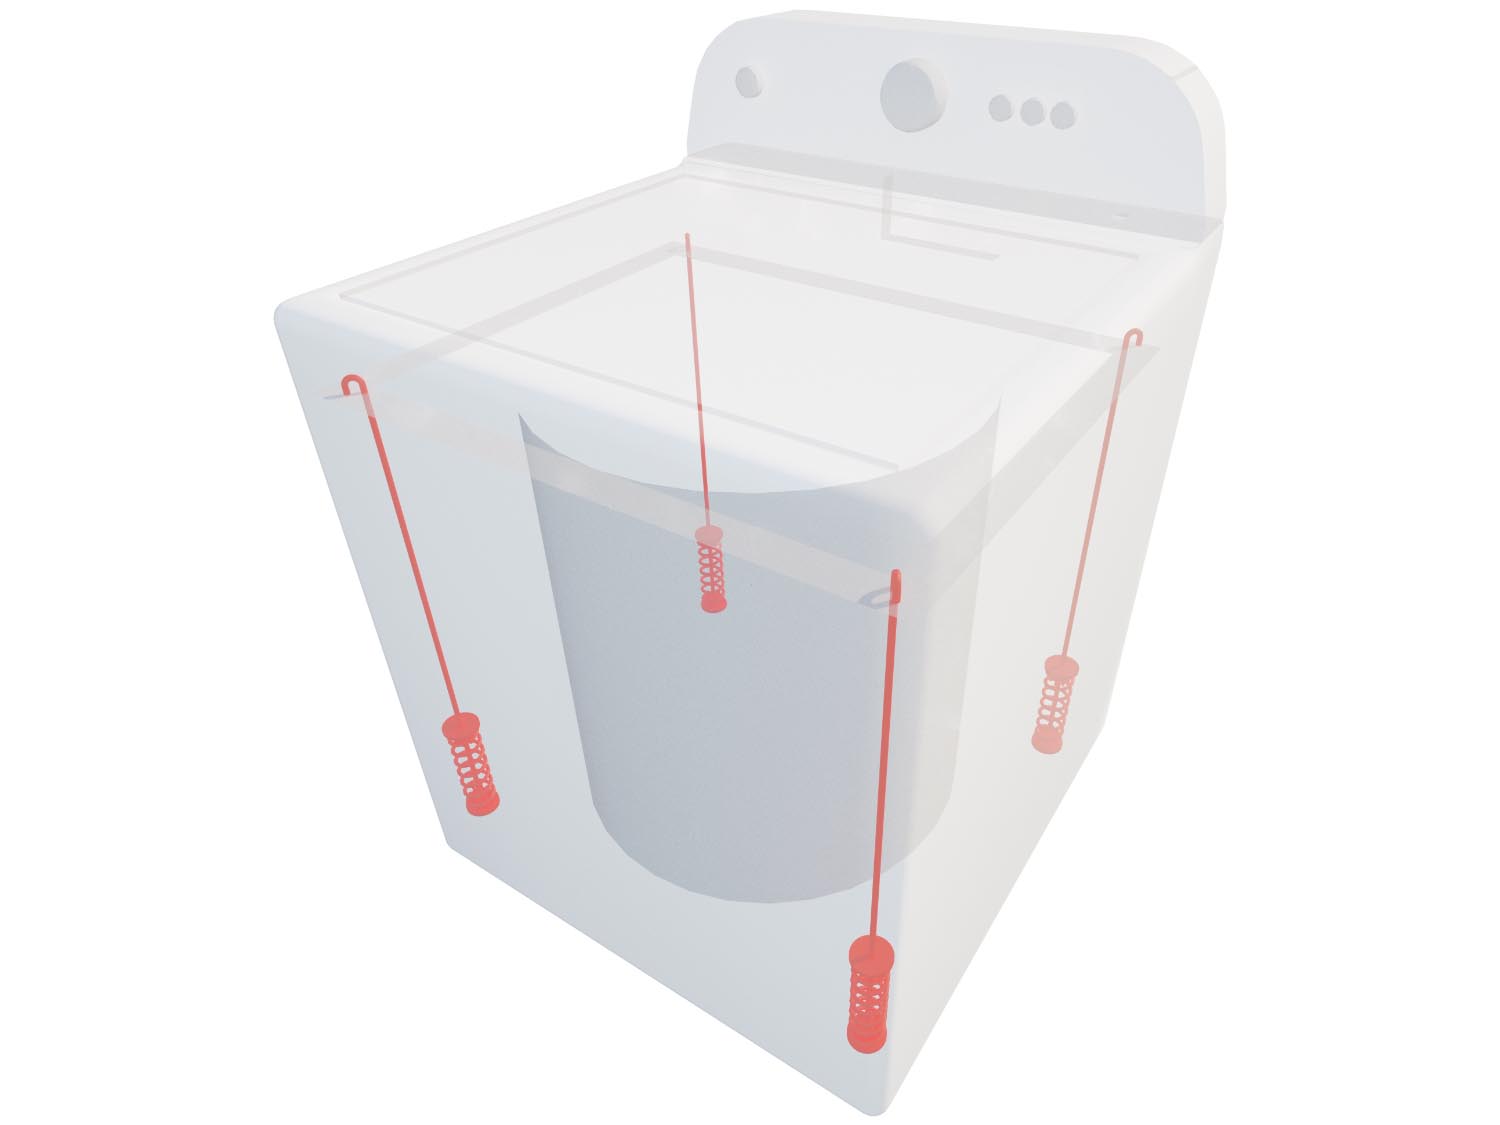
Where are the Suspension Rods Located?
The suspension rods in your washer are normally attached to the suspension springs in each of the four corners of the washer cabinet.
How to Access, Remove, and Inspect the Suspension Rods
- Tape the lid of the washer shut so it does not fall open.
- Remove the screws from the back panel of the washer, then lift the entire main top and secure it upright.
- A suspension rod will be found in each corner of the washer, with a spring attached to the tub.
- To remove the rod, grasp onto it, push it up out of the opening, and rotate the ball to disconnect it. Drop the rod back down through the hole and pull the spring off. Hang the rods off the washer frame as you remove them.
- Lower and secure the main top of the washer, secure the hinge, and lay the washer on its back.
- To remove the springs, you will need to compress each one, which will unhook it, and then pull it out.
- With the washer still on its back, insert the new suspension rods through the holes the old ones were removed from.
- Your model of washer may use the same rods and springs for all four corners, or you may have reinforced springs for the motor side of the machine. Ensure that the proper rod is in the correct corner before finishing the installation.
- Be sure to compress the springs and hook the tops of the rods so that they do not fall back through when the machine is placed upright.
- When the machine is upright, lift and secure the main top again.
- Install the four new cups into each corner, then snap the new suspension balls onto the suspension rods.
- Be sure to attach any tub-centering springs back onto the rods before pulling them up through the cups.
- Repeat the process for all four corners and rods.

How to Install New Suspension Rods
It's worth taking note of all the suspension rods in your washer and replacing them at the same time, even if only one is the culprit causing your shaking and moving symptom. The suspension rods all tend to wear at similar rates, meaning that if one has broken, the rest are not far behind. Replacing them all at once is time-efficient, since you already have the washer opened up, and will prevent having to complete the same repair again down the line.
- If your machine contains suspension rods that are all the same, you can replace them in any order. If your machine has different rods in different locations, be sure to note this and ensure you are replacing the right rod into the right location before getting started.
- Provide a little lubrication to the top and bottom of the rod. Typically your manufacturer will have a specific grease, but if you don't have access to this, you can use a thick gear-type grease, one with some tackiness, providing the rod with the ability to move smoothly without being overly slippery.
- Move the tub out of the way in your machine, and slide the rod down into the bottom of the machine where it should fit into a slot.
- Once the rod is secured in the bottom of the tub, you now need to move the tub into a position to take the weigh, and lower the top section of the tub down onto the top of the rod.
- Bring the top of the washer back down into position, reconnecting any connections and screws that you took off to remove it in the first place. Your repair is complete!

Next: Troubleshooting the Counterweight
Go To Main Page: Shaking and Moving