


How to Fix a Lid Switch for a Washer That Has Locking Issues
If your washer is experiencing any locking issues, the lid switch is often the most likely cause. The lid switch can be subject to both mechanical and electrical failure. It can be either directly damaged or worn through general wear and tear. The lid switch may also not be receiving any power from the machine. So, you need to determine what the issue is first, before you can begin any repairs.
What is a Lid Switch?
The lid switch is responsible for checking whether the lid on the washing machine is securely shut, which allows the wash cycle to begin. It is a safety mechanism that stops the washer from proceeding through the wash cycles if the lid is open. This helps to prevent accidents and injuries, and it is crucial for the operation of your washer. Top-loading washers only drain and spin if the lid is securely closed. On many newer washers, if the lid on your washer cannot lock, the load cannot spin, and the washer cannot drain.
Where is the Lid Switch Located?
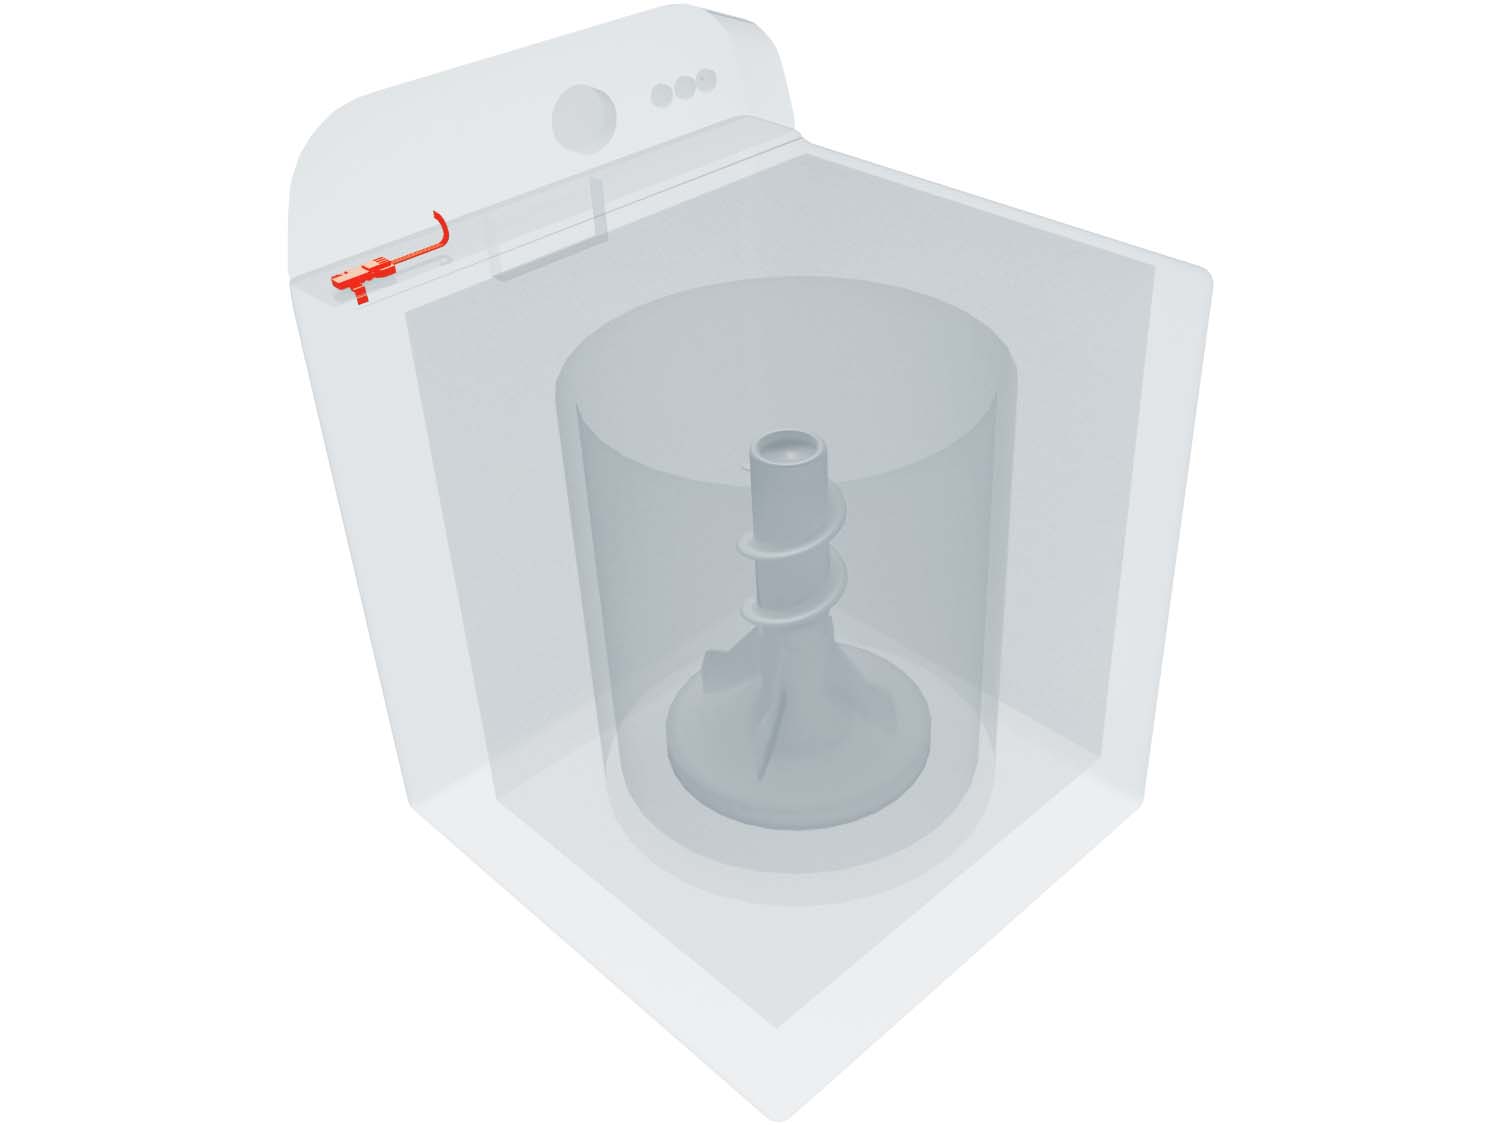
The washer lid switch is mounted to the underside of the cabinet top panel. In the following 3D rendering, the lid switch is shown at the top left corner of the panel. However, it may be located on either of the remaining corners.
General Location of the Lid Switch in a Washer
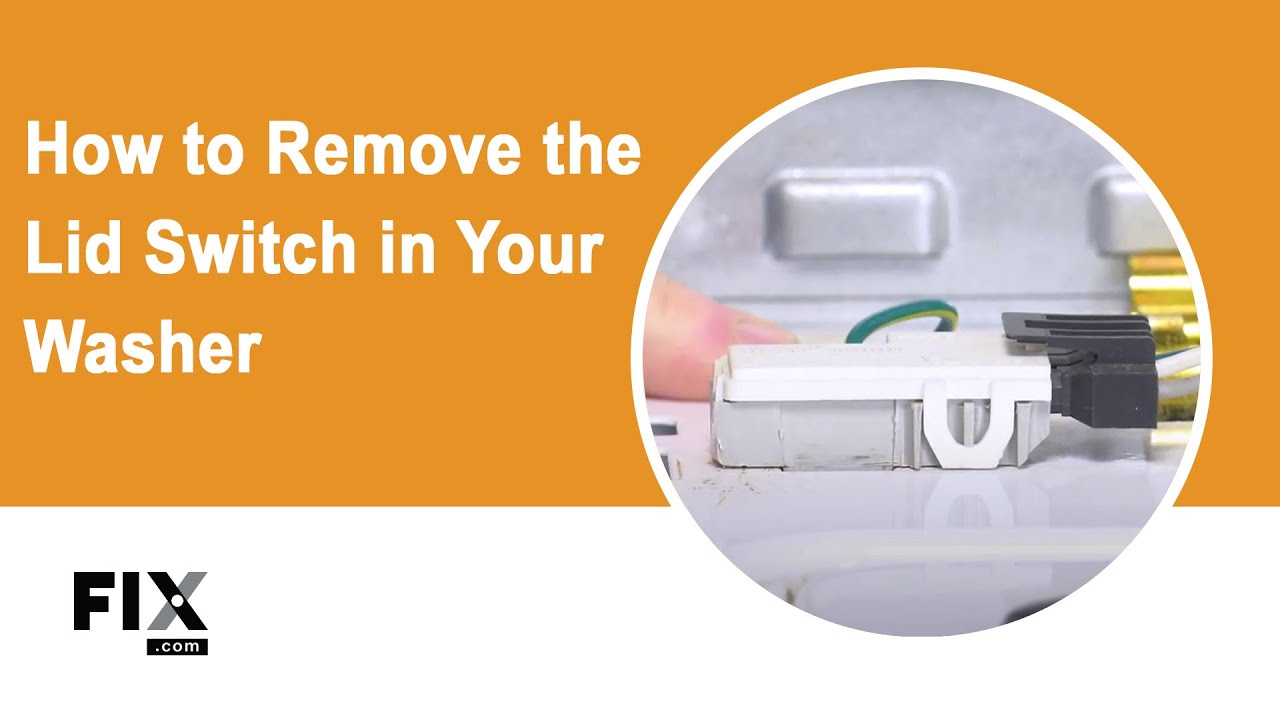
How to Access and Remove the Lid Switch
- Unplug the washer for your safety.
- The lid switch is typically located under the top of your washer; therefore, you may need to remove the top of your machine to access it. You need a putty knife and a screwdriver (an extended shaft is preferred).
- Open the top of the washer and locate the wire harness connection for the lid switch, and then release the locking tab to disconnect the wire harness. On some washers, you may need to follow the wiring harness from the switch back to where it connects electrically.
- Check the lid switch for any damage. If it is damaged, it needs to be replaced.
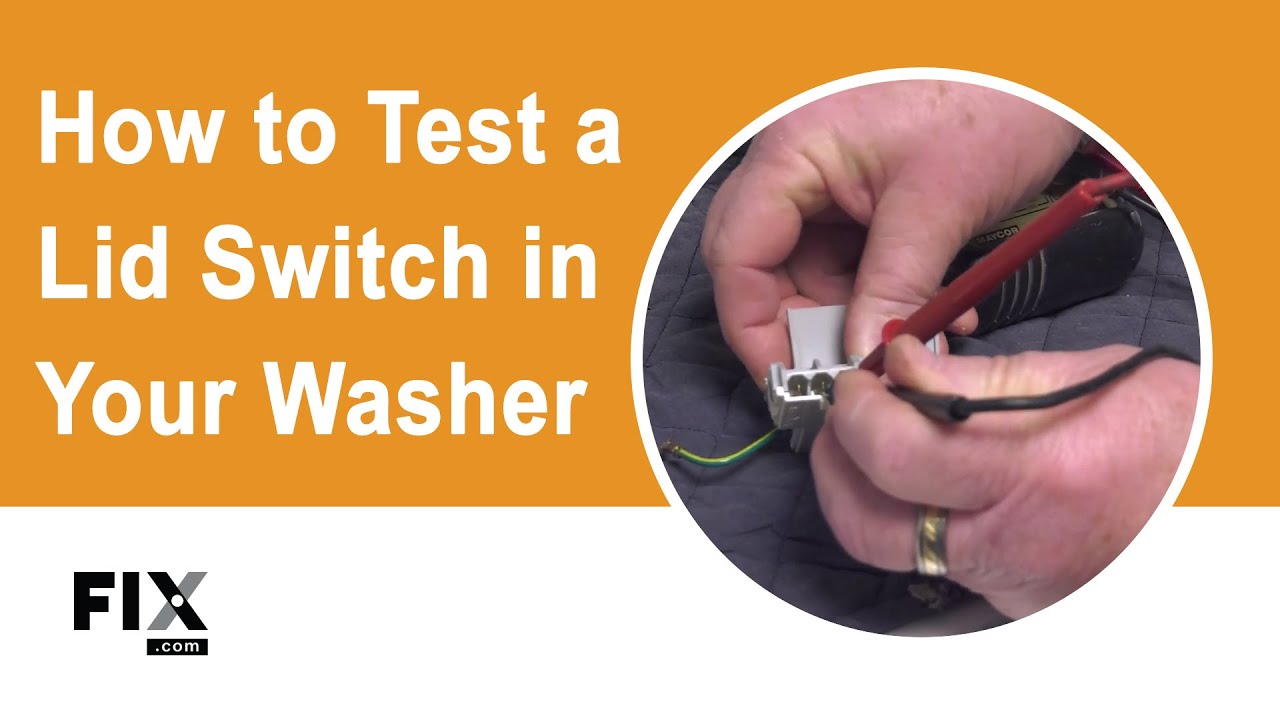
How to Test the Lid Switch
A normally open switch should only have continuity after the switch has been actuated. A normally closed switch should only have continuity before the switch has been actuated. The steps below test for continuity on an actuated switch.
- Set your multimeter to read in ohms on the lowest setting (some devices call this mode RX1 or X1). If your multimeter has a setting that tests for continuity by making a sound, you may set it to that as well.
- If you have an analog multimeter, calibrate the meter by pinching the probes together while adjusting the needle to read 0.
- Pull any clips off the valve’s terminals.
- Touch the probes to the wire terminals and check the reading – it should read between 500 and 1,500 ohms. Alternatively, listen for a sound.
- Replace your lid switch if it reads otherwise or if the multimeter does not make a sound.
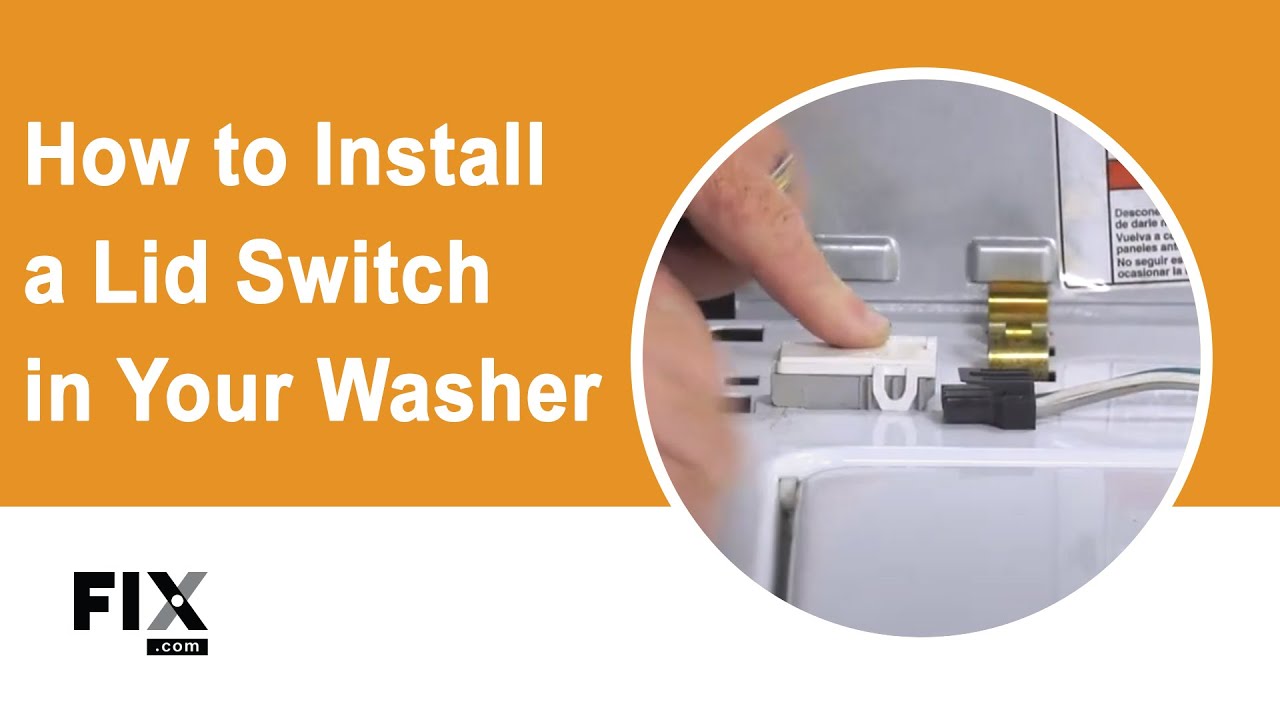
How to Install a New Lid Switch
- Remove and discard the old lid switch.
- Pull the lid switch assembly wire harness plug out of the console/control panel.
- Take the new lid switch, secure it in place, and then reconnect the wire harness connection.
- Reinstall the console/control panel and close the washer top to see if the lid switch engages.
- Turn on the water supply valves and plug the washer into the electrical outlet.
Next: Troubleshooting the Lid Actuator
Go To Main Page: Locking Issues