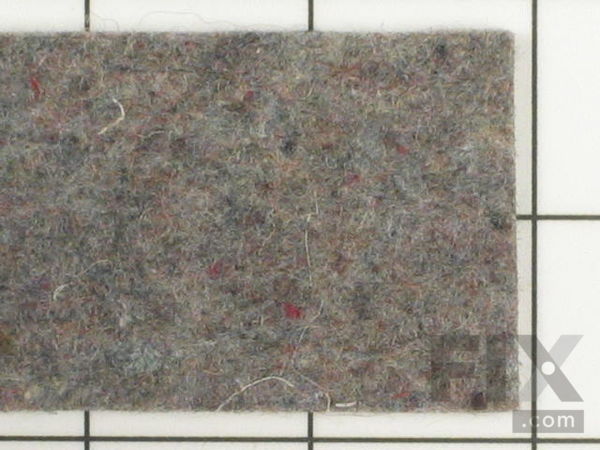
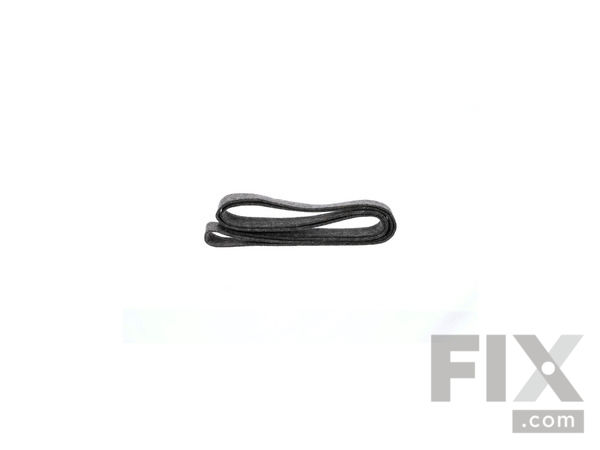
Part Location Diagram of WP314820 Whirlpool Front or Rear Drum Felt Seal
See part 029 in the diagram
Replacing your Maytag Dryer Front or Rear Drum Felt Seal
( Grid squares measure 1x1 inch )

Front or Rear Drum Felt Seal

Rated by 3 customers 

?

Really Easy 

30 - 60 mins 

Ratings submitted by customers like you who bought this part.

?
$29.00
In Stock
Fix Number:
FIX11740771
Manufacturer #:
WP314820
Manufactured by:
Whirlpool

Product Description

This front or rear dryer drum felt seal is seventy-nine and a half inches long.

Videos For installing this part.

Replacing your Front or Rear Drum Felt Seal

Replacing your Front or Rear Drum Felt Seal

Questions and Answers

We're sorry, but our Q&A experts are temporarily unavailable.
Please check back later if you still haven't found the answer you need.

Installation Instructions Provided by Fix customers like you.

Average Repair Rating: 3.5 / 5.0, 3 reviews.
  • 1
Sort by:
Sorry, we couldn't find any existing installation instruction that matched.
Customer:
Orrin from La Canada, CA
Parts Used:
WPY312959, Y303836, WP314820, 306508
Difficulty Level:
Really Easy
Total Repair Time:
1- 2 hours
Tools:
Nutdriver, Pliers, Screw drivers, Socket set
Dryer makes horrible noise but drum still turns.
The old dilemma is whether to fix a >20y/o dryer, or just buy a new one. With minimal effort, it was easy to find the source of the noise by manually turning the drum. Noise in the front turned out to be the blower wheel which is located right in the front of the dryer. Removing about 6 screws shows the motor shaft wore out the plastic ce nter of the blower wheel and so the blower wheel was not spinning properly and bouncing around in the housing. Typing in the Model # in PartSelect.com gave me the whole diagram and exactly what to order. Since I had the dryer apart anyway, I decided to go ahead and replace the felt seals and drum/motor belt and front glides. Easy instructions to do all of this is available on multiple YouTube videos. The only caveat is some of these items are held in w/ snap rings. It's possible to deal with snap rings using a small screwdriver and pliers but having special snap ring pliers makes this step a whole lot easier. In my case the drum support rollers and belt tensioner roller turned out to be fine and only needed some lubrication. Also, in this particular model, the felt seals are held on w/ sheet metal tabs and do not require the expensive heat resistant glue. All parts installed, dryer back together and works perfectly on the very first try! Saved me a ton of money and the wife is happy, thanks to this site!
2 of 2 people found this instruction helpful.
Was this instruction helpful to you?
Thank you for voting!
Customer:
Jonathan from greenfield, IN
Parts Used:
WPY312959, WP314820, 12001541
Difficulty Level:
Really Easy
Total Repair Time:
30 - 60 mins
Tools:
Nutdriver, Screw drivers
Loud squeaking
Unplug power cord. Remove front of dryer (2 Phillips head screws on lower corners). Tilt out by pulling on bottom of front panel to disengage the top. Unplug wiring and set panel aside. Remove 4 screws from shroud (2 on each side) with 5/16 nut driver. Unplug wiring and set aside. Pull out drum. Replace rollers. Remove felt by pulling out of tabs. Use straight screwdriver to pry out tabs a little to install new felt. Work way around with felt pressing down on tabs to hold felt. Do the same on shroud. Tak note of how belt is routed on tensioner and pulley. Remove belt.Put drum back in place. Put belt around drum flat side towards drum. Reach under and install belt on tensioner and pulley. Reinstall shroud. Reinstall front. Job complete
2 of 3 people found this instruction helpful.
Was this instruction helpful to you?
Thank you for voting!
Customer:
Kevin from pierre, SD
Parts Used:
WP314820, 306508
Difficulty Level:
Really Easy
Total Repair Time:
30 - 60 mins
Tools:
Screw drivers
Noisy @ front. Wobbly upon inspection.
Thanks to the website I first looked at parts schematics, then a short video on repair. I ordered the parts I thought I needed and repair was easily done. With front cover off, further inspection was done to foresee any future repairs.
0 of 1 people found this instruction helpful.
Was this instruction helpful to you?
Thank you for voting!
  • 1

Model Compatibility

This part works with the following models:
Fix Number: FIX11740771
Manufacturer Part Number: WP314820
Brand
Model Number
Description
Maytag
DE19CA
Dryer - Electric
Maytag
DE19CS
Dryer - Electric
Maytag
DE19CT
Dryer - Electric
Maytag
DE212
Dryer - Residential
Maytag
DE24CA
Dryer - Electric
Maytag
DE24CM
Dryer - Electric
Maytag
DE24CS
Dryer - Electric
Maytag
DE24CT
Dryer - Electric
Maytag
DE25CS
Dryer - Electric
Maytag
DE26CA
Dryer - Commercial
Maytag
DE26CD
Dryer - Commercial
Maytag
DE26CS
Dryer - Electric
Maytag
DE26CT
Dryer - Commercial
Maytag
DE27CA
Dryer - Electric
Maytag
DE27CS
Dryer - Electric
Maytag
DE27CT
Dryer - Electric
Maytag
DE303
Dryer - Residential
Maytag
DE312
Dryer - Residential
Maytag
DE313
Dryer - Residential
Maytag
DE4000
Dryer - Residential
Maytag
DE412
Dryer - Residential
Maytag
DE482
Dryer - Residential
Maytag
DE490
Dryer - Residential
Maytag
DE4910
Dryer - Residential
Maytag
DE512
Dryer - Residential
Maytag
DE590
Dryer - Residential
Maytag
DE5910
Dryer - Residential
Maytag
DE612
Dryer - Residential
Maytag
DE712
Dryer - Residential
Maytag
DE713
Dryer - Residential