


How to Fix a Timer for a Washer With Draining Issues
If your washer is not draining the timer might be the cause of your problems. If the timer is faulty, you may notice that your washer does not have any power during the wash cycle. However, there’s no need to worry! You can get this problem fixed in no time. To confirm whether the timer is at fault, you’ll need to unplug the washer and check your model’s wiring schematic to find the timer terminals that power the motor. Once you have located these, you can use your multimeter to check the timer continuity at those terminals. If there is no continuity, you may need to replace the timer with a new one.
Here you’ll find step-by-step instructions on how to, access, and test the timer. If you need a new one, we will also walk you through removing the old timer and installing the new one.
What is a Timer?
The timer controls many of the washer functions, such as the water level, length of cycles, tub filling and emptying, and cycle setting sequences. The timer is a set of contacts operated by one or more cams and driven by the timer motor. If the washer does not drain, it is possible that the contacts inside have failed, and power is not being sent to the pump.

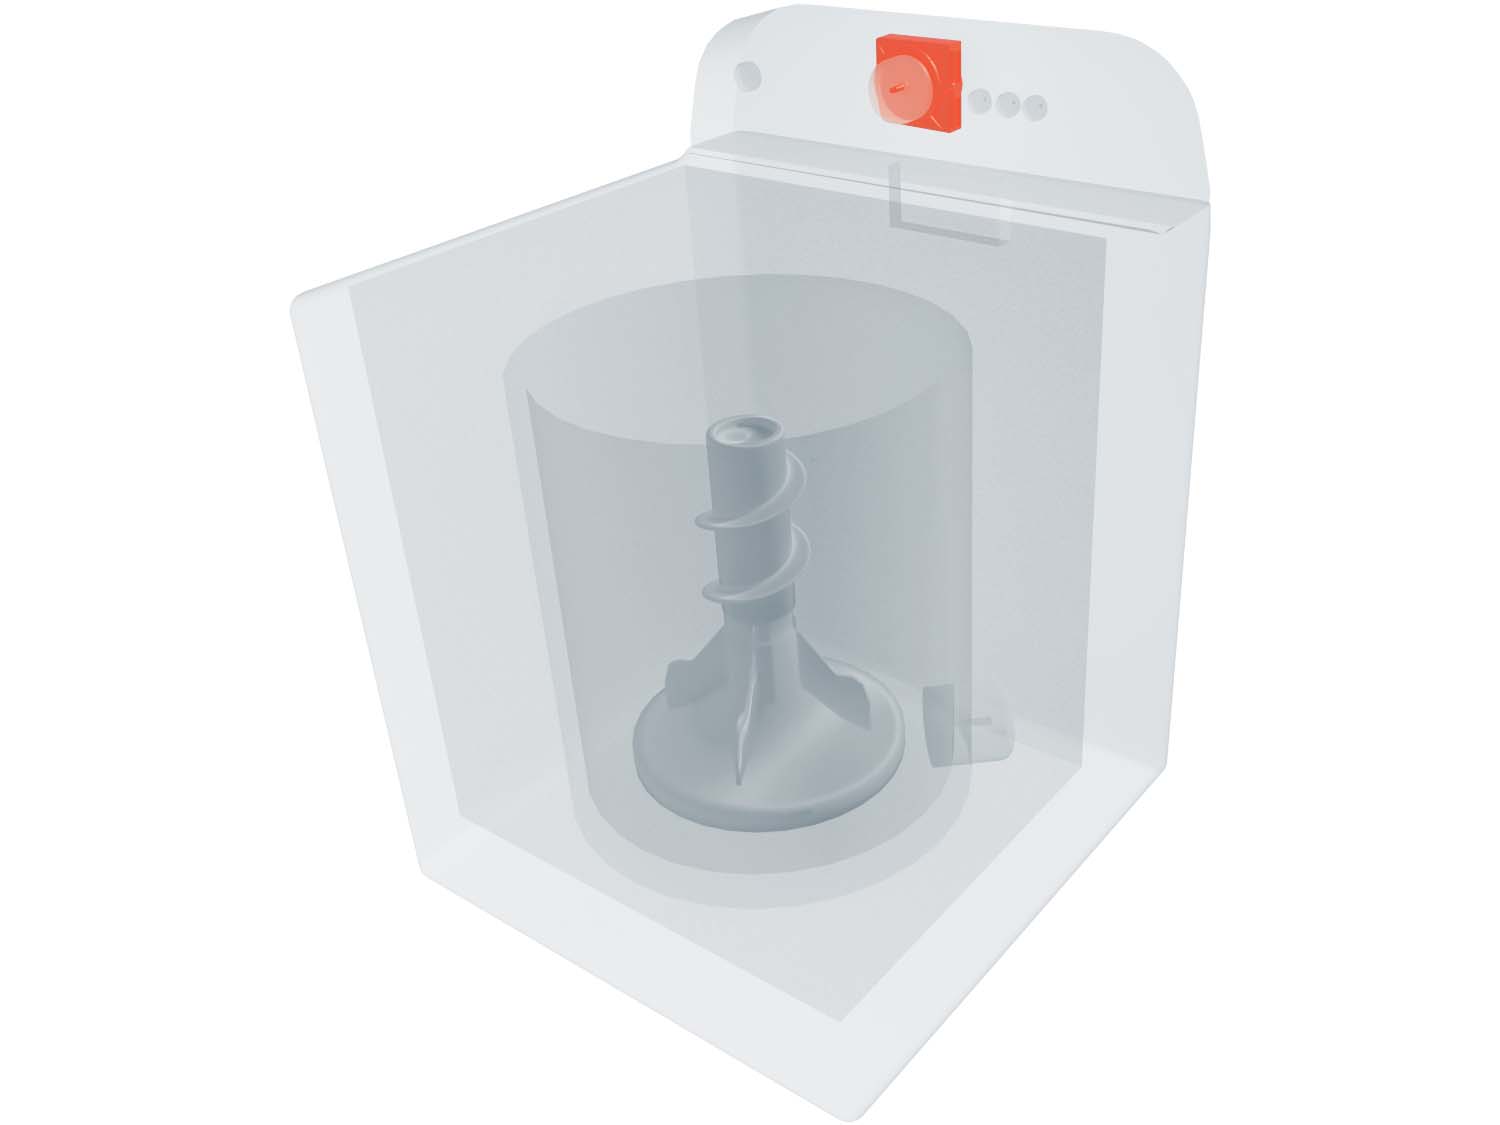
Where Is the Timer Located?
The timer is located inside the control panel which is typically at the top of your washing machine.
How to Access, Remove, and Inspect the Timer
- Begin by unplugging the washer and pulling it forward the access the back of the washer.
- To test the timer, you’ll need to turn the timer, so it is at the start of the drain cycle and then pull the knob out.
- Pull the washer forward as you will need access to the back of the machine.
- Lift the control panel up, to access the inside.
- Locate the timer shaft and use a flat blade screwdriver to pull the shaft all the way out. This will allow you to remove the knob and knob skirt.
- Remove the knob and knob skirt and locate the screw(s) securing the timer. Some timers are held in place with a plastic tab that will need to be raised.
- Pull the timer off the console.
- Next, lift on the locking tab and remove the wire harness.
- Remove the timer from the control panel.
- At this point, you will need the wiring diagram in order to know which set of contacts you need to test with the meter.
- Once you’ve noted these, you can test the terminals on the timer with a multimeter. If there is no reading or the reading is negative, then the timer has failed, and it will need to be replaced.

How to Install a New Timer
- Check “How to Access, Remove, and Inspect the Timer in a Top Load Washing Machine”, for instructions on how to remove the timer.
- Take the new timer and locate the press the wire harness firmly into the timer until you hear the locking tab engage.
- Fit the timer back on in its original position.
- Re-install the screw in the front or the plastic tab and ensure that the timer is lined up correctly on either side.
- Pull the shaft back away from the timer and fit the knob and knob skirt back on.
- From the back, press the center shaft to lock the knob back on.
- Fit and secure your console back onto the main top.
- Plug the machine back in and your repair is complete.

Next: Troubleshooting the Motor
Go To Main Page: Draining Issues