


How to Fix a Pressure Switch for a Washer With Draining Issues
The pressure switch plays an important role in controlling the water levels in your washer. It’s vulnerable to failure, either mechanical or electrical. For example, it has a hose that can tear from regular use, or it can become clogged with loose items from your laundry. Both cases would cause the switch to fail to read the water level and therefore your washer would not drain. Furthermore, if the electrical contacts on the switch are damaged, it may be unable to redirect power and remove the water from your washer.
We will show you how you can find the pressure switch and examine it to confirm if it really is the cause of your washer not draining. By the time you get to the end of this guide, you’ll be able to test, fix, and replace your pressure switch, if necessary.
What is a Washer Pressure Switch?
The pressure switch identifies how much water is in the machine. It tells the control panel whether the machine has been filled or emptied and allows your washing machine to detect when it’s sufficiently filled. When water starts filling your machine, air is pushed up the hose by the rising level of water in the drum. This air rises until it activates the pressure switch. Once the machine is done with the wash cycle, the control board will tell the machine to start flushing out the water and it’s the pressure switch that tells the control board when the machine is fully empty, so that your machine drains and the spin cycle begins.
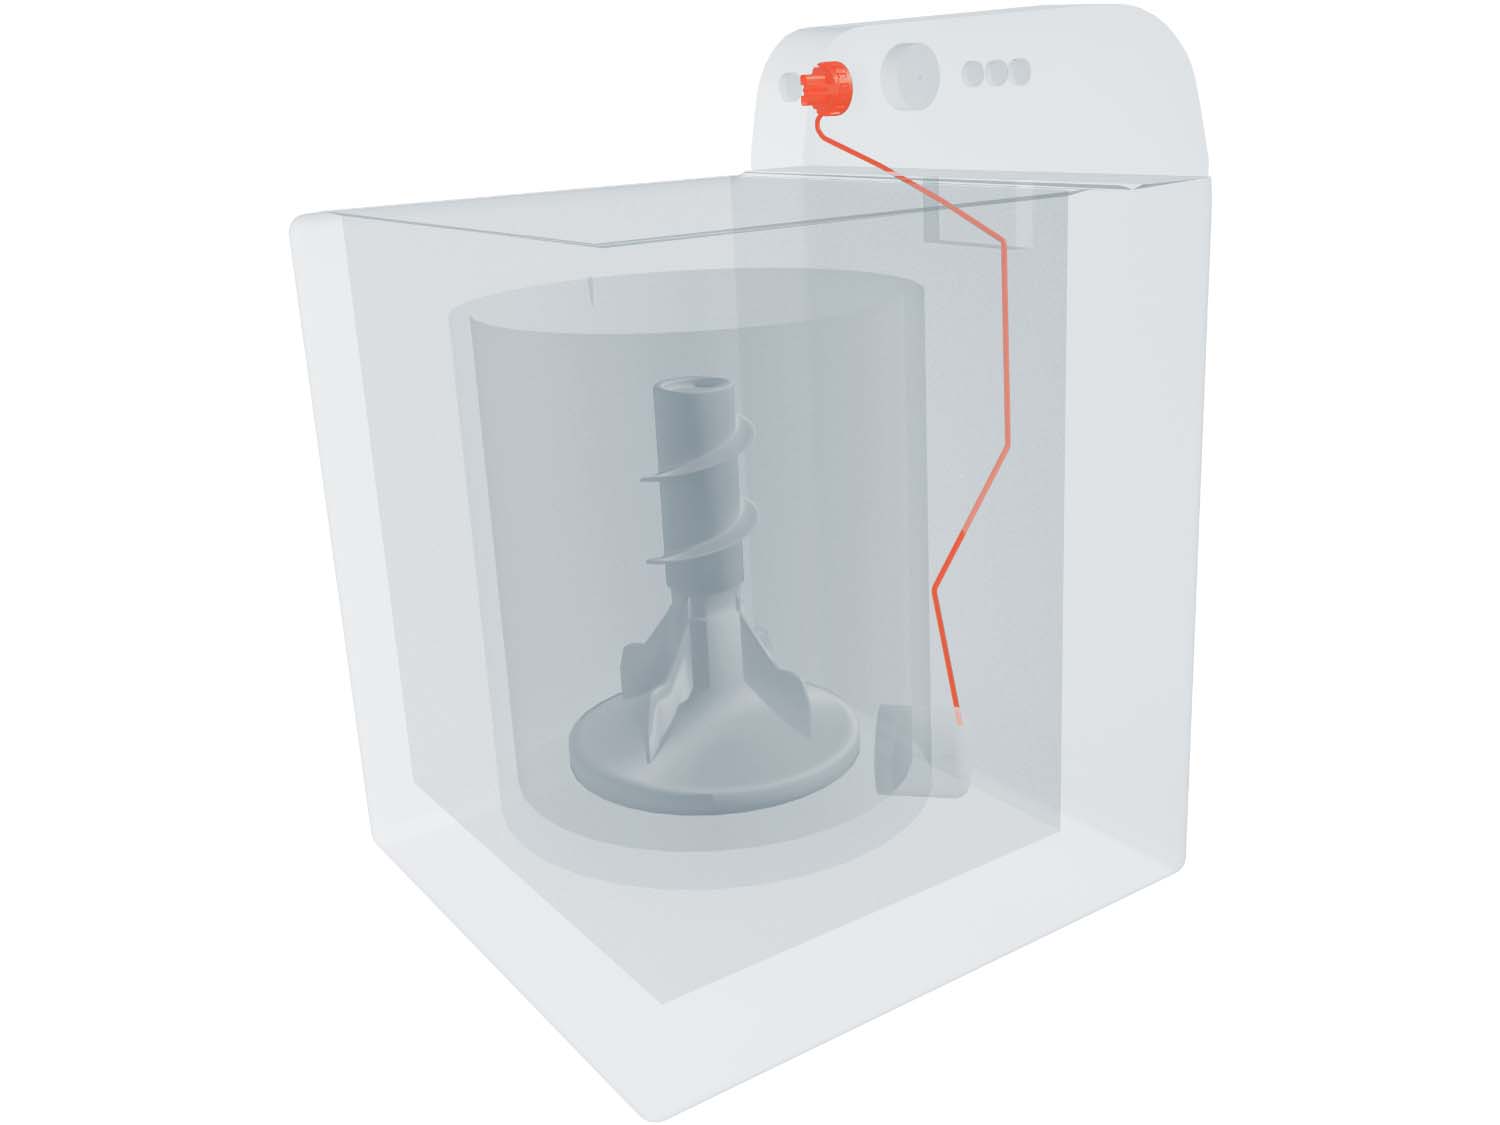
Where is the Pressure Switch Located?
The pressure switch can be found at the top of the machine. It will have a chamber attached to the bottom of the drum and a hose connecting to the switch.
How to Access, Remove, and Inspect the Pressure Switch
- As with any repair, be sure that you unplug the appliance before beginning and turn off the hot and cold water supply valves.
- Disconnect the water supply hoses from the inlet valve. Be prepared for some water to spill out.
- Locate the pressure switch, which is usually inside the console. Access this by removing the back panel of the console or using a putty knife to release the front clips.
- Use pliers to gently remove the air pressure tube from the old pressure switch.
- Release the pressure switch and disconnect the wire harness from the old switch.
- Take your multimeter prongs and connect them to the two outside terminals.
- Blow into the hose to create pressure and check the reading on the meter.
- If the reading is not within range or there is no reading, the part has failed and will need to be replaced.

How to Install a New Pressure Switch
- Follow the steps for ‘How to Access, Remove, and Inspect the Pressure Switch’ to remove the pressure switch.
- Take your new pressure switch and connect the wire harness to it.
- Align the pressure switch on the control panel bracket and snap it into place.
- With the bracket repositioned, connect the air pressure tube to the new switch.
- Reposition the back panel of the console and secure any screws or clips.
- Fit the control panel/console back on and ensure that it is secure.
- Reconnect the water supply hoses to the inlet valve and turn the water supply back on.
- You are now ready to plug the power cord back in and confirm that the appliance is functioning correctly.

Next: Troubleshooting the Electronic Control Board
Go To Main Page: Draining Issues