


How to Fix a Timer Switch When the Washer Cycle Will Not Advance
The timer switch within your washer helps control the start of any washing cycles by communicating directly with the drive motor during the entirety of the cycle. If it fails or is broken, it can cause your washer to not advance through a specific cycle, or not start entirely. When replacing the timer switch, please visit the button below and search for your washer's model number to find the correct part.
What is a Timer Switch?
The timer is one of the controls for starting the drive motor in your washer. With older models of washing machines, the timer controls all of the washer functions.
Where is the Timer Switch?
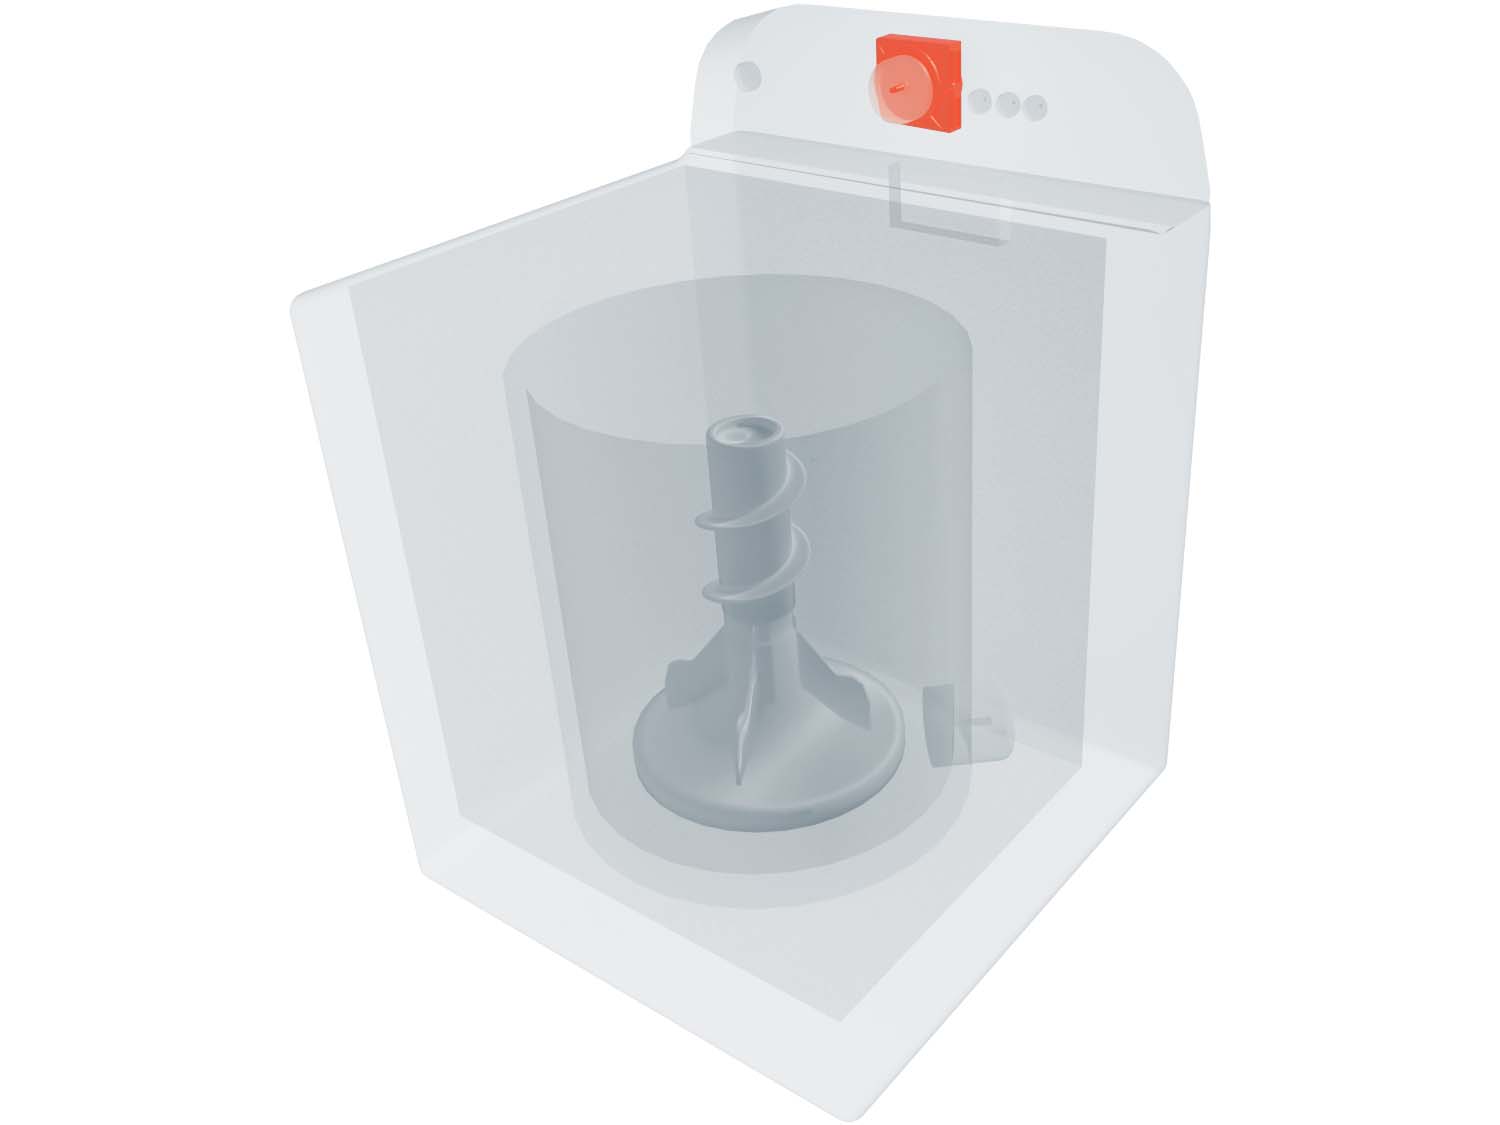
The timer is found on the control panel of your washer. Depending on your model, this may be along the top back, or the top front, of your washer. The switch is located behind the panel, with a shaft protruding through for the timer knob to be mounted on.
How to Access, Remove, and Inspect the Timer Switch
- Start by disconnecting the power supply to your washer, then remove the timer knob from the timer shaft.
- Remove the control panel and the rear panel of your appliance in order to locate the timer.
- Carefully disconnect the wires connected to the timer by pulling on the metal connectors and not the wires themselves. Take note of the wiring connections at this stage with a photograph, which can be useful to ensure you reconnect the wires properly during re-installation.
- Remove the timer from the washer.

How to Test the Timer Switch
If the drive motor on your washer does not receive power during the wash portion of the cycle, then the timer may be at fault. Unplug the washer, use your model’s wiring schematic to find the timer terminals that power the motor, and use your multimeter to check the timer’s continuity at those terminals.
- Start by disconnecting your washer from the power source.
- Remove the control panel and the rear panel of your appliance in order to locate the timer.
- Carefully disconnect the wires from the timer. Ensure that you are pulling on the metal connectors and not the wires themselves.
- Then remove the timer from the washer in order to test it.
- Using a multimeter on the Rx1 setting, touch the probes to the terminals that control the motor (refer to your wiring diagram to confirm) to test for continuity. You should receive a reading of zero or nearly zero.
- If you do not receive this reading, you will need a replacement timer.

How to Install a New Timer Switch
- When installing a new timer switch, reconnect the wires by taking note of the wiring photograph or notes you took during removal, and reconnecting accordingly.
- Reinstall any screws or clips that hold the switch in place on the machine.
- Please note you will use the same timer knob that was mounted on the previous timer shaft. Once your new switch is installed, your repair is now complete!

Go To Main Page: Cycle Not Advancing