


How to Fix the Belt for a Dryer That Will Not Start
If your dryer won’t start, it could be due to a problem with its belt. The belt works with the motor of your dryer to rotate the inner drum holding your clothes so the entire load is dried evenly. When the belt breaks, it can create a whole set of issues for your dryer, the main one being that it often just won’t start. Below, we have videos, instructions, and diagnostic tips to help you figure out if your dryer’s belt is the reason it won’t start!
What is a Belt?
A dryer belt is a piece of rubber compound with embedded corded fiber that is tightly wrapped around the dryer drum to help it rotate during a drying load. One side of it is ribbed and one side flat; the flat side is in direct contact with the drum in order to create the best seal.
Where is the Belt Located?
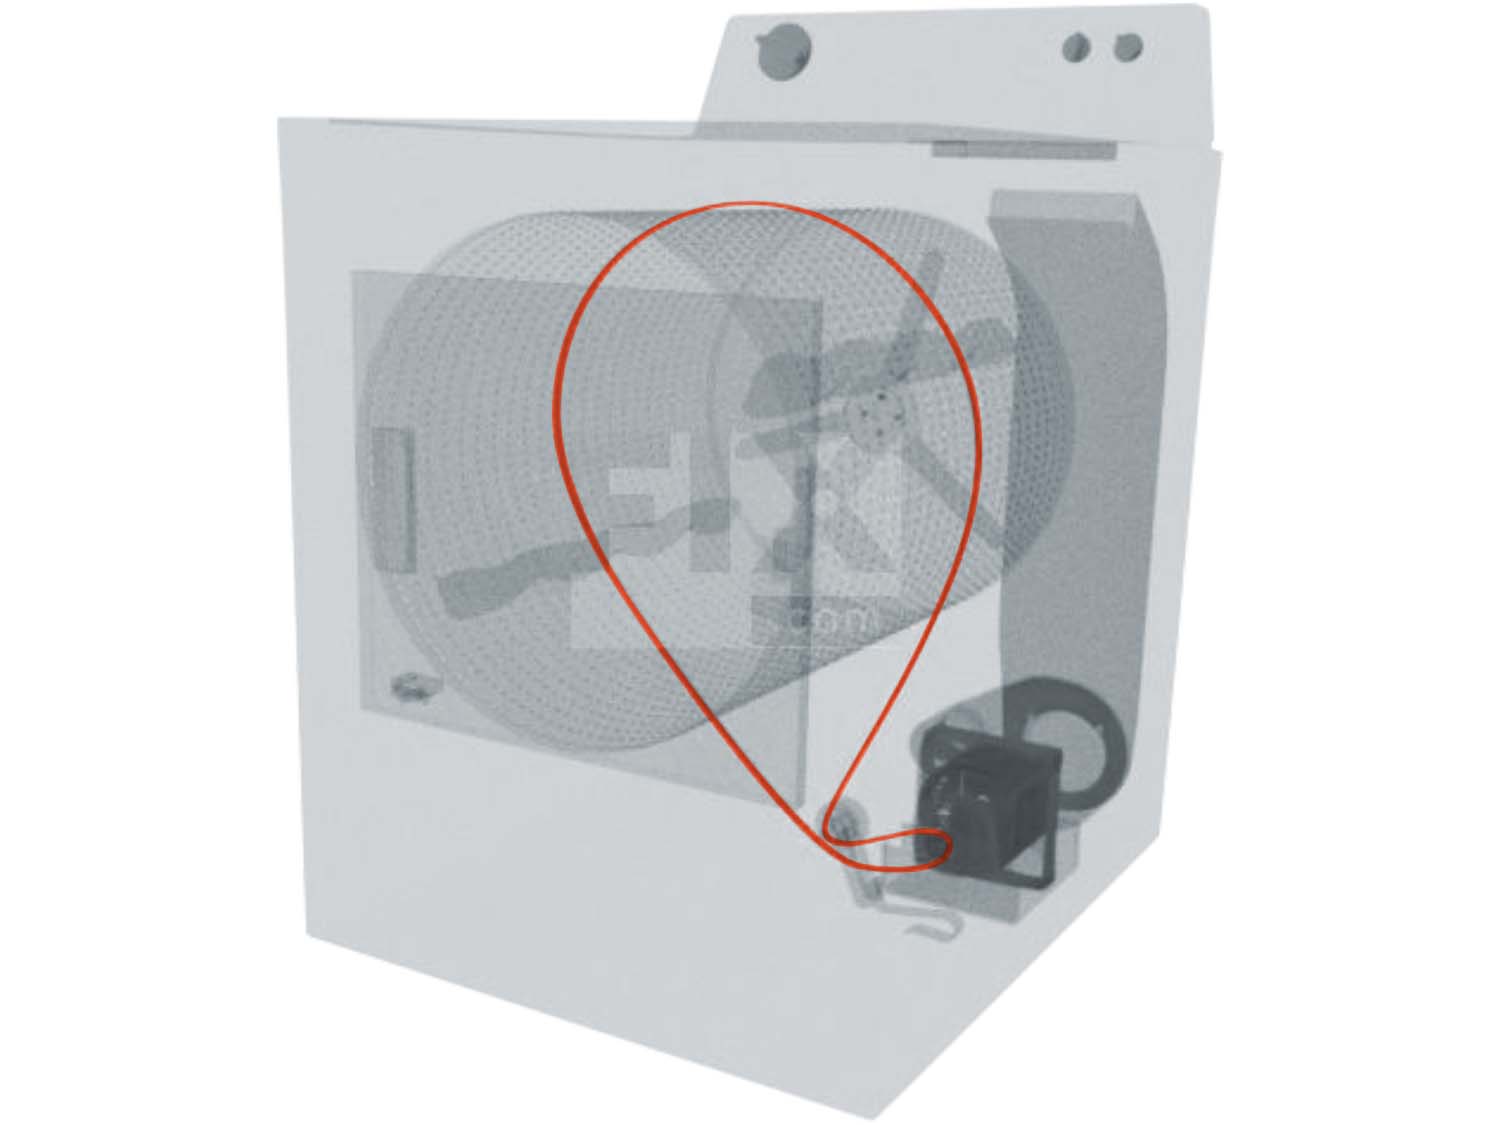
When in position and functioning correctly, the dryer belt will always be located around the outside of the dryer drum, normally attached tightly. If you’re having trouble locating your dryer belt, refer to the 3D diagram below.
General Location of the Belt in a Dryer
How to Access, Remove, and Inspect the Belt in a Dryer
- Depending on your dryer, remove the lint screen. This filter can often restrict your ability to remove the top of the dryer.
- Using the appropriate screwdriver, socket set, and/or putty knife, unscrew or disconnect any screws or fastenings securing the top panel to remove it from your dryer so you can gain access to the drum.
- Next, you’ll want to repeat the same process for the front panel, removing it from the cabinet once its fastenings are disconnected.
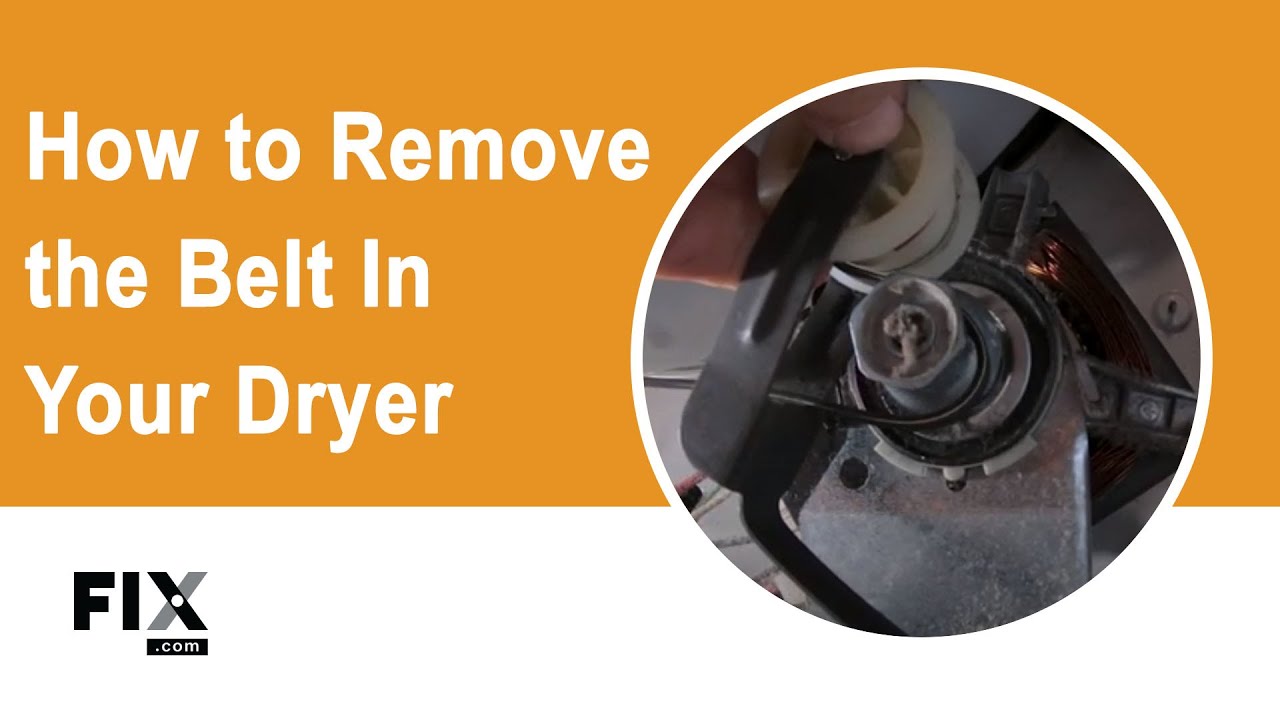
- Once you’ve located the belt on the drum, unlink it from the idler pulley whilst supporting the drum, and then unlink it from the motor pulley as well. If you’re unsure about what the idler pulley is, refer to the 3D diagram above.
- Slide the old belt and remove it from the drum.
- When inspecting the belt, if you notice that it’s visibly damaged (i.e. cracking, tearing, splitting) or is separated, it’ll need to be replaced.
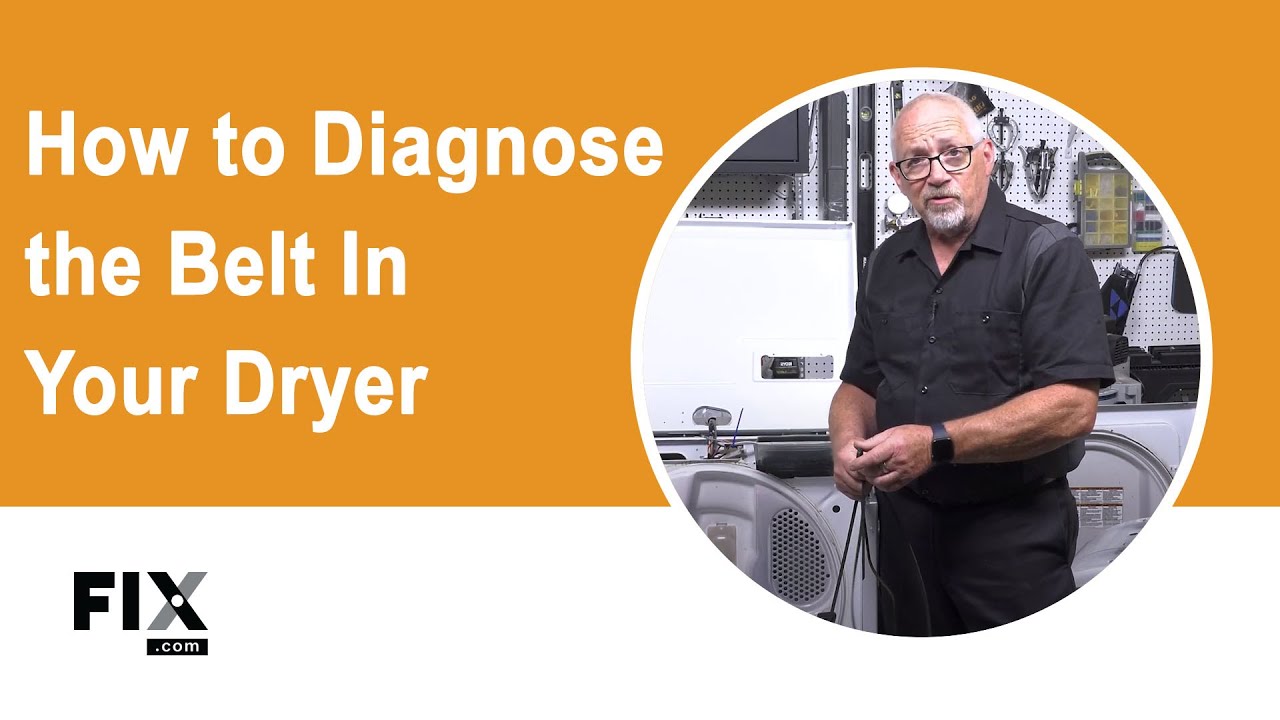
How to Test a Belt
- Look out for frays by carefully examining the whole length of the belt.
- Pinch the belt to see if it has developed cracks and splits over time.
How to Install a New Belt
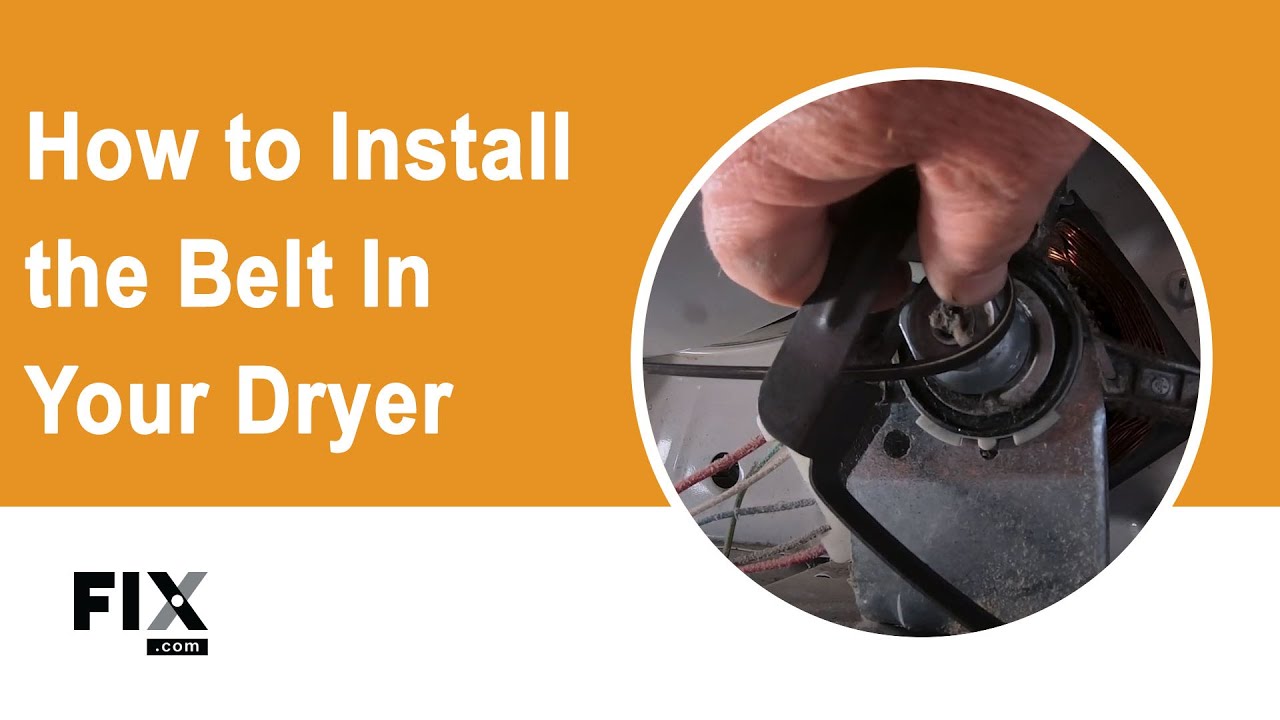
- With the new belt around the drum, roll the belt over the idler, and, forming a U-shaped part of the belt, hook that part around the motor pulley.
- It’s important at this point to make sure that the belt is securely on both pulleys, so we recommend you rotate the drum at least a few revolutions to align the belt and pulleys with the drum. If the belt is not on securely, there will likely be an intense amount of resistance or issues moving it; it may roll off the pulleys and have to be reattached, so be sure to watch that the belt is properly aligned.
- Once you know the belt is secured, you can reassemble the dryer, starting by reconnecting the front panel to the cabinet assembly.
- After the front panel is reconnected, make sure that all wires and cables are connected securely, and that all screws are properly fastened before placing the top panel on the dryer and securing it.
- Your final step is to re-insert the lint screen if you previously removed it, and any screws or fastenings that held it in place.
Next: Troubleshooting the Belt Break Switch
Go To Main Page: Will Not Start