



RCA Dryer Parts
Find Parts Fast
Guaranteed Fit
Repair Videos


Popular RCA Dryer Parts
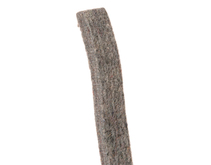
- Fix Number
- FIX268357
- Manufacturer Part Number
- WE9X38
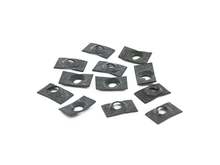
- Fix Number
- FIX267683
- Manufacturer Part Number
- WE2X192D
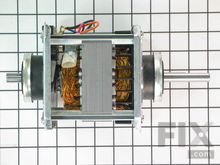
- Fix Number
- FIX1559768
- Manufacturer Part Number
- WE17X10010
Fixes these symptoms
- Noisy
- See more...
Installation Instructions
Steve from Fredericksburg, VA
The motor died and had to be replaced.
I used an online video to disassemble and reassemble the dryer. I used a digital camera to capture all the electrical connections before I removed them. What went wrong? The new motor was not the same as the old motor. It was equivalent, but the wire colors given in their revised connection instructions did not match the wire colors in my dryer. I was able to determine the two power lead connections and the ground connection, but the remaining three were a mystery. Because the new connection points for the power and ground were exactly reversed from the old locations, I tried simply reversing them all from old to new and it worked.
Read more...
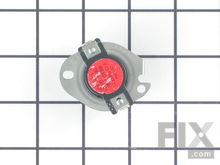
- Fix Number
- FIX268083
- Manufacturer Part Number
- WE4X584
Fixes these symptoms
- Too hot
- See more...
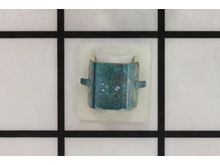
- Fix Number
- FIX3502777
- Manufacturer Part Number
- WE1M1011
Fixes these symptoms
- Door Pops Open
- Door won’t close
- See more...
Installation Instructions
Helen from South Plainfield, NJ
Door would not close
So easy ! I am a female senior citizen and this repair took only a screw driver to pry off the old latch and needle nose pliers to pull it out. The parts were under $10 and it saved me hundreds since I didn't have to call a repairman or purchase a new dryer.
Read more...

- Fix Number
- FIX2350043
- Manufacturer Part Number
- WE12X10014
Fixes these symptoms
- Drum Not Spinning
- Noisy
- See more...
Installation Instructions
John from West Elkton, OH
Replacing belt
First watched some you tube videos, to see how to get dryer apart, the one issue I had was getting the belt onto pulley etc. I found if I removed small access panel in back it was a lot easier than trying to reach in from the front as shown in most of the online videos
Read more...
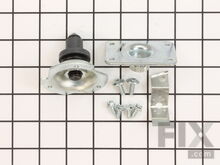
- Fix Number
- FIX267529
- Manufacturer Part Number
- WE25M40
Fixes these symptoms
- Marks left on clothes
- Noisy
- See more...
Installation Instructions
Stephen from Bridgewater, NJ
noisy
New shaft, belt and housing. Installation was going fine until went to install belt and IT was way to short .THANKS
Read more...
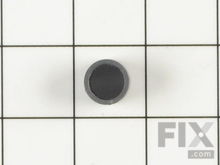
- Fix Number
- FIX267865
- Manufacturer Part Number
- WE3X75
Fixes these symptoms
- Noisy
- See more...
Installation Instructions
John from Lake George, NY
squeaking when drying heavy loads
Remove 4 screws inside door and swing top back(hinges). Remove front by taking out screws(2) inside top corners and loosen screws(2) at bottom of panel. Swing panel to side of dryer; no need to disconnect any wires. Remove access panel on back of dryer and take off spring clip and washers from end of drum shaft. Pull drum forward about 6 inches(can do this without removing belt) remove old bearing and install new. Reinstall drum. Front slides are a simple remove and replace; helps to have something to hold drum up an inch or 2. Reassemble in reverse order
Read more...
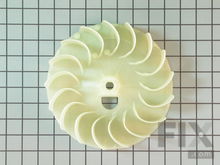
- Fix Number
- FIX960003
- Manufacturer Part Number
- WE16M15
Fixes these symptoms
- Noisy
- See more...
Installation Instructions
Dexter from Evergreen, AL
Blower Wheel fins grinded away in the middle
Safety first (unplug dryer), removed front panel door screws at top (2 ea) using "ph2 bit". I used "S2 bit" for the 2 ea. screws holding panel door and set top cover and panel door aside. Removed belt from motor pulley, and lay drum aside as well. Next, I unscrewed the 2 ea. long bolts and 3 ea. screws (front) from the frame holding the motor. I unplug the three wires (white, black, yellow) connected to the panel door using "needle nose pliers". I unscrew the two bolt/screws holding the motor in place. Pulled the motor back to expose the "blower wheel", use 3/8" nut socket to remove and install new clamp and screw. To remove the "blower wheel", I just gently rocked it back and forth until it came off, which was easy since it was worn. *Prior to installing the new blower wheel, I made sure the "slotted side" align with the slot on the motor shaft. Then I gently tap it with a small rubber mallet into place. Also, I notice how the clamps were facing so they could be installed correctly, which I did. Once I install the new "blower wheel w/new clamps", I just "reversed" the process of putting things back together and took my time (didn't take long). Plug the dryer in to the wall socket, set the timer, turned it on and what do you know, "NO MORE GRINDING NOISE"! Peace, to the ears. It took me close to an hour to complete, because I took my time. I'm sure I could have done it quicker, but when you're "retired", time is on your side.
Read more...
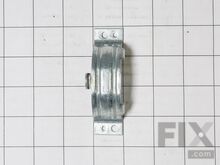
- Fix Number
- FIX265873
- Manufacturer Part Number
- WE13X200