



Models
>
W3S1CVKKGNS
W3S1CVKKGNS LG Washer
Jump to:
Find Part by Name
Keep searches simple, eg. "belt" or "pump".
Models for W3S1CVKKGNS
Click on the best match to narrow your results.
Diagrams for W3S1CVKKGNS
Viewing 7 of 7


Keep searches simple, eg. "belt" or "pump".

$154.80
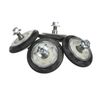
This drum support roller is a key component in maintaining smooth and quiet operation of your dryer. Measuring approximately 3 inches in diameter, it features a self-lubricating bearing and is designe...
In Stock
Order now and your part arrives by Nov 21

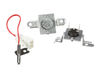
This is a genuine OEM thermistor with a wire harness included. The thermistor is a temperature sensor that helps to monitor and regulate the temperature inside your dryer. Some signs that you may need...
In Stock
Order now and your part arrives by Nov 21

$48.35
Clothing stays separated from the lint duct opening with help from this gray plastic dryer lint filter cover and guide. It supports the removable lint screen and provides a smooth barrier around the f...
In Stock
Order now and your part arrives by Nov 21

$21.95
As clothes tumble, damp fabric contacts this metal moisture sensor bar and creates an electrical signal that indicates drying progress. The dryer controls use the electrode?s feedback to adjust automa...
In Stock
Order now and your part arrives by Nov 21

$37.35
To get clothes tumbling again, this dryer drum drive belt wraps around the drum and runs over the motor and tension pulleys, transferring motor power to turn the drum during drying. Installing a repla...
In Stock
Order now and your part arrives by Nov 21

In Stock
Order now and your part arrives by Nov 21

$67.26
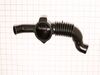
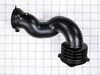
Water leaves the washer tub through this flexible tub-to-pump drain hose before reaching the drain pump housing. Its corrugated bellows section bends with tub movement, helping maintain the connection...
In Stock
Order now and your part arrives by Nov 21

$34.41
This plastic lint filter frame supports the removable screen and guides it into place during insertion. A securely seated lint screen depends on an intact guide inside the dryer filter opening. This O...
In Stock
Order now and your part arrives by Nov 21

$43.95
Water and detergent travel from the dispenser into the washer tub through this flexible rubber dispenser hose. Its bellows folds allow the hose to flex as the tub moves during operation, helping maint...
In Stock
Order now and your part arrives by Nov 21

$26.19
The locking pin is used to hold the shock absorber on the washer. There is a pin used at the bottom and top of the shock absorber. Sold individually.
Special Order

$52.75
Warm air stays within the intended drying path with help from this dryer drum felt seal. It closes the gap between the rotating drum and stationary housing while providing a cushioned contact surface ...
In Stock
Order now and your part arrives by Nov 21

$52.75
Suspend the outer tub from the cabinet with this heavy-duty spring for select front-load washers and washer-dryer combinations. It carries the tub while absorbing movement through washing and spinning...
In Stock
Order now and your part arrives by Nov 21
Common Problems and Symptoms for W3S1CVKKGNS
Viewing 15 of 15Noisy
Fixed by these parts


How to fix it
Leaking
Fixed by these parts

How to fix it
Not Heating
Fixed by these parts
How to fix it
Marks left on clothes
Fixed by these parts
How to fix it
Drum Not Spinning
Fixed by these parts
How to fix it
Door won’t close
Fixed by these parts
How to fix it
Locking Issues
Fixed by these parts
How to fix it
Lid or door won’t close
Fixed by these parts
How to fix it
Won’t Start
Fixed by these parts
How to fix it
Spinning Issues
Fixed by these parts
How to fix it
Water Filling Issues
Fixed by these parts
How to fix it
Will not drain
Fixed by these parts
How to fix it
Will Not Start
Fixed by these parts
How to fix it
Timer Not Working
Fixed by these parts
How to fix it
Door Pops Open
Fixed by these parts
How to fix it


Keep searches simple. Use keywords, e.g. "leaking", "pump", "broken" or "fit".
- Customer:
- Mark from WAVERLY, OH
- Parts Used:
- 4581EL2002L
- Difficulty Level:
- Easy
- Total Repair Time:
- 30 - 60 mins
- Tools:
- Screw drivers, Wrench (Adjustable), Wrench set
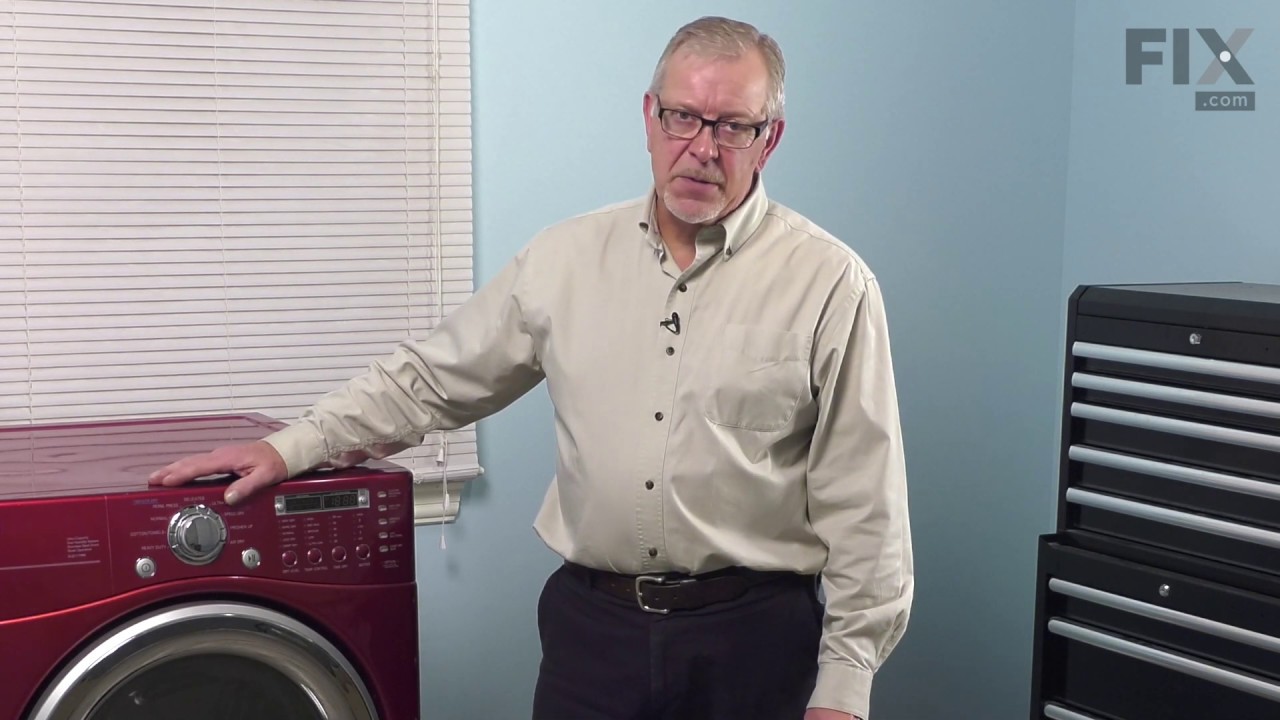
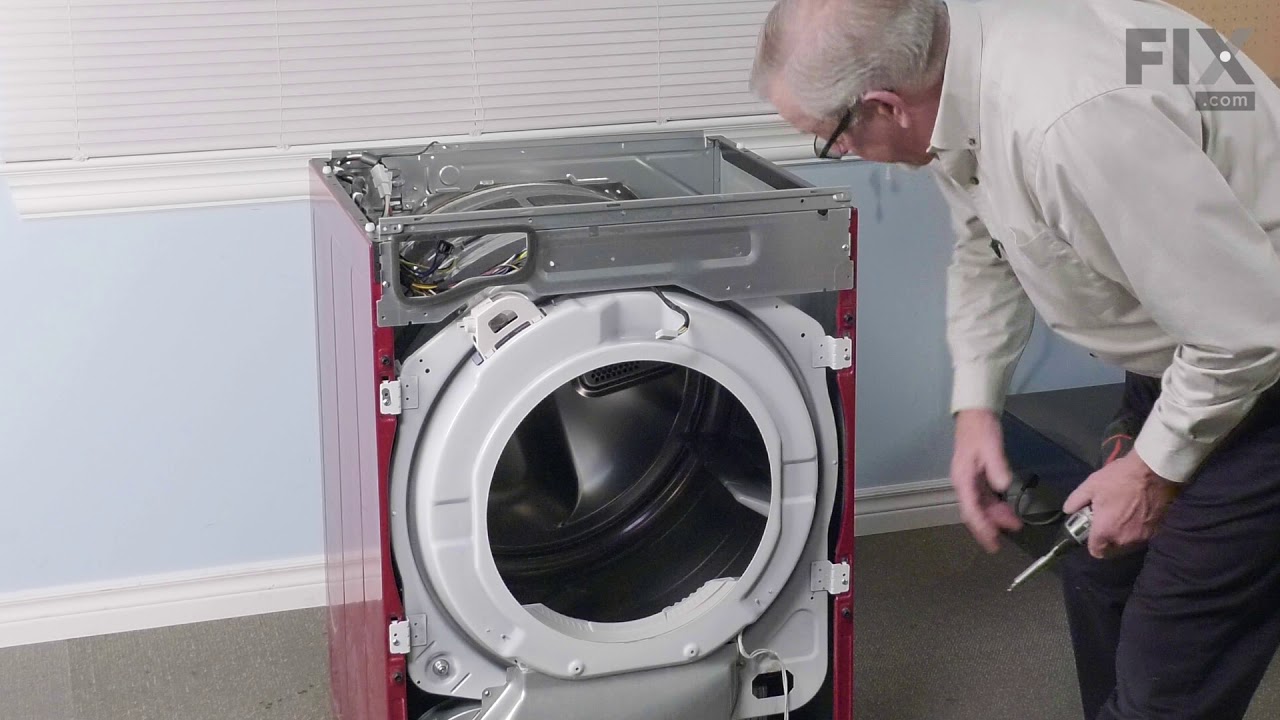
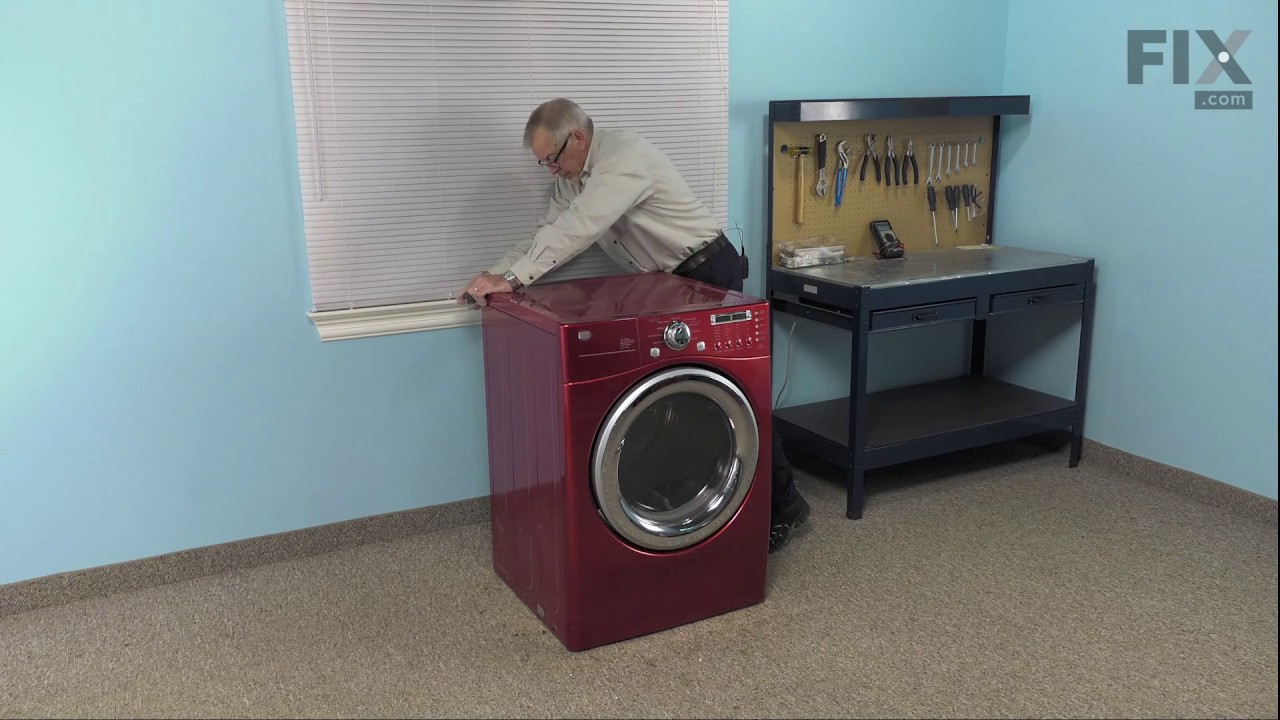
Dryer making a thumping and squealing noise when running
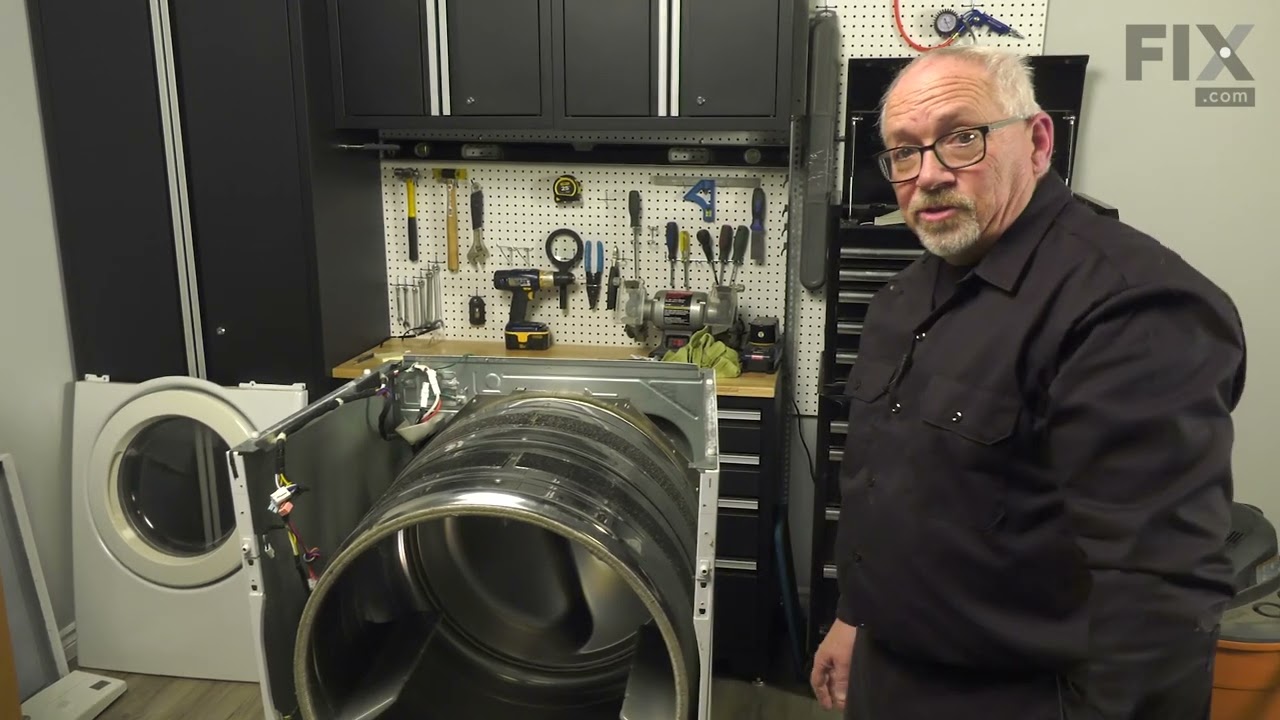
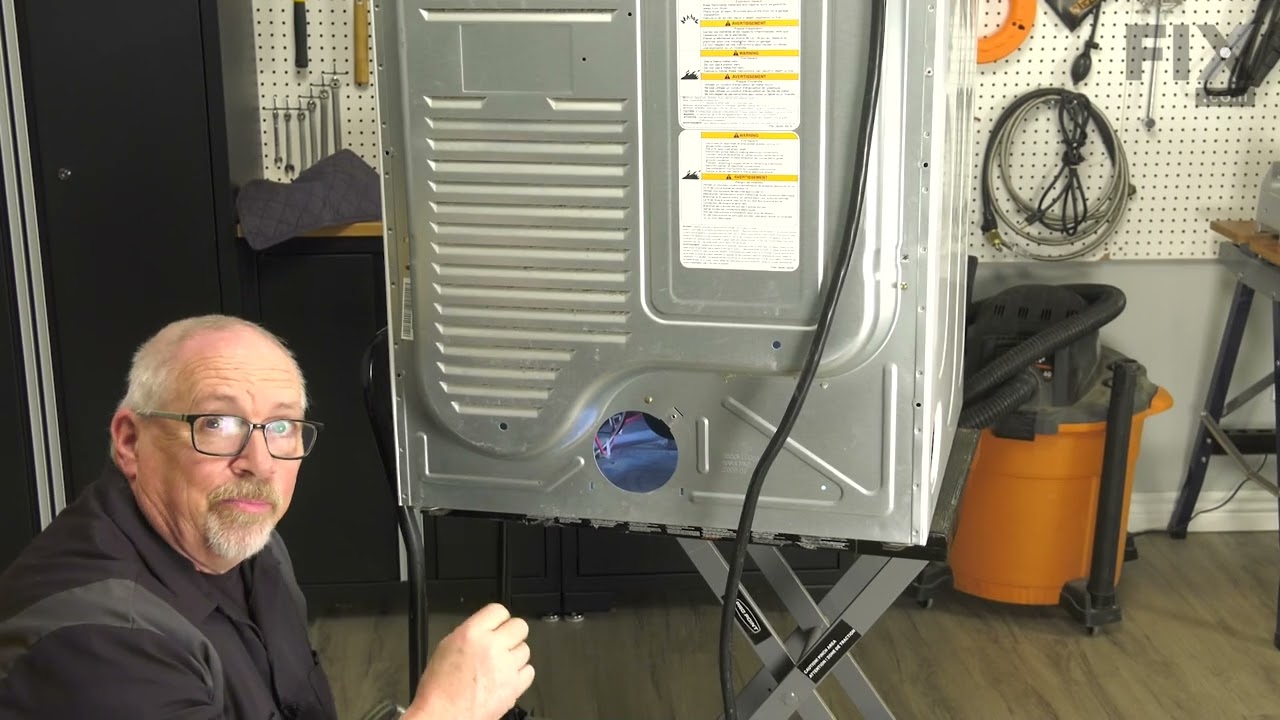
Had to replace front drum support rollers. Removed screws underneath top in back that held bracket that keeps top in place. Slid top towards rear and lifted up. Removed 4 screws that hold plastic front panel in place (inside..2 on each corner) Unplugged front panel electric plugs to remove panel. Opened door..removed 2 screws at bottom of
... Read more
door opening. Removed screws on top of front panel. Unplugged door switch plug. Removed front panel. Removed right front roller with 9/16th wrench for nut. Adjustable for back of stud. Lifted up on drum to get roller out. Reversed to install. Left roller a bit harder to get to stud. Removed and installed same as right side. Did not attempt to replace rear rollers. Have them if needed but very much more involved to replace.
Read less
Was this instruction helpful to you?
Thank you for voting!
- Customer:
- CAROL from NAMPA, ID
- Parts Used:
- 4581EL2002L
- Difficulty Level:
- Really Easy
- Total Repair Time:
- More than 2 hours
- Tools:
- Pliers, Screw drivers
Screeching during operation
Found disassembly video and watched several times. Suspected that one of the drum wheels had seized up. Found extreme volume of lint and hair inside unit as well as a dryer sheet melted on top of heating unit. Front left drum wheel was worn down from lint and hair jamming its movement. Video made it easy, not a really complicated piec
... Read more
e of machinery. Replaced all 4 wheels due to normal wear on other three. Wanted to be sure drum evenly balanced on all 4. Parts came quickly and were easy to install. My sister and I did this together. Would not recommend doing it alone. Took time to vac and wipe down entire unit. Now it runs so quiet we have to look to see if it is operating. Got a brand new machine out of it, saved a couple of hundred dollars in repair bills, and found 11 cents inside the machine. For your own piece of mind, if you have had your dryer for several years, you need to open it up and clean it out. Its not hard... added note, we are both in our 60's... so if we can do it so can you.... Such a feeling of accomplishment, can't buy that in a store....
Read less
Was this instruction helpful to you?
Thank you for voting!
- Customer:
- Leslie from STOWE, VT
- Parts Used:
- 4738ER1002A
- Difficulty Level:
- Easy
- Total Repair Time:
- 30 - 60 mins
- Tools:
- Screw drivers
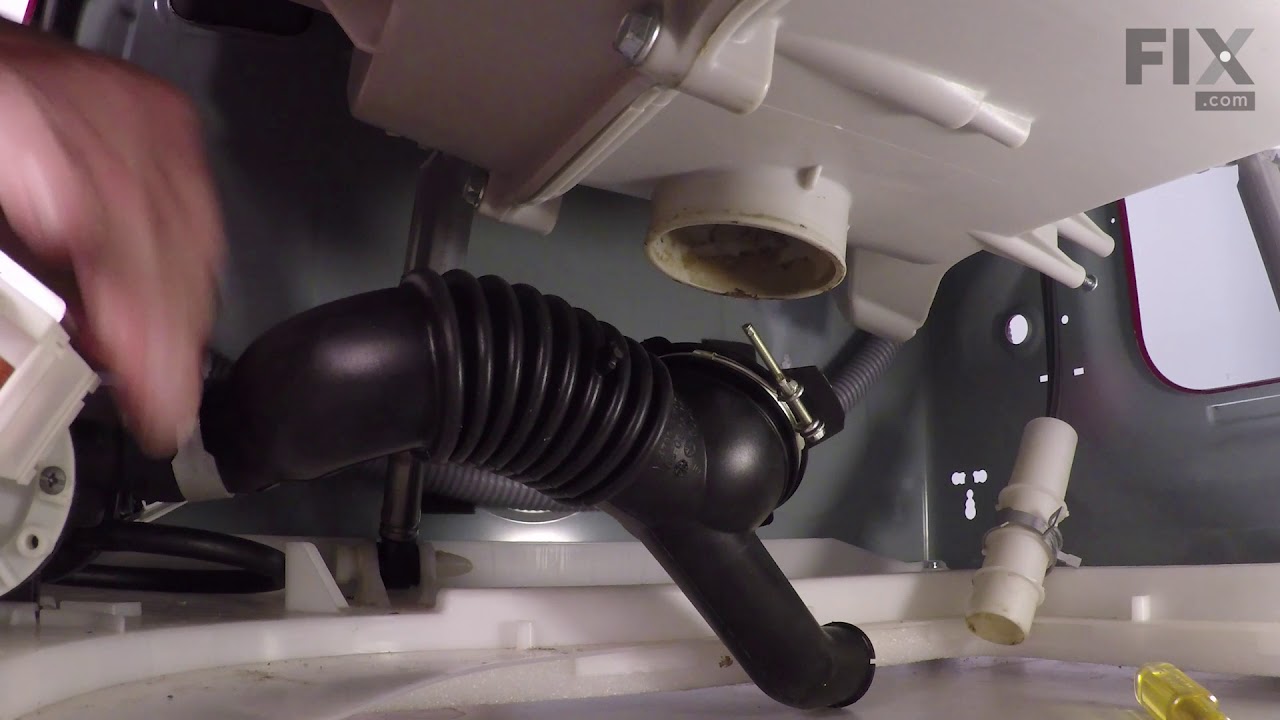
leaking tub-to-pump drain hose
Pull washer away from wall. Unplug cord and remove drain hose from receptacle. Remove 4 screws holding panel to rear of washer. Squeeze and slide back hose clamps on each end of drain hose and loosen center clamp with screwdriver. Remove old hose. Reinstall new hose in reverse order using existing clamps. Re-install back panel.
Was this instruction helpful to you?
Thank you for voting!