



Models
>
TFX22PRSBWW
TFX22PRSBWW General Electric Refrigerator
Jump to:
Find Part by Name
Keep searches simple, eg. "belt" or "pump".
Diagrams for TFX22PRSBWW
Viewing 7 of 7


Keep searches simple, eg. "belt" or "pump".
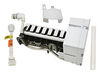
$229.80
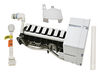
The ice maker assembly makes ice by filling the tray with water from the inlet valve, freezing it until solid cubes are formed, and then ejecting them into the ice bucket. This process will repeat unt...
In Stock
Order now and your part arrives by Oct 5
$32.12
This plastic door hinge cam riser plays a key role in the smooth operation of your refrigerator or freezer door. Also known as a closing cam or cam lifter, it helps the door rise slightly as it opens ...
In Stock
Order now and your part arrives by Oct 5
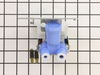
$64.95
This valve comes with 1/4" compression inlet.
NOTE: This part comes with new quick connections. To install - cut retaining nuts off of existing plastic water lines and gently push them into new valv...
In Stock
Order now and your part arrives by Oct 5
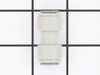
Quick connector for plastic water line - 5/16" to 5/16"
In Stock
Order now and your part arrives by Oct 5

$36.42
The light switch in your refrigerator is used to turn the light on and off when the fridge door opens or closes. This is considered a closed switch, which means that when the fridge door depresses the...
In Stock
Order now and your part arrives by Oct 5
It is used with those refrigerators that have an ice and water dispenser in the door.
No Longer Available
$41.26
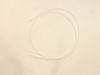
This part is the replacement water line for your refrigerator. It is a long plastic tube, which is 5/16 of an inch in diameter. If your refrigerator is leaking, or will not dispense water or ice, you ...
In Stock
Order now and your part arrives by Oct 5
This is a package of twelve Phillips-head screws. They can be used as replacement screws in refrigerators, ice makers, or freezers. Be sure to check that your appliance model is compatible with these ...
No Longer Available
This is the replacement door hinge shim, or riser cam shim for your refrigerator. It is made of metal and is approximately 2 inches in length, and 1 inch in width. Your refrigerator will have a door h...
No Longer Available
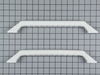
This kit contains two white door handles. They are not sold separately. Mounting screws are NOT included.
No Longer Available
$81.00
This kit is used on the water/ice dispenser door. This part allows water/ice to be dispensed on demand.
In Stock
Order now and your part arrives by Oct 5
Common Problems and Symptoms for TFX22PRSBWW
Viewing 16 of 16Leaking
Fixed by these parts
How to fix it
Ice maker not making ice
Fixed by these parts
How to fix it
Light not working
Fixed by these parts

How to fix it
Not dispensing water
Fixed by these parts
How to fix it
Door won’t open or close
Fixed by these parts
How to fix it
Ice maker won’t dispense ice
Fixed by these parts
How to fix it
Noisy
Fixed by these parts
How to fix it
Fridge too warm
Fixed by these parts
How to fix it
Will Not Start
Fixed by these parts
How to fix it
Door Sweating
Fixed by these parts
How to fix it
Freezer section too warm
Fixed by these parts
How to fix it
Ice maker dispenses too little ice
Fixed by these parts
How to fix it
Ice maker dispenses too much ice
Fixed by these parts
How to fix it
Won’t start
Fixed by these parts
How to fix it
Fridge runs too long
Fixed by these parts
How to fix it
Clicking sound
Fixed by these parts
How to fix it



Keep searches simple. Use keywords, e.g. "leaking", "pump", "broken" or "fit".
- Customer:
- anthony from thornton, CO
- Parts Used:
- WR57X10051
- Difficulty Level:
- Really Easy
- Total Repair Time:
- 15 - 30 mins
- Tools:
- Screw drivers, Wrench (Adjustable)
Cracked housing on the vaave
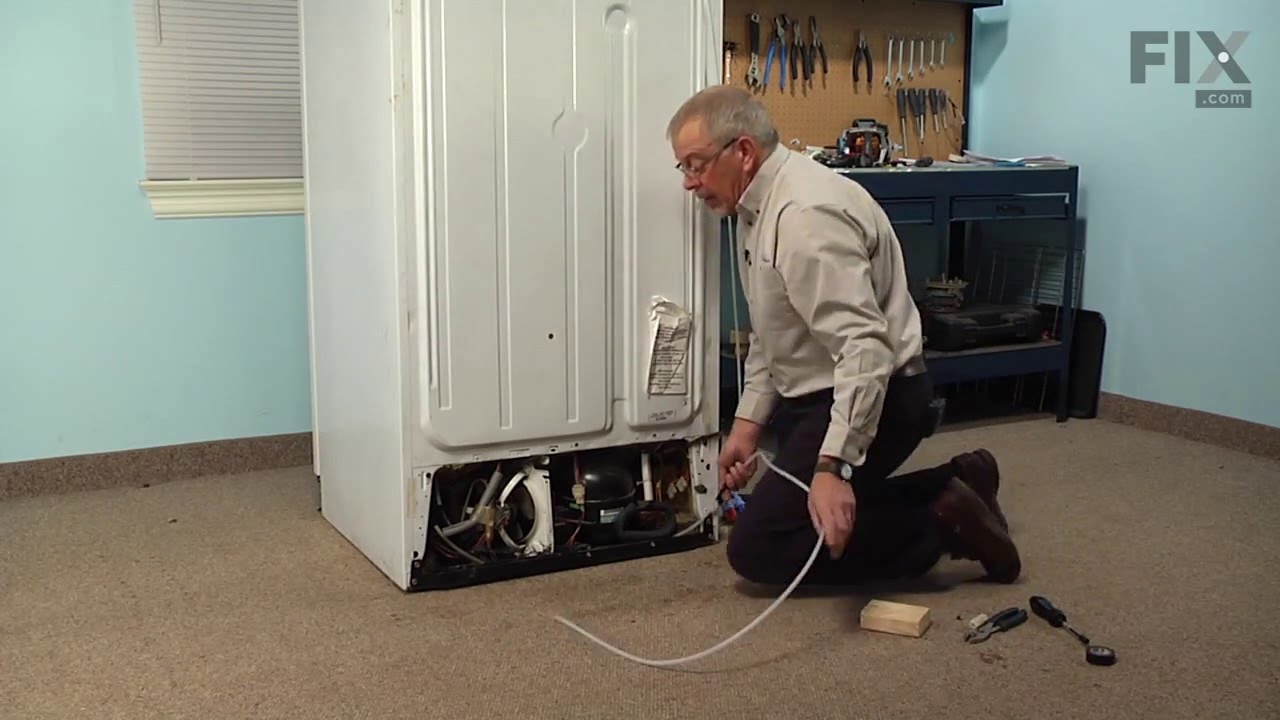
1. Turn off water supply, and electrical ( unplug it) to fridge.
2. Remove water line to valve. Watch for water to pour out of the line. Have a towel handy.
3. Remove the cardboard cover on the bottom of the fridge.
4. Remove the screws that hold the valve in place.
5. Remove the valve, be careful the waterlines ar ... Read more e still attached.
6. Place a towel under valve to catch any water that leaks out from water lines.
7. Remove electrical lines, make sure to mark which went where. One is for the ice, and one is for the water. Make sure the power is off, there is 120 volts present at those connections.
- now my waterlines attached using a compression type fitting. The new valve I got used just a push in type of attachment. But, easy enough I just removed the pieces for the compression and the waterlines pushed right in and worked fine.
- the mounting harness for the valve was alittle different but the parts I need were in the right location and she fit in fine.
8. Attach water lines. They are different sizes so you can't get those mixed up.
9. Attach electrical lines.
- the new valve came with adaptors for my electrical connection. Just snapped them on and kept on going.
10. turn on watersupply for fridge. Plug it back in.
11. Test for leaks, and proper operation. ie. When you push the water does the water valve open?
12. Unplug fridge
13. Now is a good time to clean out any dust or dirt that has accumallated in under around your fridge.
14. reassemble, valve, then cover. move fridge back into place.
15. Plug fridge back in.
16. Take a clean glass.
17. Fill with water from the front.
18. Take full glass of water and go watch tv. You've earned it, and saved yourself probably $100.00 in labor costs. Good Job.
2. Remove water line to valve. Watch for water to pour out of the line. Have a towel handy.
3. Remove the cardboard cover on the bottom of the fridge.
4. Remove the screws that hold the valve in place.
5. Remove the valve, be careful the waterlines ar ... Read more e still attached.
6. Place a towel under valve to catch any water that leaks out from water lines.
7. Remove electrical lines, make sure to mark which went where. One is for the ice, and one is for the water. Make sure the power is off, there is 120 volts present at those connections.
- now my waterlines attached using a compression type fitting. The new valve I got used just a push in type of attachment. But, easy enough I just removed the pieces for the compression and the waterlines pushed right in and worked fine.
- the mounting harness for the valve was alittle different but the parts I need were in the right location and she fit in fine.
8. Attach water lines. They are different sizes so you can't get those mixed up.
9. Attach electrical lines.
- the new valve came with adaptors for my electrical connection. Just snapped them on and kept on going.
10. turn on watersupply for fridge. Plug it back in.
11. Test for leaks, and proper operation. ie. When you push the water does the water valve open?
12. Unplug fridge
13. Now is a good time to clean out any dust or dirt that has accumallated in under around your fridge.
14. reassemble, valve, then cover. move fridge back into place.
15. Plug fridge back in.
16. Take a clean glass.
17. Fill with water from the front.
18. Take full glass of water and go watch tv. You've earned it, and saved yourself probably $100.00 in labor costs. Good Job.
Read less
Was this instruction helpful to you?
Thank you for voting!
- Customer:
- Gary from North eastham, AL
- Parts Used:
- WR2X4901
- Difficulty Level:
- Really Easy
- Total Repair Time:
- 15 - 30 mins
- Tools:
- Screw drivers, Socket set
Door would not automatically close.
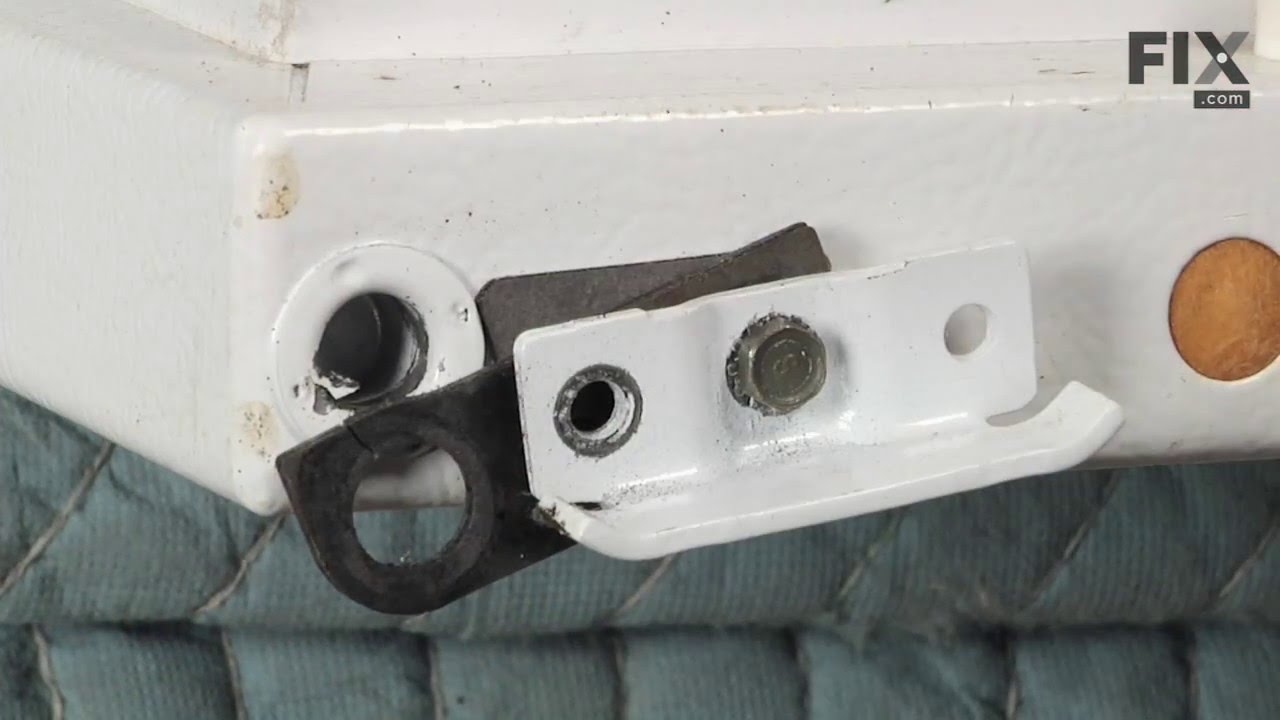
Symptom: Door did not close automatically. Also had found small chunks of black plastic on the floor. Refrigerator door was slightly lower than the freezer door.
One false start because I did not realize both of the door-closing cams had disintegrated and I had only ordered the cam without the hinge.
Purchased part ... Read more 290199 Hinge Assembly. It came with matching door-closing cam. (Had not known so I also purchased the cam 297995 separately). Next time I will know to only purchase the Hinge Assembly.
Replacement procedure took about 20 minutes including removing and replacing door shelves and their contents. Two people involved.
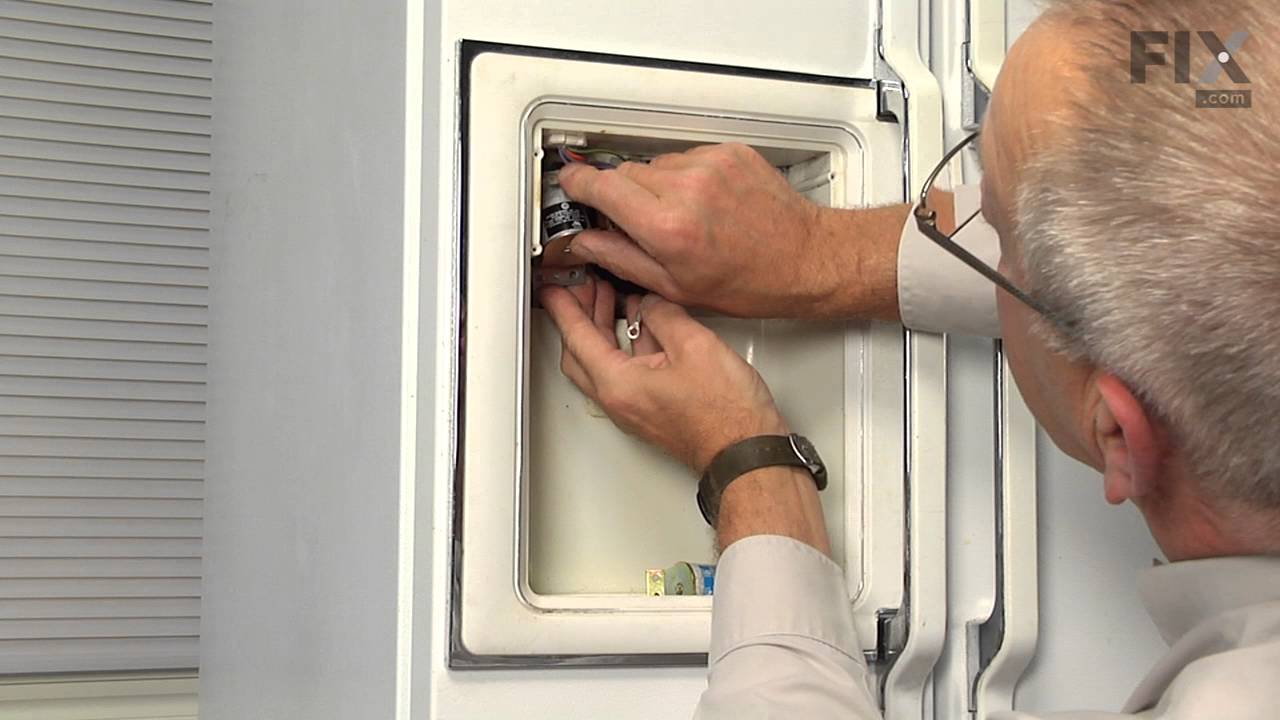
1. Remove all door shelves with contents and other contents on door.
2. Remove the top Phillips head screw holding the decorative plastic on the top.
3. Remove the two top hinge screws on top of refrigerator using metric #8 socket wrench. Second person made sure door did not fall off.
4. Lift the door off the bottom hinge pin. Second person holds door on it’s side.
5. Take off the bottom refrigerator cover
6. Remove the bottom hinge assembly screws using metric #8 socket wrench.
7. Mount the replacement bottom hinge assembly and tighten the two screws.
8. On the door bottom, remove the outer screw and loosen the inner screw using metric #8 socket wrench.
9. Replace the door-closing cam (or what is left of it) with the cam in line with the door and cam bumps away from the door.
10. Place the door back on the hinge pin (one person holds while the other person maneuvers the door bottom).
11. Replace the top hinge and reinsert the screws on top of the refrigerator. Dress the door so that it does not press hard on the rubber door gaskets (or the door will fail to shut automatically). Tighten the screws.
12. Replace the decorative plastic over the top hinge.
13. Open the door and replace the bottom refrigerator cover.
14. Replace the door shelves and all contents.
15 Close the door.
One false start because I did not realize both of the door-closing cams had disintegrated and I had only ordered the cam without the hinge.
Purchased part ... Read more 290199 Hinge Assembly. It came with matching door-closing cam. (Had not known so I also purchased the cam 297995 separately). Next time I will know to only purchase the Hinge Assembly.
Replacement procedure took about 20 minutes including removing and replacing door shelves and their contents. Two people involved.
1. Remove all door shelves with contents and other contents on door.
2. Remove the top Phillips head screw holding the decorative plastic on the top.
3. Remove the two top hinge screws on top of refrigerator using metric #8 socket wrench. Second person made sure door did not fall off.
4. Lift the door off the bottom hinge pin. Second person holds door on it’s side.
5. Take off the bottom refrigerator cover
6. Remove the bottom hinge assembly screws using metric #8 socket wrench.
7. Mount the replacement bottom hinge assembly and tighten the two screws.
8. On the door bottom, remove the outer screw and loosen the inner screw using metric #8 socket wrench.
9. Replace the door-closing cam (or what is left of it) with the cam in line with the door and cam bumps away from the door.
10. Place the door back on the hinge pin (one person holds while the other person maneuvers the door bottom).
11. Replace the top hinge and reinsert the screws on top of the refrigerator. Dress the door so that it does not press hard on the rubber door gaskets (or the door will fail to shut automatically). Tighten the screws.
12. Replace the decorative plastic over the top hinge.
13. Open the door and replace the bottom refrigerator cover.
14. Replace the door shelves and all contents.
15 Close the door.
Read less
Was this instruction helpful to you?
Thank you for voting!
- Customer:
- Marty from West Bloomfield, MI
- Parts Used:
- WR02X11330, WR17X2891
- Difficulty Level:
- Easy
- Total Repair Time:
- 30 - 60 mins
- Tools:
- Nutdriver, Wrench (Adjustable)
Internal water lines brittle, cracked, leaking
First of all, the larger white plastic tubes in this thing are 5/16" OD, which no plumbing store seems to stock. At the lower left rear end there are 2 tubes, one for water and one for ice, that are doomed to fail being in proximity of a heat source - they essentially get cooked to the point of becoming brittle and cracking. The smaller
... Read more
tube and union can be easily found, but do yourself a favor if the larger one cracks and order the plastic tube and water tube union here, and just cut off the brittle part and amend the old tube using the union.
Read less
Was this instruction helpful to you?
Thank you for voting!