Miscellaneous Parts
Find Parts Fast
Guaranteed Fit
Repair Videos

Popular Miscellaneous Parts
- Fix Number
- FIX17016229
- Manufacturer Part Number
- 344492750
- Fix Number
- FIX12008384
- Manufacturer Part Number
- SP0002498
- Fix Number
- FIX1570190
- Manufacturer Part Number
- 12001676
Fixes these symptoms
- Element will not heat
- Will Not Start
- See more...
Installation Instructions
Steven from Westerly, RI
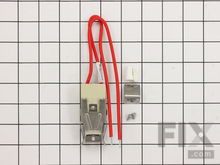
Burner Receptacle replacement
unplugged stove, removed old burner, lift top (mine did not have retaining screws), cut old wires, unscrewed Receptacle, screwed in new Burner Receptacle, used the wire strippers to strip back the old wire, then used the wire tie to connect (very very easy). done! plugged back in the new burner element (old one was burnt up) and plugged the stove back in, complete! works great! My wife loves me again! :)
Read more...
- Fix Number
- FIX2079053
- Manufacturer Part Number
- 715878
Fixes these symptoms
- Touchpad does not respond
- See more...
Installation Instructions
Curtis from Jackson, MS
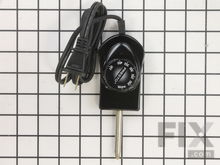
I needed new burners and drip bowls and I wanted a flat radiant cartridge
Very easy! I just replaced the drip bowls, took out old burners and put in new ones. I took out my grill, and replaced with the radiant flat cartridge. I just plugged it right in, and I was done!
Read more...
- Fix Number
- FIX1854703
- Manufacturer Part Number
- 715877
Fixes these symptoms
- Touchpad does not respond
- See more...
Installation Instructions
Carole G from Hampton, GA
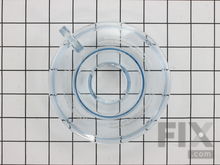
My husband cooks but does not clean grease right away
I replace my drip pans when I am not able to clean them completely. These fit perfectly every time.
Read more...
- Fix Number
- FIX10418940
- Manufacturer Part Number
- 344100970
- Fix Number
- FIX12008385
- Manufacturer Part Number
- SP0002499
- Fix Number
- FIX10310270
- Manufacturer Part Number
- 511741
Installation Instructions
Stephen from BERKELEY HTS, NJ
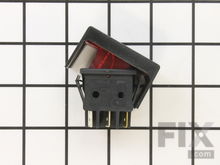
Bad switch
1) Unplug heater and lay on its side on secure surface.2) Open cover panel (containing the switch) with a #2 Phillips screwdriver (one screw).
3) Take a photo of the wires at the switch so you don't forget anything. You could also make a drawing instead.
4) Mark with tape or labels which wire goes where.
5) Gently pull off the wires from the 6 switch connections (do this by hand). They just a push fit connection.
5) Using a flat-head screwdriver, push the plastic tabs holding the switch to the plastic panel insert. It is a little hard to push both top and bottom tabs simultaneously, so you may need two screwdrivers and maybe a second person to help. Just be gentle and don't break anything. Have persistence.
6) Pop out the old switch and pop in the new switch so the tabs click into place. Make sure you get the right side up!
7) Rewire according to your photo and labels. Push the connections down tight.
8) Tighten all the other wire push connections while the cover is open (again, with your fingers).
9) Carefully tuck the wires back inside the cover and connect it back to the heater base and screw the cover screw by hand until you know that it isn't cross-threaded.
10) Use #2 Phillips screwdriver and tighten. Read more...
Brands
- Cuisinart Miscellaneous Parts
- DeLonghi Miscellaneous Parts
- Krups Miscellaneous Parts
- T-Fal Miscellaneous Parts
Related Pages
Popular Miscellaneous Models
- CG200 Indoor Grill
- 22305 (1988) Small Appliance
- KSMFGA0 Food Grinder Attachment
- 3210 Quesadilla Maker
- 3320 Mini Chopper 3 Cups
- BMF600XL Milk Cafe
- BSB530XL The All In One
- WPG150 110V Panini Grill
- WPG150 (120V) Panini Grill
- WFG250 Flat Grill
- PM1000 Pasta Machine
- WCO1300PC Professional Convection Oven
- TCO650 Professional Convection Oven
- TCO600 Convection Oven
- 2771 Multi Purpose Kitchen Center
- GR150 Grill
- WCO250X Quarter Size Convection Oven
- WCO500X Half Size Convection Oven
- WDG300 Panini Grill
- CO900 Professional Convection Oven


