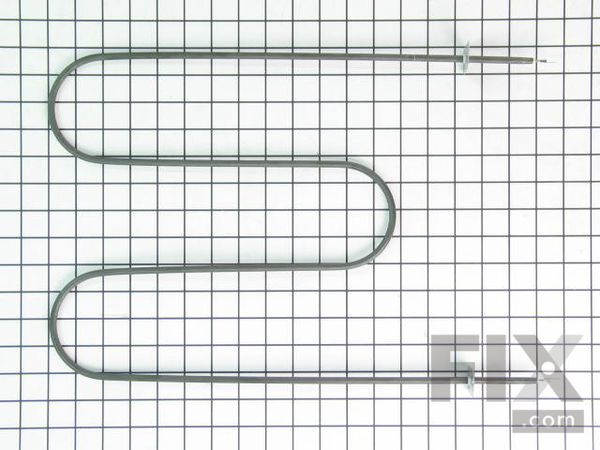
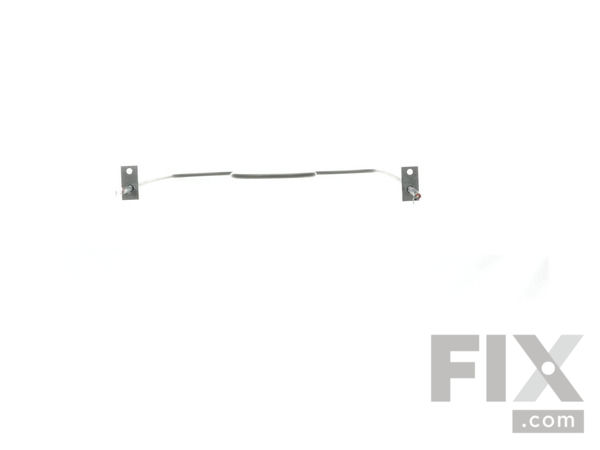
Broil Element
$143.25
In Stock
Fix Number: FIX439671
Manufacturer #: 316203200
Manufactured by:
Frigidaire
-
Product Description
This broil element is located on the top inside the oven.
-
Works with the following brandsFrigidaire, Kenmore, Crosley, Tappan
-
Works with the following productsRange
-
Fixes the following symptomsElement will not heat, Little to no heat when broiling, Little to no heat when baking
-
Part Number Cross ReferencePart# 316203200 replaces these:AP2126395, 832973, 316203200, 316199900
Product Description
This broil element is located on the top inside the oven.
-
Works with the following brands:Frigidaire, Kenmore, Crosley, Tappan
-
Works with the following products:Range
-
Fixes the following symptoms:Element will not heat, Little to no heat when broiling, Little to no heat when baking
-
Part# 316203200 replaces these:AP2126395, 832973, 316203200, 316199900
Videos For installing this part.
Replacing your Broil Element

Questions and Answers
We're sorry, but our Q&A experts are temporarily unavailable.
Please check back later if you still haven't found the answer you need.
Related PartsAdditional or alternate parts to consider.
Installation Instructions Provided by Fix customers like you.
- < Prev
- 1
- Next >
Sort by:
Search filter:
Clear Filter
Your search term must have 3 or more characters.
Keep searches simple. Use keywords, e.g. "leaking", "pump", "broken" or "fit".
Sorry, we couldn't find any existing installation instruction that matched.
-
Customer:David from Waukesha, WI
-
Difficulty Level:Very Easy
-
Total Repair Time:15 - 30 mins
-
Tools:Nutdriver, Screw drivers
Broiler and Baking Elements did not heat
We followed the video provided. We unplugged the unit, removed the back plate of the range, unhooked the wiring to the baking and broiling elements. Then from the front of the range removed the screws holding the broiling element up and removed the screws to the broiler element and baking element. We then installed the new elements, reattached the wiring and put the back plate back on. Extremely easy task. The video was extremely helpful. Thank you so much. It made the job very easy. It was my sister's range and she did it all. What does that say.
Was this instruction helpful to you?
Thank you for voting!
-
Customer:Robert from Avon Park, FL
-
Parts Used:316203200
-
Difficulty Level:A Bit Difficult
-
Total Repair Time:30 - 60 mins
-
Tools:Nutdriver, Pliers, Screw drivers
Did not come with needed front brackets to hold up assembly
After removing the burnt up element, pulled the stove out from the wall. Removed the back panel and reconnected the wiring. The original element had brackets attached to each side to hold it to the top of the oven. The new one did not so I had to reuse the old, original wire for support.
Was this instruction helpful to you?
Thank you for voting!
-
Customer:Jimmy from Ideal, GA
-
Parts Used:316203200
-
Difficulty Level:Really Easy
-
Total Repair Time:30 - 60 mins
-
Tools:Pliers, Screw drivers
Broil element burned out.
unplugged range, remove back, disconnected element, removed screws holding element in place, replaced with new element and repeated steps in reverse. It's works great.
Was this instruction helpful to you?
Thank you for voting!
-
Customer:Michelle from Celina, TN
-
Parts Used:316203200
-
Difficulty Level:Really Easy
-
Total Repair Time:30 - 60 mins
-
Tools:Pliers
Browning element went out
When removing element you have to remove top two side brackets that hold it in. Two screws and slide out. Remove the back two screws against back wall holding element in place, wiggle out ends with connection to wires. It's a tight fit so don't pull. Once out leave enough wire exposed with connection or you will have a hard time getting them back out. Just remove old element with a tug at connectors. Replace new part by sliding connectors together. Wiggle it back into hole in back of range and screw each side in the predrilled hole and plate. Put the two brackets back in on top to hold in place. Put straight end in first then screw the looped ends or it won't work tighten both in with the two screws and it's in.
Was this instruction helpful to you?
Thank you for voting!
-
Customer:Kirtland from Guilford, CT
-
Parts Used:316203200
-
Difficulty Level:Really Easy
-
Total Repair Time:30 - 60 mins
-
Tools:Nutdriver, Screw drivers
All went well,,, except the smoke
Element came the next day !!!! When I turned on the broiler, the stench was terrible. The smoke from the preservative on the element took about 30 minutes to dissipate. If the temperature outside were warmer we could have opened the doors and windows. Could have used some pre-cleaning options.
Was this instruction helpful to you?
Thank you for voting!
-
Customer:sabino from monahans, TX
-
Parts Used:316203200
-
Difficulty Level:Really Easy
-
Total Repair Time:15 - 30 mins
-
Tools:Nutdriver
broil element burnt
I undid the screws holding the element inside the oven but, going back with it, found that I wanted to be sure that the prongs were making good contact so, I removed the back cover of the stove and presto, all connected the right way and pushed the insulation away from the prongs. Stove working like a charm.
Was this instruction helpful to you?
Thank you for voting!
- < Prev
- 1
- Next >
Model Compatibility
This part works with the following models:
Fix Number: FIX439671
Manufacturer Part Number: 316203200
Brand
Model Number
Description