Part Location Diagram of 131825900 Frigidaire Drum Support Bearing
See part 13 in the diagram
Replacing your Frigidaire Dryer Drum Support Bearing
( Grid squares measure 1x1 inch )

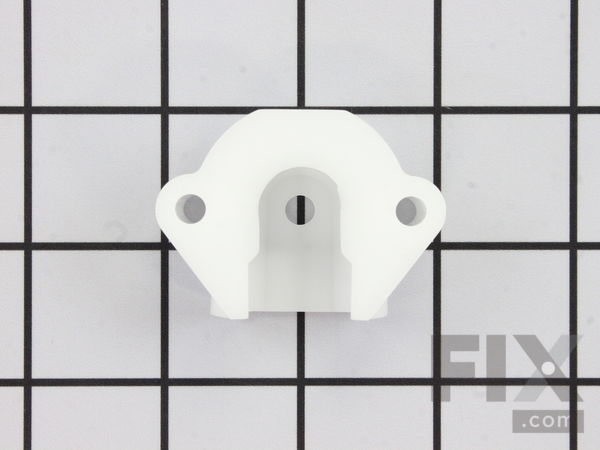
Drum Support Bearing

Works With Model 41790142000!

Rated by 13 customers 

?

Easy 

1- 2 hours 

Ratings submitted by customers like you who bought this part.

?
$6.33
In Stock
Fix Number:
FIX418807
Manufacturer #:
131825900
Manufactured by:
Frigidaire
Works With Model 41790142000!

Product Description

The drum support bearing is an authentic OEM replacement part for your dryer. The bearing is used to support the drum and allow it to rotate smoothly and quietly. If your dryer is excessively noisy while tumbling, will not start, will not tumble, or if it is leaving marks on your laundry, you may need to replace the drum support bearing. The bearing is found on the inside of the rear panel of the dryer cabinet, and you will need to remove the drum in order to complete this repair. Please be sure to disconnect the power supply to your dryer before you begin.

Videos For installing this part.

Replacing your Drum Support Bearing

Replacing your Drum Support Bearing

Questions and Answers

Ask our experts a question about this part and we'll get back to you as soon as possible!

1 question answered by our experts.
  • 1
Sort by:
Sorry, we couldn't find any existing answers that matched.
Try using some different or simpler keywords, or submit your new question by using the "Ask a Question" button above!
Steve
April 10, 2022
Is there A vidio for installing FIX12579101 on this stacker model ?? thanks steve
For model number LCE752L-L2
Fix.com logo
Hello Steve, Thank you for your inquiry. Although we do not have a repair video for this exact part number, we do have a video for a similar bearing bracket to give you a general idea of the repair. We hope this helps and if you need help placing an order, customer service is open 7 days a week. Please feel free to give us a call. We look forward to hearing from you!

2 people found this helpful.

Was this helpful?
Thank you for voting!
Related Parts:
View More View Less
Drum Belt
$17.66
In Stock
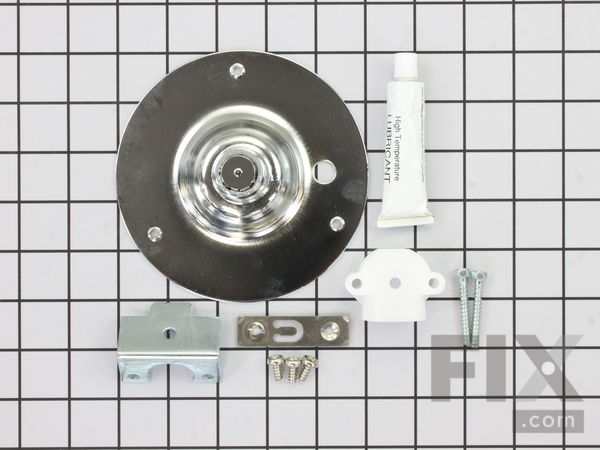
Rear Drum Bearing Kit
$62.48
In Stock
Rear Drum Bearing Kit
$62.48
In Stock
Rear Drum Bearing Kit
$62.48
In Stock
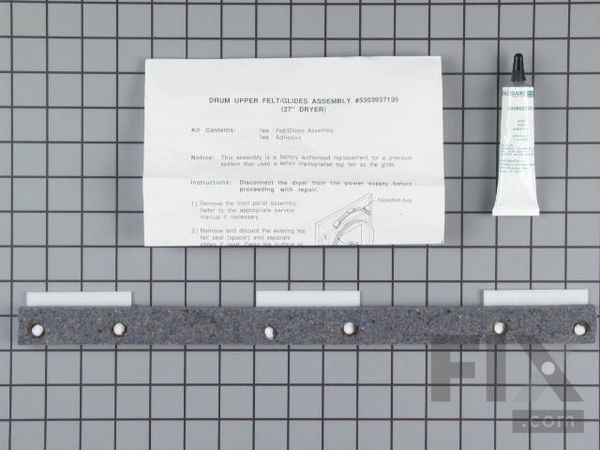
Upper Drum Glide
$34.80
In Stock
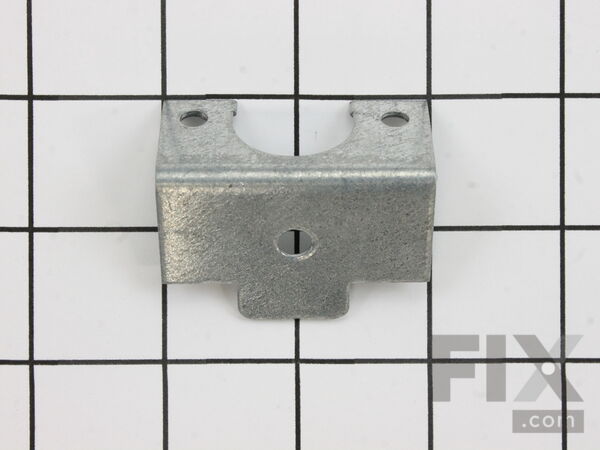
Dryer Drum Bearing Bracket
$10.64
In Stock
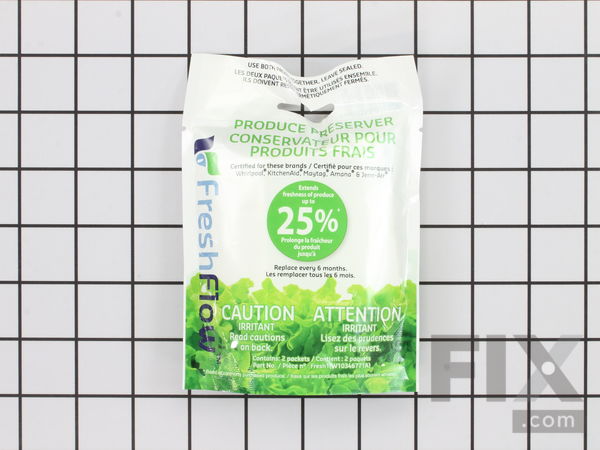
Produce Preserver Filter
$21.56
In Stock
Cooktop Cleaning Cream
$15.55
In Stock
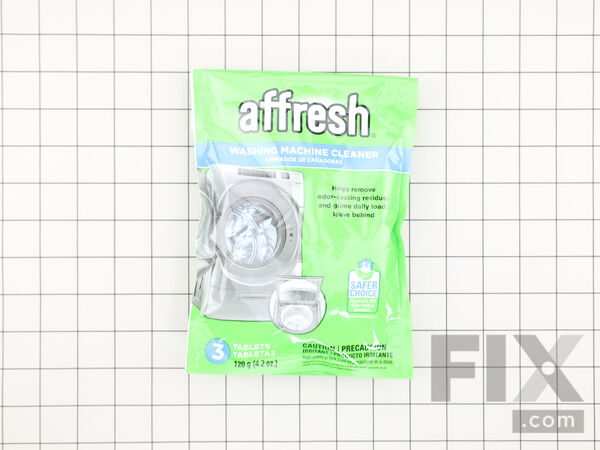
Affresh Washing Machine Cleaner - 3 pack
$12.60
In Stock
Affresh Dishwasher Cleaner Tablets - 6
$19.10
In Stock
Cooktop Cleaner
$17.76
In Stock
Affresh Cleaner
$19.10
In Stock

Installation Instructions Provided by Fix customers like you.

Average Repair Rating: 3.0 / 5.0, 13 reviews.
  • 1
  • 2
Sort by:
Sorry, we couldn't find any existing installation instruction that matched.
Customer:
michael from Cave City, KY
Parts Used:
137292700, 134511600, 5303937139, 5303283286, 131825900
Difficulty Level:
Really Easy
Total Repair Time:
30 - 60 mins
Tools:
Screw drivers
browning clothes .zipper on jackets were tore off
after watching video and reading the review, whole job was simple
10 of 11 people found this instruction helpful.
Was this instruction helpful to you?
Thank you for voting!
Customer:
Donald from SPRINGVILLE, IN
Parts Used:
137513300, 131825900
Difficulty Level:
A Bit Difficult
Total Repair Time:
30 - 60 mins
Tools:
Nutdriver, Screw drivers
squeacky drum
remove control panel,unplug door switch connector,removedryer door assembly,unhook belt from tensioner,lift druum out of drum bearing and remove drum. change therear bearing,using bearing grease to retain the small ball bearing in the back of thedrum bearing during assembly. reverse for reassembly.
1 person found this instruction helpful.
Was this instruction helpful to you?
Thank you for voting!
Customer:
David from Cushing, MN
Parts Used:
137292700, 5303937139, 131825900, 5304516871
Difficulty Level:
A Bit Difficult
Total Repair Time:
1- 2 hours
Tools:
Nutdriver, Screw drivers
Our dryer was making a high squeaking noise then a lower rumble. Time to fix.
This is a stackable washer dryer removed door and top so as to remove drum. Sure enough the bearing was worn bad.replaced following your video.First tried to snap drum into bearing with drum plate attached but because of ceiling height unable.Removed bearing plate from drum snapped into bearing then the fun began. It was difficult to l ine up the first of 3 screws but with my wife steadying it finally able to get them fastened. Your video was very helpful . Thanks
1 of 2 people found this instruction helpful.
Was this instruction helpful to you?
Thank you for voting!
Customer:
Gary L from Cairo, GA
Parts Used:
5303283286, 131825900
Difficulty Level:
A Bit Difficult
Total Repair Time:
1- 2 hours
Tools:
Nutdriver, Pliers, Screw drivers
Small tears,Permanent brown stains left on clothing, and severe squealing.
I watched the videos on this repair from this site. I shut off the power to the dryer first. Using a putty knife I slipped it under the top of the dryer between the top and front panel and raised the top. Next I removed the two Phillip screws that secured the front cover, then leaned the cover forward a little and used a pair of pliers to disconnect the door switch, after which I slid the front panel off of the cabinet. I matched the new upper drum glide to the old one and removed the old upper drum glide,I cleaned off the old glue and left over material with a putty knife and a paint/rust remover tool that I had picked up from the auto parts store. I applied the high temperature adhesive to the arch and replaced the upper drum glide. Next I performed the same procedure to replace the front lower drum seal. I used clothe pins to hold the seals in place while the glue dried. I let the seals dry over night. The next thing was to inspect the drum support bearing, I found that the bearing had severely worn the ball and melted the nylon bearing, so I replaced the complete drum support kit because of the excessive wear that I found upon inspection. I t was a little difficult replacing the ball shaft because I had no help,I had a hard time reaching around the drum to get the screws started, Once I finished with that I replaced the grounding ball, I used the high temperature grease to hold the grounding ball in place while I replaced the screws that fastened the drum support bearing, then replaced the drum and belt assembly. When that was finished I vacuumed all of the lint out of the cabinet replaced the front cover, connected the door switch, lowered and secured the top. My dryer works like new again, and it doesn't take as long to dry the laundry as it has before I replaced the front lower seal and upper drum glide, Thanks !!!
0 of 1 people found this instruction helpful.
Was this instruction helpful to you?
Thank you for voting!
Customer:
Jeffrey from DeForest, WI
Parts Used:
134503600, 5303937139, 131825900
Difficulty Level:
Easy
Total Repair Time:
1- 2 hours
Tools:
Nutdriver, Socket set
Dryer was making a high pitched squealing noise.
I followed the videos shown on the website. Using the rear access panel to reconnect the dryer belt made it a lot easier. The plastic drum support I believe was the biggest cause of the noise. ( it had a hole worn in it ) this is the first maintenance I ever needed to preform on this machine so it made sense to me to replace all three ite ms since I already had it torn down. The he dryer is now as quiet as it ever was.
0 of 1 people found this instruction helpful.
Was this instruction helpful to you?
Thank you for voting!
Customer:
Gordon from Eau Claire, WI
Parts Used:
131825900
Difficulty Level:
Really Easy
Total Repair Time:
30 - 60 mins
Tools:
Pliers, Screw drivers
Dryer squeals when running
Followed video demonstration and it was easy. Used putty knife to release two latches under front edge of top cover. Tilted cover back against wall, removed two phillips screws at each inside location, lifted fron panel and swung aside to right location. Disengaged idler pulley and belt under drum (in lower corner) Used belt slack on top of drum to lift drum up and forward out of support bearing. Removed drum forward and out onto floor. Located drum support bearing in back/center of back panel held by two screws. Installed new bearing and reassembled. Runs great. Before this operation I had been almost ready to buy new dryer at $300 or more. Very satisfied with instructions and shipping service -- and minor cost !
0 of 1 people found this instruction helpful.
Was this instruction helpful to you?
Thank you for voting!
Customer:
Michael from Milan, TN
Parts Used:
131825900
Difficulty Level:
Really Easy
Total Repair Time:
30 - 60 mins
Tools:
Screw drivers
Squeeking
Followed instructions in video. Easy to understand.
0 of 1 people found this instruction helpful.
Was this instruction helpful to you?
Thank you for voting!
Customer:
Ronald from Clermont, FL
Parts Used:
131825900
Difficulty Level:
Really Easy
Total Repair Time:
30 - 60 mins
Tools:
Screw drivers
Loud squeaking noise
Pull control panel off. Remove door. Remove front of dryer. Remove top cover. Take belt off. Remove the dryer drum. Remove and replace the drum support bearing. Reverse steps to put back together.
0 of 1 people found this instruction helpful.
Was this instruction helpful to you?
Thank you for voting!
Customer:
todd from rogersville, TN
Parts Used:
5303281153, 131825900
Difficulty Level:
Really Easy
Total Repair Time:
30 - 60 mins
Tools:
Nutdriver, Screw drivers
nosiy dryer
it went great
0 of 1 people found this instruction helpful.
Was this instruction helpful to you?
Thank you for voting!
Customer:
Ben from Corrales, NM
Parts Used:
134503600, 5303281153, 131825900
Difficulty Level:
Easy
Total Repair Time:
1- 2 hours
Tools:
Pliers, Screw drivers, Socket set
thumping sound drum was wobbling
Replaced the drum bearing kit. Hardest part was screwing new screws into the rear bearing. I recommend you screw them in first then take them out then place bearing on drum and screw them back in or youll never bet them on. Add plenty of grease and put the bearing in from outside back not from inside. Alot easier. CAREFUL OF METAL SO SHA RP IT CUTS LIKES RAZOR USE TOWEL AND LONG SLEEVES OR YOULL LOOSE FINGERS EASY.
0 of 1 people found this instruction helpful.
Was this instruction helpful to you?
Thank you for voting!
  • 1
  • 2

Model Compatibility

This part works with the following models:
Fix Number: FIX418807
Manufacturer Part Number: 131825900
Brand
Model Number
Description
Frigidaire
41749012890
Dryer - Residential, Electric
Frigidaire
41749022890
Dryer - Residential, Electric
Kenmore
41759012890
Dryer - Kemore Dryer 41759012890
Frigidaire
41759022890
Dryer - Gas
Kenmore
41761712510
Washer Dryer Combo - LAUNDRY CENTER
Kenmore
41761722510
Washer Dryer Combo - LAUNDRY CENTER
Kenmore
41761722511
Washer Dryer Combo - Laundry Center
Kenmore
41761723510
Washer Dryer Combo - LAUNDRY CENTER
Kenmore
41761723511
Washer Dryer Combo - Laundry Center
Kenmore
41761732810
Washer Dryer Combo - Laundry Center
Kenmore
41761732811
Washer Dryer Combo - Laundry Center
Kenmore
41761733810
Washer Dryer Combo - Laundry Center
Kenmore
41764182300
Dryer
Kenmore
41769042990
Dryer
Kenmore
41769042991
Dryer
Kenmore
41769052990
Dryer
Kenmore
41769052991
Dryer
Kenmore
41771712510
Washer Dryer Combo - LAUNDRY CENTER
Kenmore
41771712511
Washer Dryer Combo - LAUNDRY CENTER
Kenmore
41771712512
Washer Dryer Combo - Laundry Center
Kenmore
41771722510
Washer Dryer Combo - LAUNDRY CENTER
Kenmore
41771722511
Washer Dryer Combo - LAUNDRY CENTER
Kenmore
41771722512
Washer Dryer Combo - Laundry Center
Kenmore
41771723510
Washer Dryer Combo - LAUNDRY CENTER
Kenmore
41771723511
Washer Dryer Combo - LAUNDRY CENTER
Kenmore
41771723512
Washer Dryer Combo - Laundry Center
Kenmore
41771732810
Washer Dryer Combo - Laundry Center
Kenmore
41771733810
Washer Dryer Combo - Laundry Center
Kenmore
41771733811
Washer Dryer Combo - Laundry Center
Kenmore
41774182300
Dryer