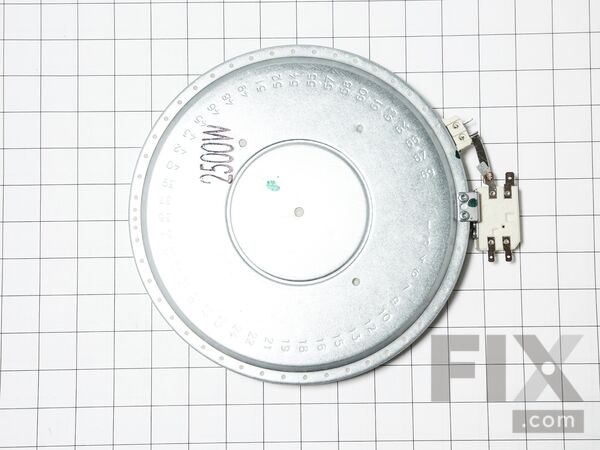
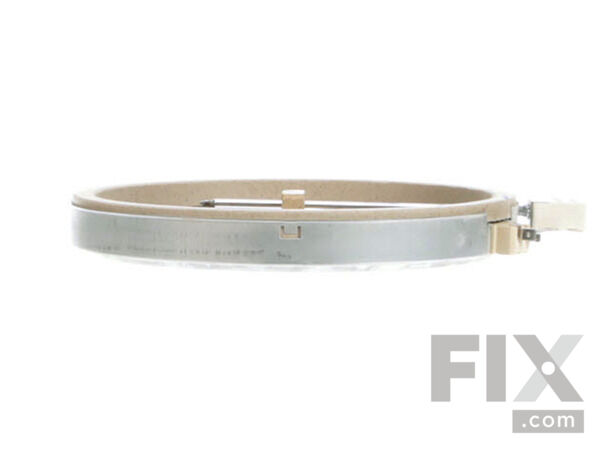
Part Location Diagram of WB30T10136 GE ELEMENT HALIANT 8 IN
See part 57 in the diagram
( Grid squares measure 1x1 inch )

ELEMENT HALIANT 8 IN

Rated by 1 customers 

?

Easy 

1- 2 hours 

Ratings submitted by customers like you who bought this part.

?
$136.21
In Stock
Fix Number:
FIX2339867
Manufacturer #:
WB30T10136
Manufactured by:
GE

Product Description

Questions and Answers

We're sorry, but our Q&A experts are temporarily unavailable.
Please check back later if you still haven't found the answer you need.

Installation Instructions Provided by Fix customers like you.

Average Repair Rating: 2.8 / 5.0, 1 reviews.
  • 1
Sort by:
Sorry, we couldn't find any existing installation instruction that matched.
Customer:
Jack from Gig Harbor, WA
Parts Used:
WB30T10136
Difficulty Level:
Easy
Total Repair Time:
1- 2 hours
Tools:
Nutdriver, Screw drivers
One burner was no longer working
This is a glass cooktop set inside the countertop. 1.Be sure all power is removed from the cooktop. Direct wire installation requires opening the circuit breakers at the main electrical CB panel. 2.There should be 2 straps holding the cooktop to the cabinet. Remove the screws and bend the straps slightly inward to help later. 3.Lift the c ooktop out and place on a large towel or wood to avoid scratching the surface of the counter. 4.Do not turn the cooktop upside down to remove screws. You will wish you never did this if so. There are damper springs on the elements that easily come loose and are a pain to put back with the box upside down. 5.Remove the 16 Torx head screws from around the top. 6.Remove all the knobs. 7.The glass may be difficult to lift. Be careful. I had to use a plastic putty knife around the edges to get it loose because cooking grease and stuff had sealed it pretty good. Be easy and just slightly use the plastic knife to loosen the seal so you don't crack or break the glass. 8.Remove the glass top and place upside down on the counter. You can clean this off (insulation and stuff). I recommend a hand vacuum and light spray of glass cleaner with a microfiber cloth. Paper towels or other cloth will leave lint which you don't want! 9.Take a photo of the wiring on the element. You can check the element with a meter for ohms but I knew mine would be zero as I could see a burn mark and a place where the foil element was separated. 10.Remove the wires and replace the element. Make sure all damper springs are in place and replace wires. 11. Carefully put the glass back on an make sure holes line up. 12.Put the screws back in (I went from one corner to another to make sure the top was sealed correctly). 13.Place the cooktop back into the countertop, turn electrical back on, and test. If the switch is bad the procedure is the same except for removing 4 hex screws for the bracket and 2 screws holding the switch to the bracket. When completed don't forget the 2 straps holding the cooktop to the cabinet. Overall, it was pretty easy. Just work slowly and plan on a couple of hours to complete.
0 of 1 people found this instruction helpful.
Was this instruction helpful to you?
Thank you for voting!
  • 1

Model Compatibility

This part works with the following models:
Fix Number: FIX2339867
Manufacturer Part Number: WB30T10136
Brand
Model Number
Description
General Electric
ABS45DF1BS
Range - ELECTRIC RANGE
General Electric
ABS45DF1WS
Range - ELECTRIC RANGE
General Electric
JB620DF1BB
Range
General Electric
JB620DF2BB
Range - ELECTRIC RANGE
General Electric
JB620DF2WW
Range - ELECTRIC RANGE
General Electric
JB620DF4BB
Range - ELECTRIC RANGE
General Electric
JB620DF4WW
Range - ELECTRIC RANGE
General Electric
JB620GF1SA
Range
General Electric
JB620GF2SA
Range - ELECTRIC RANGE
General Electric
JB620GF4SA
Range - ELECTRIC RANGE
General Electric
JB620RF1SS
Range
General Electric
JB620RF2SS
Range - ELECTRIC RANGE
General Electric
JB620RF4SS
Range - ELECTRIC RANGE
General Electric
JB625DK1BB
Range - ELECTRIC RANGE
General Electric
JB625DK1WW
Range - ELECTRIC RANGE
General Electric
JB625DK2BB
Range
General Electric
JB625DK2WW
Range
General Electric
JB625DK3BB
Range
General Electric
JB625DK3WW
Range
General Electric
JB625DK4BB
Range
General Electric
JB625DK4WW
Range
General Electric
JB625DK5BB
Range
General Electric
JB625DK5WW
Range
General Electric
JB625DK6BB
Range - Electric Range
General Electric
JB625DK6WW
Range - Electric Range
General Electric
JB625DK7BB
Range - Electric Range
General Electric
JB625DK7WW
Range - Electric Range
General Electric
JB625DK8BB
Range - Electric Range
General Electric
JB625DK8WW
Range - Electric Range
General Electric
JB625DK9BB
Range - Electric Range