Some of the parts we sell are eligible for mail-in rebates since we can recycle them. We will display any applicable rebates in your shopping cart. To redeem your rebate, contact Customer Service after you have received your part.
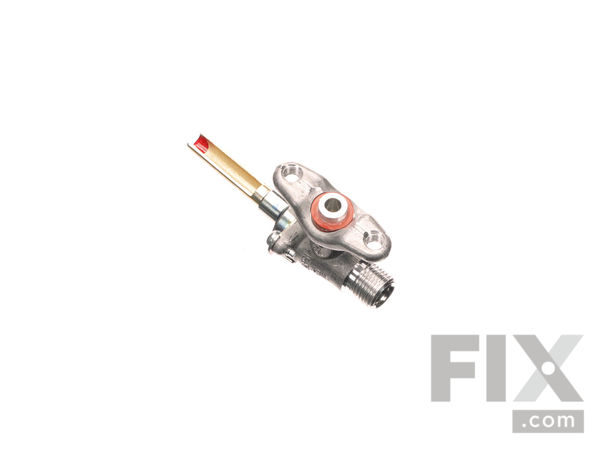
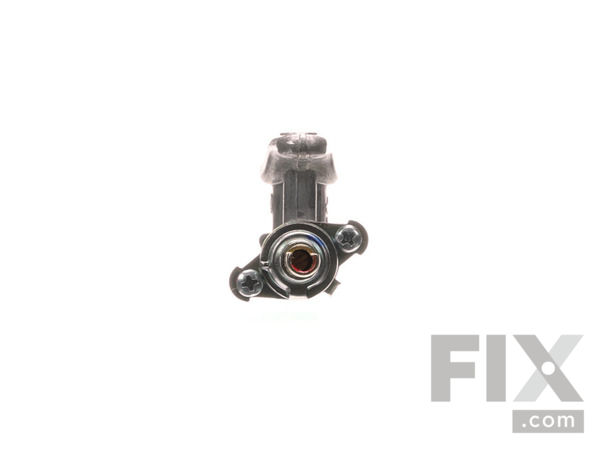
Surface Burner Valve - 16K - Left Front & Right Front
$96.08
In Stock
- Fix Number:
- FIX11750353
- Manufacturer #:
- WPW10206288
- Manufactured by:
- Whirlpool
- Product Description
- Burner valves are attached to the main gas line. When the switch is turned the gas then flows into a tube that mixes with air, creating the appropriate mixture for combustion.
- Works with the following brands:
- Whirlpool, Maytag, KitchenAid
- Works with the following products
- Range
- Fixes the following symptoms
- Will Not Start
- Part# WPW10206288 replaces these:
- AP6017058, W10206288, WPW10206288VP
Part Number Cross Reference
Product Description
Burner valves are attached to the main gas line. When the switch is turned the gas then flows into a tube that mixes with air, creating the appropriate mixture for combustion.
-
Works with the following brands:Whirlpool, Maytag, KitchenAid
-
Works with the following products:Range
-
Fixes the following symptoms:Will Not Start
-
Part# WPW10206288 replaces these:AP6017058, W10206288, WPW10206288VP
Questions and Answers
We're sorry, but our Q&A experts are temporarily unavailable.
Please check back later if you still haven't found the answer you need.
Related Parts Additional or alternate parts to consider.
Installation Instructions Provided by Fix customers like you.
- < Prev
- 1
- Next >
Sort by:
Search filter:
Clear Filter
Your search term must have 3 or more characters.
Keep searches simple. Use keywords, e.g. "leaking", "pump", "broken" or "fit".
Sorry, we couldn't find any existing installation instruction that matched.
- Customer:
- Alex F from Whittier, CA
- Parts Used:
- WPW10206288
- Difficulty Level:
- Easy
- Total Repair Time:
- 30 - 60 mins
- Tools:
- Nutdriver, Screw drivers, Socket set, Wrench set
Right burner knob wouldnt turn any more / no gas flame
(disconnect electrical first and close gas valve in wall) Pull off 4 burner knobs then use phillips to take off entire cover plate use hex wrench to loosen 4 screws on entire front burner system to give acess to burner valve removal. remove with open end wrench. install new burner valve and reverse steps above
... Read more
a complete successful installation and of course sent the correct part!! thanks.
Read less
2 of 2 people
found this instruction helpful.
Was this instruction helpful to you?
Thank you for voting!
- Customer:
- Robert from Orange, CT
- Parts Used:
- WPW10206288
- Difficulty Level:
- A Bit Difficult
- Total Repair Time:
- 30 - 60 mins
- Tools:
- Screw drivers, Wrench set
Seized Gas Valve Fourth Failure
Shut gas supply. Remove iron grates. Remove all five gas valve knobs. Remove three phillips screws on back of cover plate beneath knobs. Open upper oven door and remove three phillips screws under bottom of cover plate beneath knobs. Remove cover plate. Remove foam gasket from failed gas valve. Slide ignitor control block of
... Read more
f end of valve stem. Remove 1/2 inch hex nut from valve outlet (poor tool clearance). Remove single screw from top of valve retention clamp at gas manifold. Remove failed valve. Clean area. Insert new gas valve and install reversing the preceding procedures. Open gas supply. Back in working order.
Read less
1 person
found this instruction helpful.
Was this instruction helpful to you?
Thank you for voting!
- < Prev
- 1
- Next >
Model Compatibility
This part works with the following models:
Fix Number: FIX11750353
Manufacturer Part Number: WPW10206288
Manufacturer Part Number: WPW10206288
Brand
Model Number
Description
✖
Mail-In Recycling Rebate


