



Models
>
WTW4900BW0
WTW4900BW0 Whirlpool Washer
Jump to:
Find Part by Name
Keep searches simple, eg. "belt" or "pump".
Models for WTW4900BW0
Click on the best match to narrow your results.
Diagrams for WTW4900BW0
Viewing 5 of 5


Keep searches simple, eg. "belt" or "pump".
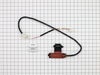
$51.43
The lid latch is a safety feature found in your washer. Its purpose is to stop the machine from spinning when the lid is opened. You may need to replace the lid latch assembly if your washer will not ...
In Stock
Order now and your part arrives by Oct 19
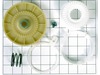
$39.63
The washer drive pulley kit is also known as a replacement clutch assembly, or a cam kit. The drive pulley is found at the bottom of your washing machine, mounted to the drive shaft. Common symptoms i...
In Stock
Order now and your part arrives by Oct 19

$27.83
The drive hub connects the basket of your washer to the transmission shaft, which in turn allows the basket to spin. If your washer will not agitate, spins slowly, or is excessively noisy, it may requ...
In Stock
Order now and your part arrives by Oct 19
$29.98
The drive belt works with the pulley in your washer in order to spin the tub. If you notice a burning rubber smell, your washer has become excessively noisy, or it will not spin, it could indicate an ...
In Stock
Order now and your part arrives by Oct 19

$7.60
This is a multi-use screw and can be used on a variety of appliances. The measurements of the screw are: 8/18 x 3/8. *Please note: the screw is sold individually. Refer to the manual provided by the m...
In Stock
Order now and your part arrives by Oct 19
This 18 ml bottle of white appliance touch-up paint is used to cover scratches or marks on your appliance. The white touch-up paint can be used on refrigerators, microwaves, ranges, clothes dryers, an...
No Longer Available
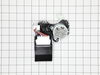
This shift actuator helps your washer switch between washing and spinning, and controls the agitator. It fits many Whirlpool and related brand models. If your washer isn’t spinning or agitating, this ...
In Stock
Order now and your part arrives by Oct 19

In Stock
Order now and your part arrives by Oct 19
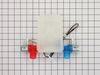
This water inlet valve attaches the water lines to the back of your appliance. The attaching solenoids on the valve open and close according to the desired temperature, or amount of water needed.
In Stock
Order now and your part arrives by Oct 19
This insert is sold individually. Knob not included. Knob is sold separately.
In Stock
Order now and your part arrives by Oct 19
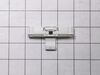
$32.12
This part is the replacement lid latch or latch assembly for your top-load washer. The lid latch holds your washer door closed, and allows the washer to run its cycle. If the lid latch is damaged, you...
In Stock
Order now and your part arrives by Oct 19

$7.60
Sold individually. NOTE: The color on the screw may not be the same as the image, but will still function the same.
In Stock
Order now and your part arrives by Oct 19
Common Problems and Symptoms for WTW4900BW0
Viewing 16 of 16Will not agitate
Fixed by these parts


How to fix it
Spinning Issues
Fixed by these parts
How to fix it
Leaking
Fixed by these parts

How to fix it
Will Not Start
Fixed by these parts
How to fix it
Spins slowly
Fixed by these parts
How to fix it
Will not drain
Fixed by these parts
How to fix it
Lid or door won’t close
Fixed by these parts
How to fix it
Shaking and Moving
Fixed by these parts
How to fix it
Noisy and Marks Left on Clothes
Fixed by these parts
How to fix it
Burning smell
Fixed by these parts
How to fix it
Locking Issues
Fixed by these parts
How to fix it
Cycle Not Advancing
Fixed by these parts
How to fix it
No hot or cold water
Fixed by these parts
How to fix it
Water Filling Issues
Fixed by these parts
How to fix it
Draining Issues
Fixed by these parts
How to fix it
Timer Not Working
Fixed by these parts
How to fix it

Keep searches simple. Use keywords, e.g. "leaking", "pump", "broken" or "fit".
- Customer:
- David from Los Alamos, NM
- Parts Used:
- WPW10006355
- Difficulty Level:
- A Bit Difficult
- Total Repair Time:
- 30 - 60 mins
- Tools:
- Nutdriver, Screw drivers
Lid Lock light blinking, machine will not start
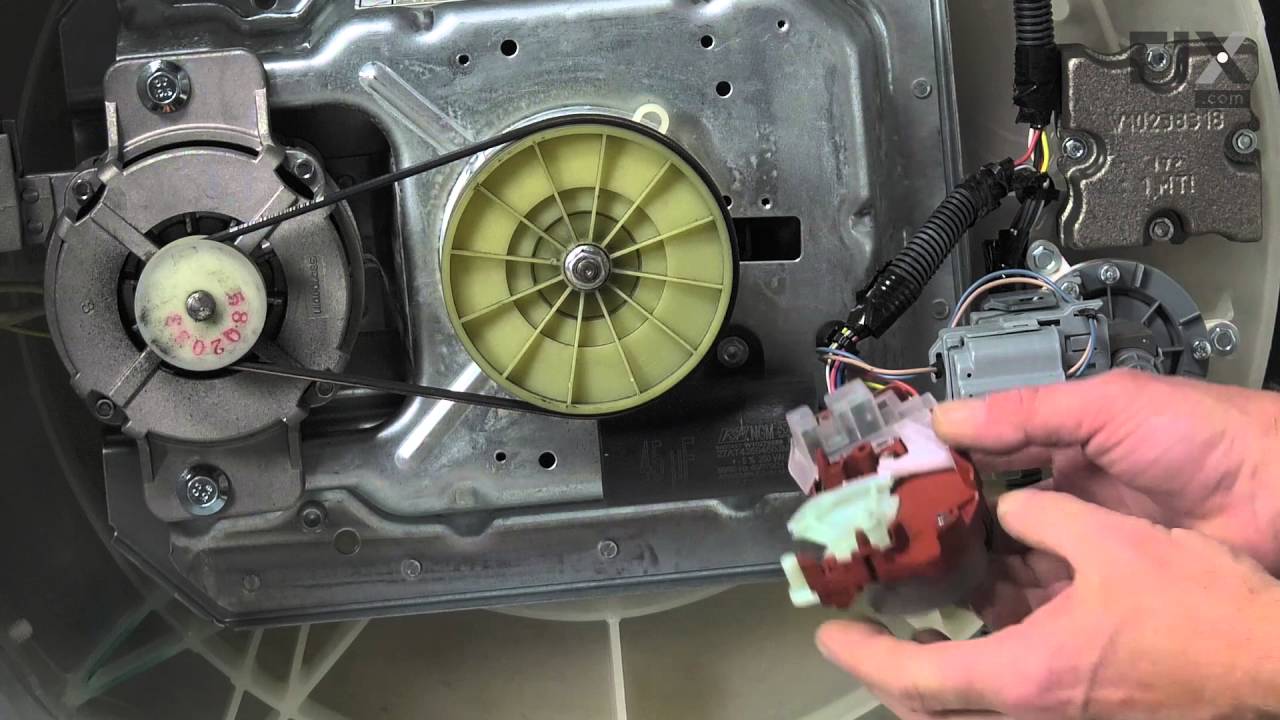
A detailed Service Technician Service Manual is hidden inside the machine on the front panel. It is hidden by the bleach dispenser input. It gives a list of fault codes and instructions for calibration after repair, resetting fault codes, and a manual test mode for stepping the machine through each mode on command. The Tachometer faile
... Read more
d which would not let the machine come up to maximum spin speed. The tachometer is part of the solenoid actuator that shifts the transmission. It is not specifically called out in the manual. Any failure causes the lid lock light to blink which gives the appearance of a lid lock failure
Read less
Was this instruction helpful to you?
Thank you for voting!
- Customer:
- William from Wakefield, RI
- Parts Used:
- W10404050
- Difficulty Level:
- Very Easy
- Total Repair Time:
- 15 - 30 mins
- Tools:
- Nutdriver, Screw drivers
Defective lid latch - Cabrio Washer
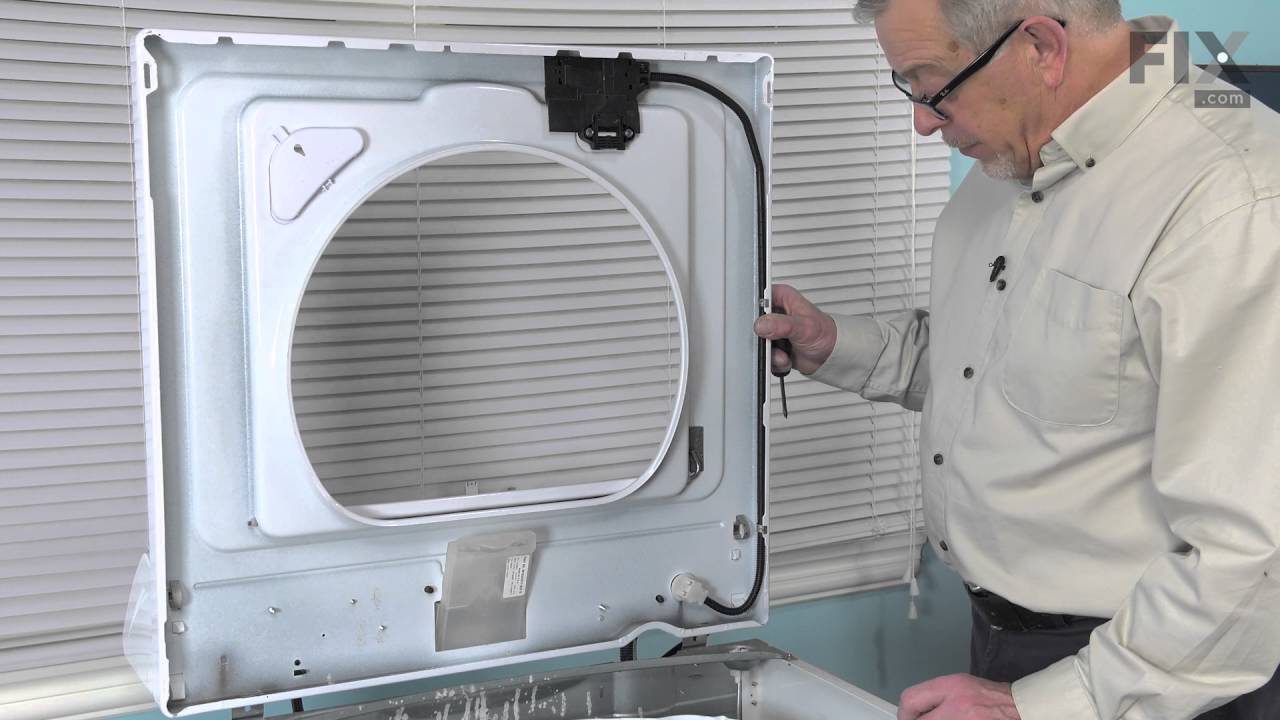
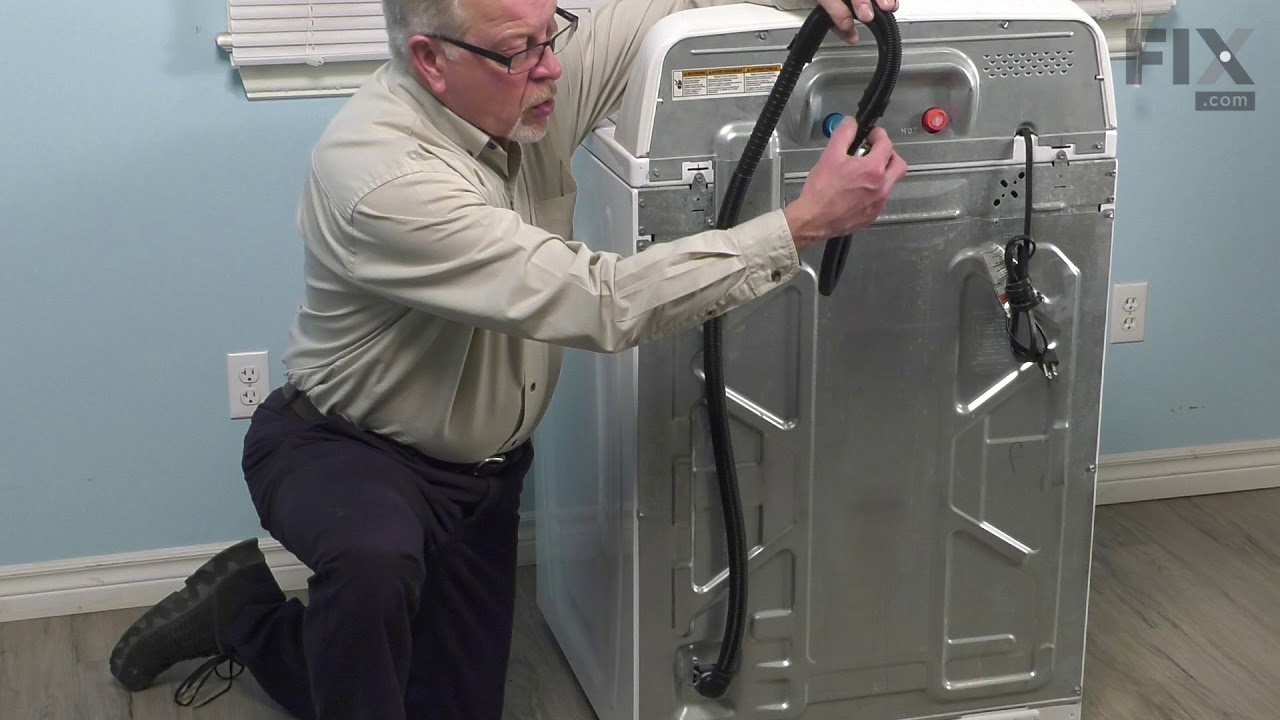
The instructions that came with the part were worthless. Essentially, unplug, put in new part, plug it back in. I spent a considerable amount of time on the internet and finally found a video showing how to open the top. Unlike other models, it is held down by clamps in the back rather than clips in the front. Once finding this inform
... Read more
ation the installation was simple. Remove the clamps and the back of the console, slide the top forward and lift, remove and replace the lock and reassemble. You don't even have to remove the hoses.
Read less
Was this instruction helpful to you?
Thank you for voting!
- Customer:
- Jerry from WALLA WALLA, WA
- Parts Used:
- WPW10006384, W10721967
- Difficulty Level:
- Really Easy
- Total Repair Time:
- 15 - 30 mins
- Tools:
- Nutdriver, Screw drivers, Socket set
Noise on bottom of Washer louder as time went on. 1 1/2 years
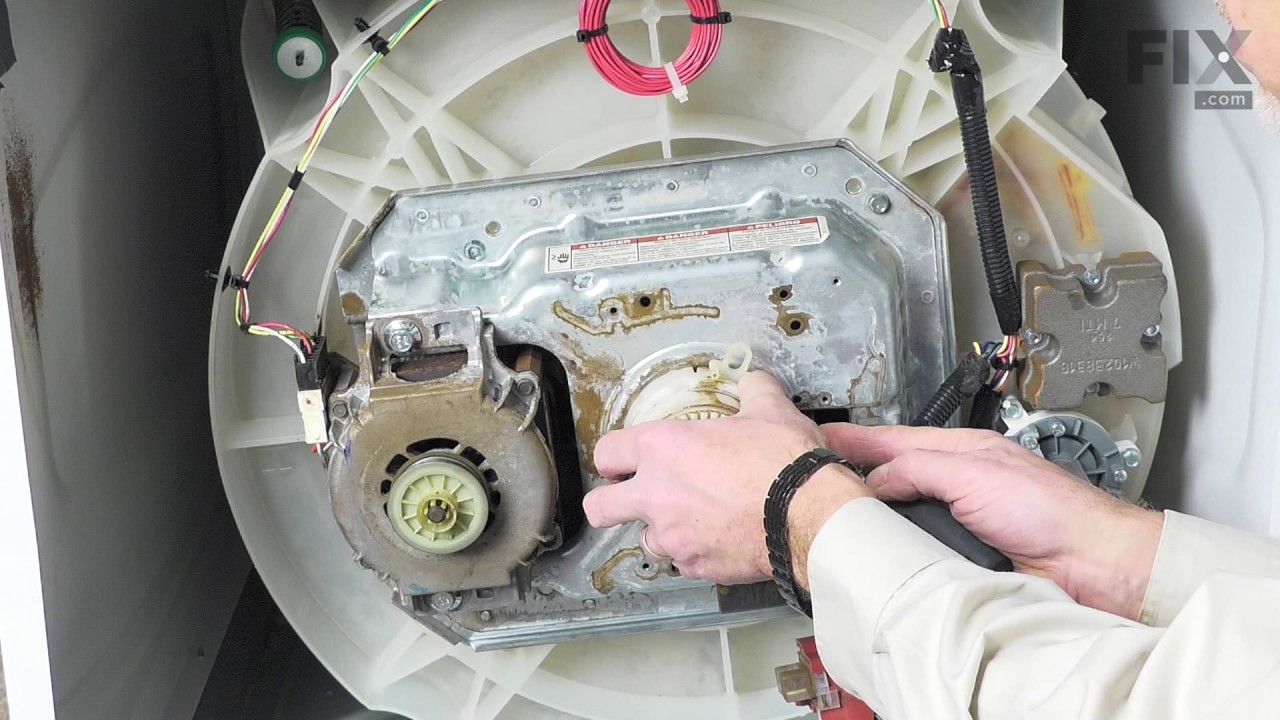
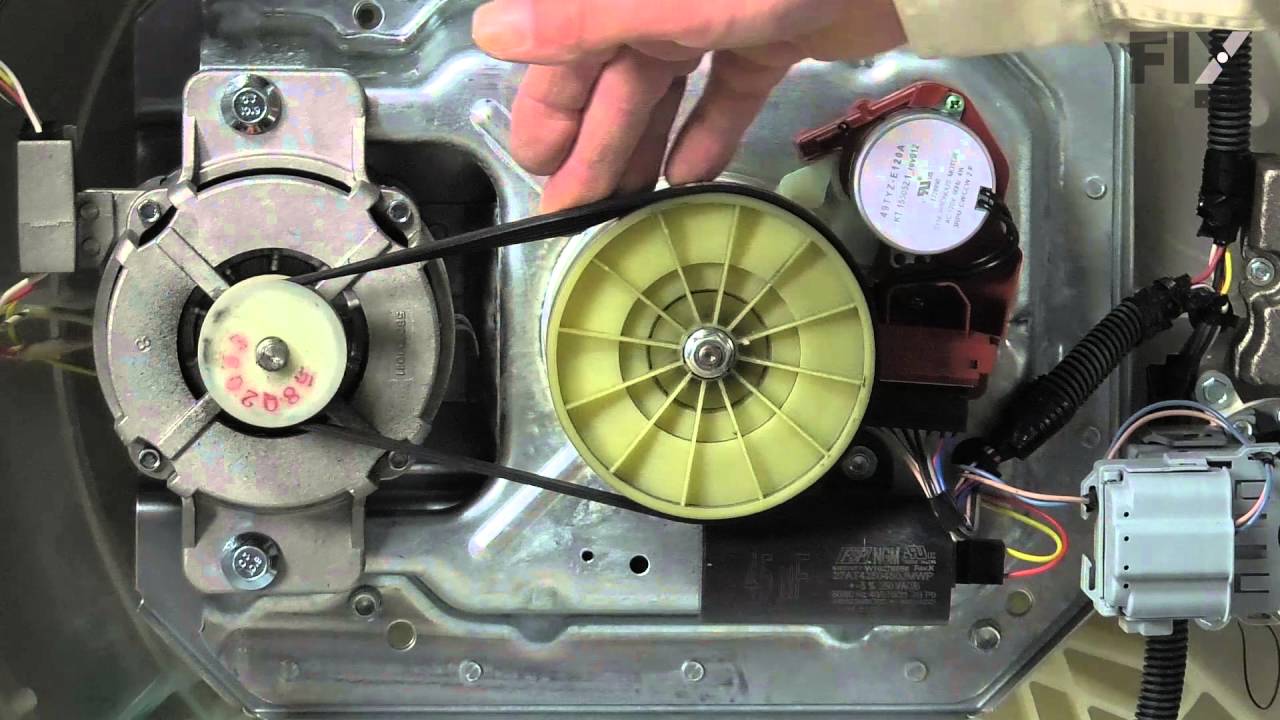
Well, first investigated and found loose nut on drive clutch. First take off the two screws with nut drive then cover off using a screwdriver blade to snap off the cover. Then socket ratchet to take off the nut on drive clutch. take off belt by slowly rotating the drive gear. two screws that hold the electronics to the upper drive clutch
... Read more
and put aside, so you can snap off the cover for drive clutch on upper part with screwdriver and off the parts come and install whole unit back as took it apart. Line up the new upper clutch so that is position as was before. (Using parts diagram helps a lot as www. partsselect.com has for you or Maytag.com.) Then put the electronic part board back on and the gear and nut. Make sure it is tight by several attempts to make sure it's snugged up good and then slowly roll belt back on the pulley and motor drive. Put your cover guard back on with two screws and done.
Read less
Was this instruction helpful to you?
Thank you for voting!