



Models
>
WTW5550XW3
WTW5550XW3 Whirlpool Washer
Jump to:
Find Part by Name
Keep searches simple, eg. "belt" or "pump".
Models for WTW5550XW3
Click on the best match to narrow your results.
Diagrams for WTW5550XW3
Viewing 5 of 5


Manuals & Guides for WTW5550XW3
Click to downloadKeep searches simple, eg. "belt" or "pump".
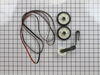
$36.42
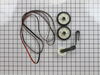
This is an authentic drum support roller kit for 29-inch-wide dryers. It includes 1 belt, 2 roller wheels and an idler pulley. The parts in this kit allow the dryer to tumble properly by supporting th...
In Stock
Order now and your part arrives by Oct 16
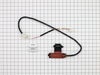
$51.43
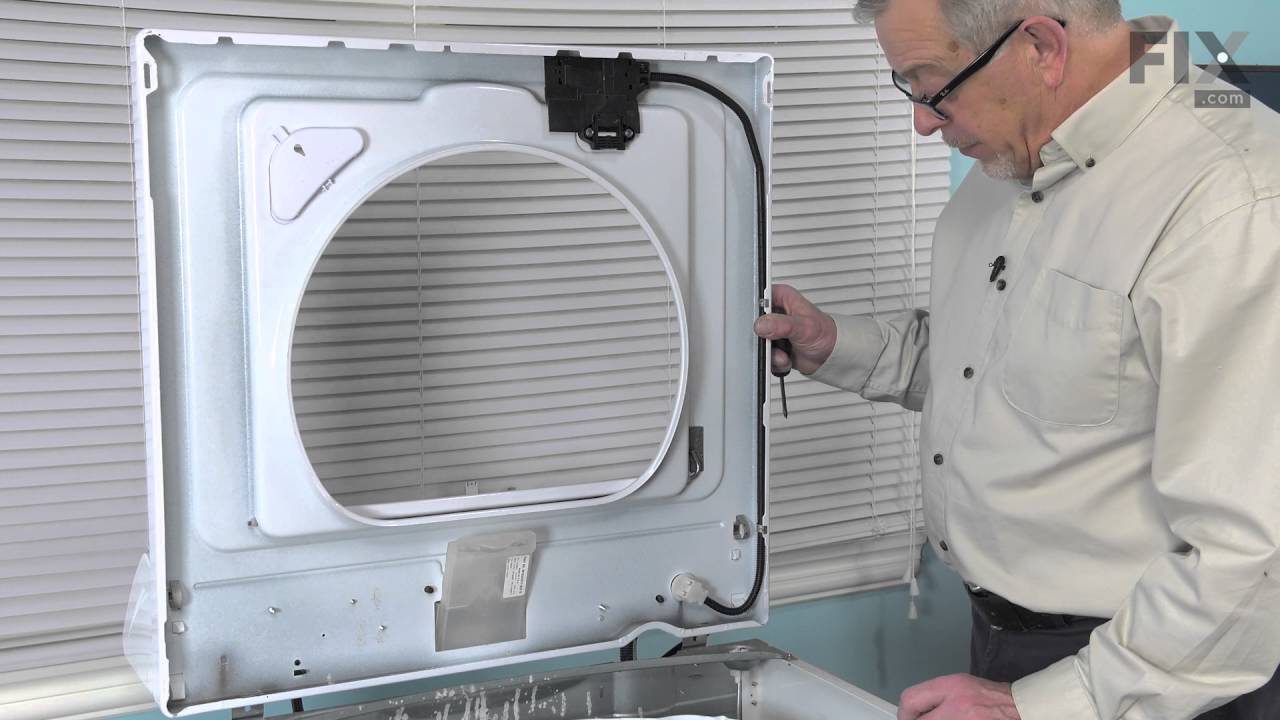
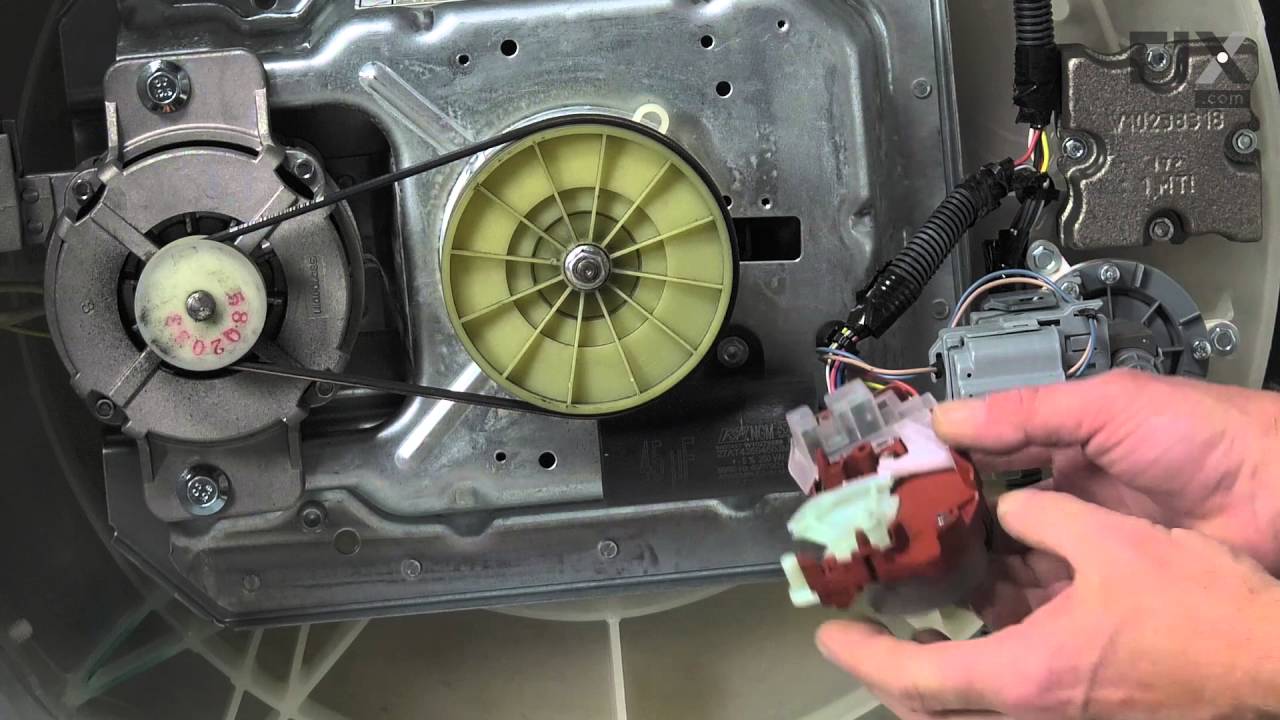
The lid latch is a safety feature found in your washer. Its purpose is to stop the machine from spinning when the lid is opened. You may need to replace the lid latch assembly if your washer will not ...
In Stock
Order now and your part arrives by Oct 16

$39.63
The washer drive pulley kit is also known as a replacement clutch assembly, or a cam kit. The drive pulley is found at the bottom of your washing machine, mounted to the drive shaft. Common symptoms i...
In Stock
Order now and your part arrives by Oct 16

$27.83
The drive hub connects the basket of your washer to the transmission shaft, which in turn allows the basket to spin. If your washer will not agitate, spins slowly, or is excessively noisy, it may requ...
In Stock
Order now and your part arrives by Oct 16
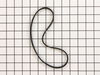
$29.98
The drive belt works with the pulley in your washer in order to spin the tub. If you notice a burning rubber smell, your washer has become excessively noisy, or it will not spin, it could indicate an ...
In Stock
Order now and your part arrives by Oct 16

This tub centering spring is a genuine OEM replacement part for your washing machine. If your washer is noisy or excessively shaking while it is operating, you may need to replace the springs. The met...
In Stock
Order now and your part arrives by Oct 16

$9.79
If your washing machine is shaking, noisy, or moves while operating, you may need to replace the suspension rod supports. These supports are used to secure the suspension rods, which help ensure that ...
In Stock
Order now and your part arrives by Oct 16
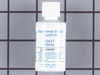
This 18 ml bottle of white appliance touch-up paint is used to cover scratches or marks on your appliance. The white touch-up paint can be used on refrigerators, microwaves, ranges, clothes dryers, an...
No Longer Available
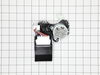
This shift actuator helps your washer switch between washing and spinning, and controls the agitator. It fits many Whirlpool and related brand models. If your washer isn’t spinning or agitating, this ...
In Stock
Order now and your part arrives by Oct 16

In Stock
Order now and your part arrives by Oct 16
This insert is sold individually. Knob not included. Knob is sold separately.
In Stock
Order now and your part arrives by Oct 16
In Stock
Order now and your part arrives by Oct 16
Common Problems and Symptoms for WTW5550XW3
Viewing 21 of 21Noisy
Fixed by these parts
How to fix it
Will not agitate
Fixed by these parts



How to fix it
Drum Not Spinning
Fixed by these parts
How to fix it
Spinning Issues
Fixed by these parts
How to fix it
Leaking
Fixed by these parts

How to fix it
Will Not Start
Fixed by these parts

How to fix it
Shaking and Moving
Fixed by these parts


How to fix it
Spins slowly
Fixed by these parts
How to fix it
Will not drain
Fixed by these parts
How to fix it
Noisy and Marks Left on Clothes
Fixed by these parts
How to fix it
Lid or door won’t close
Fixed by these parts
How to fix it
Burning smell
Fixed by these parts
How to fix it
Locking Issues
Fixed by these parts
How to fix it
Cycle Not Advancing
Fixed by these parts
How to fix it
Draining Issues
Fixed by these parts
How to fix it
Marks left on clothes
Fixed by these parts
How to fix it
Water Filling Issues
Fixed by these parts

How to fix it
Won’t Start
Fixed by these parts
How to fix it
Heat stays on after drum has stopped
Fixed by these parts
How to fix it
Timer Not Working
Fixed by these parts
How to fix it
No hot or cold water
Fixed by these parts
How to fix it
Keep searches simple. Use keywords, e.g. "leaking", "pump", "broken" or "fit".
- Customer:
- David from Los Alamos, NM
- Parts Used:
- WPW10006355
- Difficulty Level:
- A Bit Difficult
- Total Repair Time:
- 30 - 60 mins
- Tools:
- Nutdriver, Screw drivers
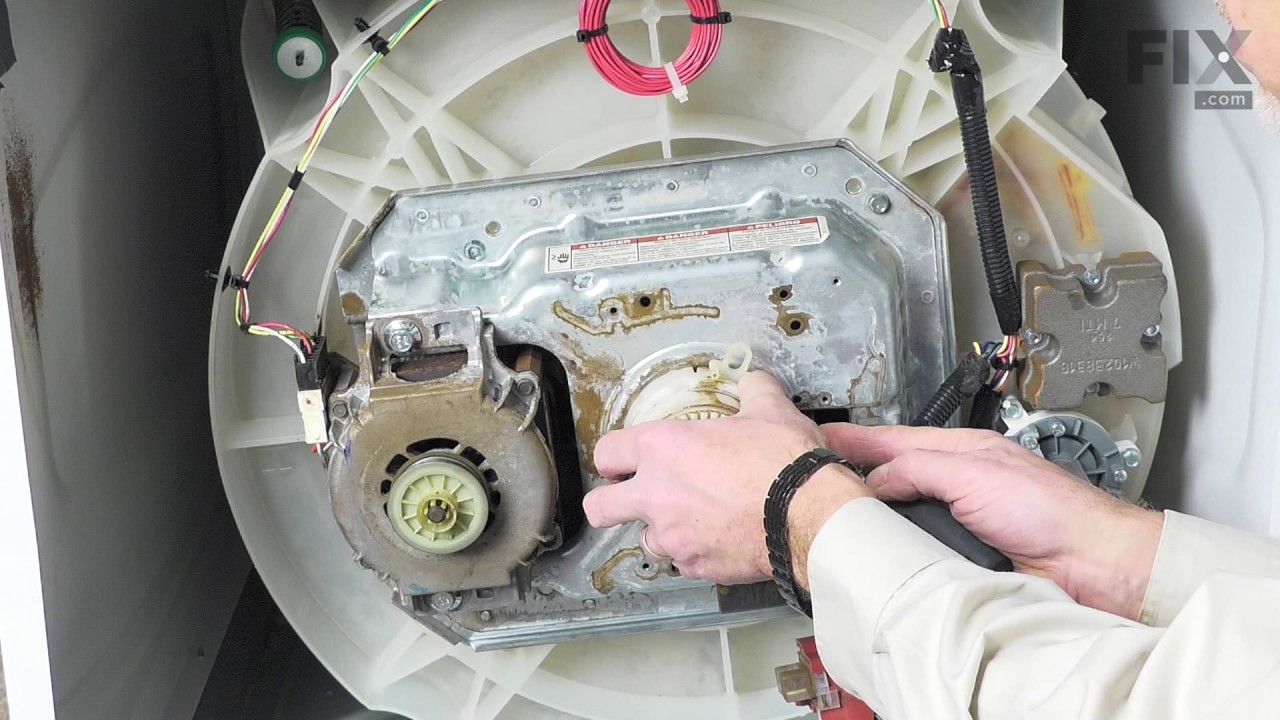
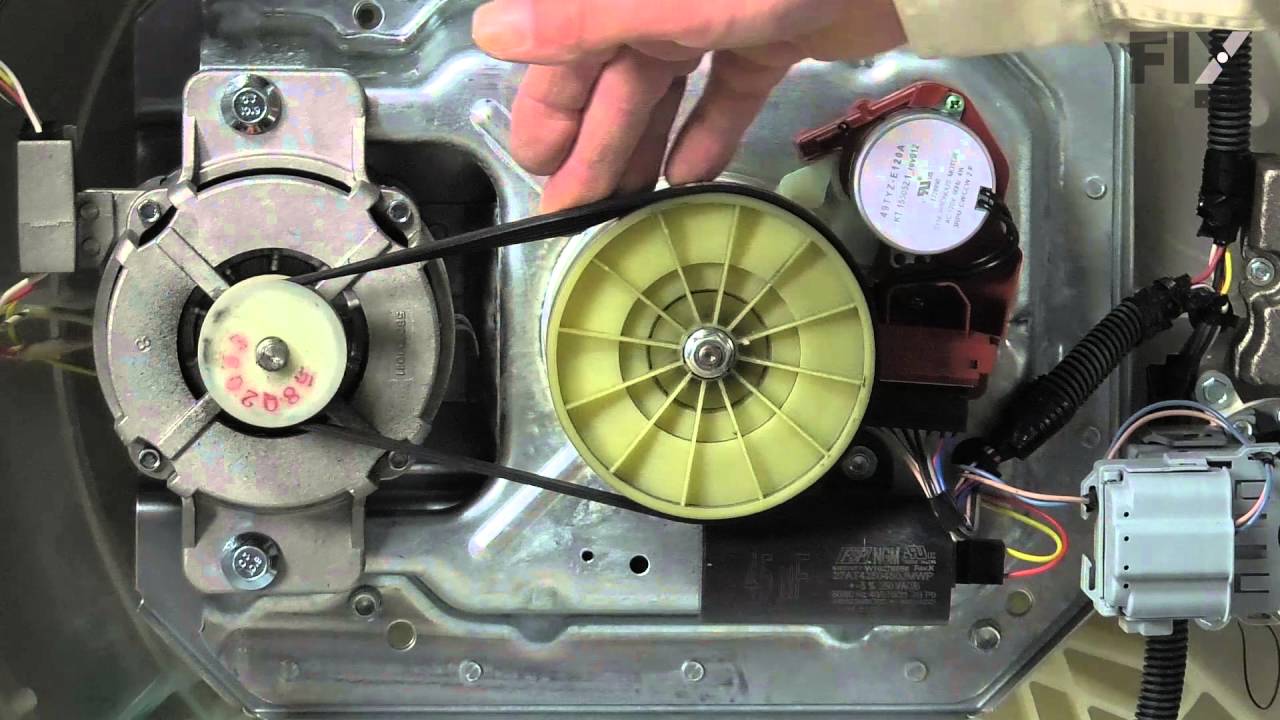
Lid Lock light blinking, machine will not start
A detailed Service Technician Service Manual is hidden inside the machine on the front panel. It is hidden by the bleach dispenser input. It gives a list of fault codes and instructions for calibration after repair, resetting fault codes, and a manual test mode for stepping the machine through each mode on command. The Tachometer faile
... Read more
d which would not let the machine come up to maximum spin speed. The tachometer is part of the solenoid actuator that shifts the transmission. It is not specifically called out in the manual. Any failure causes the lid lock light to blink which gives the appearance of a lid lock failure
Read less
Was this instruction helpful to you?
Thank you for voting!
- Customer:
- DENNIS from ALTOONA, FL
- Parts Used:
- 4392065
- Difficulty Level:
- A Bit Difficult
- Total Repair Time:
- 1- 2 hours
- Tools:
- Nutdriver, Screw drivers
Broken drive belt
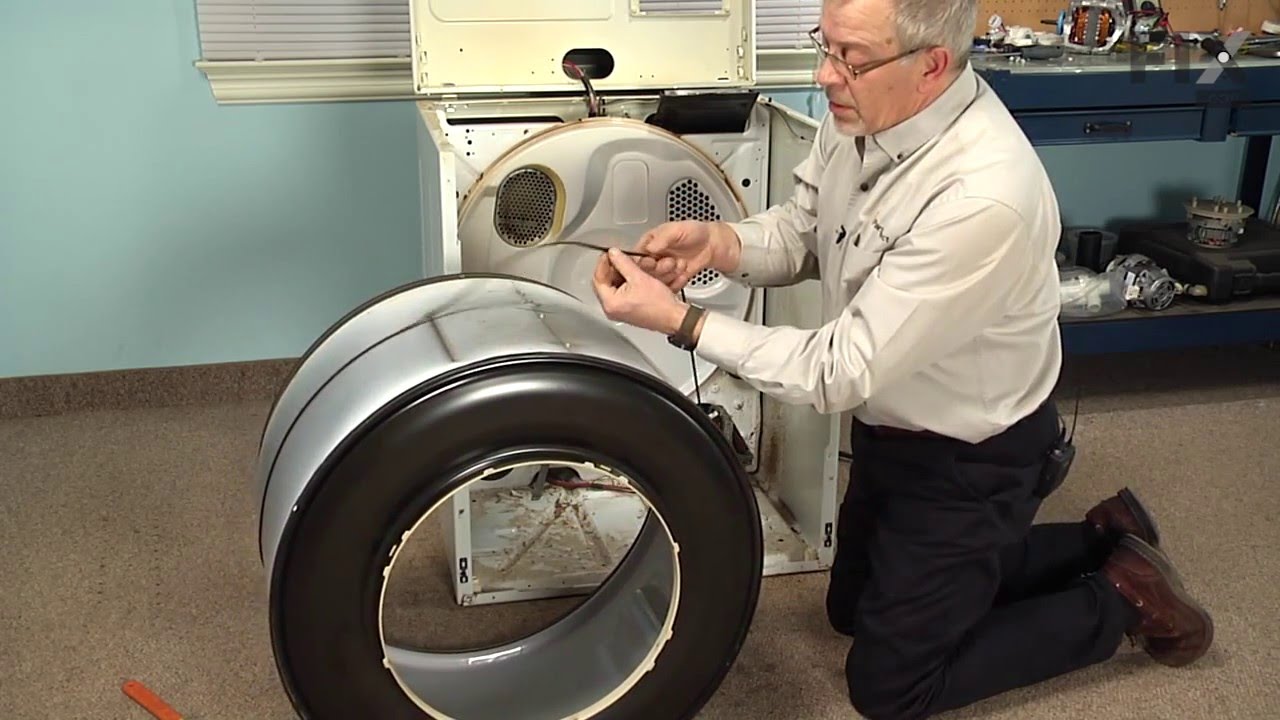
Grow a second set of hands. Always unplug any appliance. Remove lint screen. remove two screws (philips Head). I took a wooden shim lightly tapped w/hammer to pop front of dryer top free. Mine worked on hinges and just flipped back til it rested against the wall. Removed two 5/16 screws inside holding face on carefully raise face section
... Read more
off the support clips at either side on the bottom. Pull drum out (I have the large style drum commercial size [approx.). Clean the inside free of all lint (known to be fire hazard). Sling new belt around drum. Get newly grown set of hands to hold drum in place. Pinch belt to fit between tensioner, lift tensioner and place belt around motor pulley. Spin drum couple times to make certain belt isn't twisted. Reverse dismantle proccess to put back together. Replace all parts that come with kit, you'll feel better knowing you got a new dryer, almost.
Read less
Was this instruction helpful to you?
Thank you for voting!
- Customer:
- Michael from Haines City, FL
- Parts Used:
- 4392065
- Difficulty Level:
- A Bit Difficult
- Total Repair Time:
- 1- 2 hours
- Tools:
- Nutdriver, Screw drivers, Wrench (Adjustable)
Dryer making extra noise while running
1st Unpluged power.
2nd removed two screws under lint screen cover.
3rd poped up lid with flathead screwdryer, then removed (2) 5/16 screws from door cover and unpluged lid switch, lifted up dryer door pannel
4th removed drum
5th took out plastic triangle wheel rings
6th removed old belt guild (to motor pully)
... Read more />7th removed old wheels and plastic rings stops
8th cleaned excessive hair dust with shopvac
9th put new replaicment part in dryer. made sure to turn manually to make sure belt was lined up properly, then put all dryer peices back.
10th aditional work, took back cover off and removed the (4) 1/4 screws for lint screen case (left side in dryer) vacumed out any excessive dirt lint ect, also cleaned any excessive dust I found in back of dryer, dryer , exhaust ect, and put all back together.
JUst like a new dryer aain after all PM was complete.
2nd removed two screws under lint screen cover.
3rd poped up lid with flathead screwdryer, then removed (2) 5/16 screws from door cover and unpluged lid switch, lifted up dryer door pannel
4th removed drum
5th took out plastic triangle wheel rings
6th removed old belt guild (to motor pully)
... Read more />7th removed old wheels and plastic rings stops
8th cleaned excessive hair dust with shopvac
9th put new replaicment part in dryer. made sure to turn manually to make sure belt was lined up properly, then put all dryer peices back.
10th aditional work, took back cover off and removed the (4) 1/4 screws for lint screen case (left side in dryer) vacumed out any excessive dirt lint ect, also cleaned any excessive dust I found in back of dryer, dryer , exhaust ect, and put all back together.
JUst like a new dryer aain after all PM was complete.
Read less
Was this instruction helpful to you?
Thank you for voting!