



Models
>
WTW5300SQ0
WTW5300SQ0 Whirlpool Washer
Jump to:
Find Part by Name
Keep searches simple, eg. "belt" or "pump".
Models for WTW5300SQ0
Click on the best match to narrow your results.
Diagrams for WTW5300SQ0
Viewing 8 of 8


Manuals & Guides for WTW5300SQ0
Click to downloadKeep searches simple, eg. "belt" or "pump".
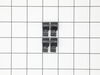
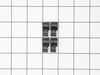
Commonly referred to as dog ears, these agitator directional cogs are manufacturer approved replacement parts that come in a package of 4 and are usually used with direct drive washing machines. We re...
In Stock
Order now and your part arrives by Oct 19
$21.82
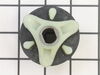
This is an OEM direct drive motor coupling, which provides a cushioned connection between the transmission and the motor shaft. This is the newer version of this part, made with new metal sleeves for ...
In Stock
Order now and your part arrives by Oct 19
$21.82
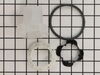
This is an OEM agitator repair kit that includes an agitator cam, four directional cogs, a bearing, thrust spacer, inner cap seal, and washer. These parts are found inside the agitator auger near the ...
In Stock
Order now and your part arrives by Oct 19
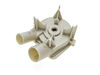
The direct drive water pump is used in washing machines that do not have belts, to remove water from the tub during the drain cycle. It is located on the motor and attached by two clips. The drain pum...
In Stock
Order now and your part arrives by Oct 19
$9.79
This suspension spring is a genuine OEM replacement part for a variety of washers and washer-dryer combos. The primary purpose of the suspension spring is to support the outer tub and keep the tub ste...
In Stock
Order now and your part arrives by Oct 19
$39.63
This is a genuine OEM replacement clutch assembly for your washing machine. A clutch assembly, also known as a clutch or a washer clutch, is responsible for spinning the tub during the spin cycle. If ...
In Stock
Order now and your part arrives by Oct 19
$6.51
This bolt is a genuine OEM replacement part, used to secure the agitator in your washing machine. Overtime the bolt can become worn out due to the vibrations of the washer, and will need to be replace...
In Stock
Order now and your part arrives by Oct 19
$36.42
On the lid on your washing machine there is a pin that engages with the lid switch. This works by telling the machine that the lid is closed which then allows for the washer to start. If your washer i...
In Stock
Order now and your part arrives by Oct 19
$6.51
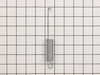
This tub spring is a genuine OEM replacement part for your washing machine and is sold individually. There are other names that the tub spring goes by, such as the suspension spring, balance spring, o...
In Stock
Order now and your part arrives by Oct 19
$7.65
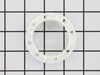
The thrust spacer is a genuine OEM part that is more commonly known as a retainer ring. The spacer is made of white plastic and measures approximately 2.5 inches in diameter. This part is found in bet...
In Stock
Order now and your part arrives by Oct 19
$9.79
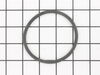
Also known as an O-Ring. This black o-ring seal is three inches in diameter.
In Stock
Order now and your part arrives by Oct 19

The O-Ring is included with this cap. It can be purchased separately as Part #WPW10072840.
In Stock
Order now and your part arrives by Oct 19
Common Problems and Symptoms for WTW5300SQ0
Viewing 20 of 20Will not agitate
Fixed by these parts
How to fix it
Leaking
Fixed by these parts
How to fix it
Spins slowly
Fixed by these parts
How to fix it
Will not drain
Fixed by these parts
How to fix it
Spinning Issues
Fixed by these parts
How to fix it
Will Not Start
Fixed by these parts
How to fix it
Shaking and Moving
Fixed by these parts
How to fix it
Burning smell
Fixed by these parts
How to fix it
Does not dispense fabric softener or detergent
Fixed by these parts

How to fix it
Marks left on clothes
Fixed by these parts
How to fix it
Leaks water
Fixed by these parts
How to fix it
Draining Issues
Fixed by these parts
How to fix it
Cycle Not Advancing
Fixed by these parts
How to fix it
Not cleaning dishes properly
Fixed by these parts
How to fix it
Noisy and Marks Left on Clothes
Fixed by these parts
How to fix it
Lid or door won’t close
Fixed by these parts
How to fix it
No hot or cold water
Fixed by these parts
How to fix it
Noisy
Fixed by these parts
How to fix it
Timer Not Working
Fixed by these parts
How to fix it
Touchpad does not respond
Fixed by these parts
How to fix it

Keep searches simple. Use keywords, e.g. "leaking", "pump", "broken" or "fit".
- Customer:
- Jeff from Wayne, NJ
- Parts Used:
- 285753A
- Difficulty Level:
- Easy
- Total Repair Time:
- 30 - 60 mins
- Tools:
- Pliers, Screw drivers, Socket set
No movement from Basket & agitator
The job looked intimidating but turned out to be very easy.
First take off the water pump by removing the two clips that hold it in place. Place a shallow pan under the pump to catch the water that is in the pump and hoses. Open the hose clamps with a pair of pliers or channel locks (better) and slide the hoses off of the water pum ... Read more p.
The motor comes off next. Unplug the electrical connector from the motor and two wires from the capacitor. Remove the two screws holding the clamps in place and then pop off the two clamps. You will need to hold up the motor with one hand while you remove the clamps or it will fall to the floor once the clamps are removed.
One piece of the coupling assemble will be attached to the motor and the other will be attached to the gearcase drive shaft. If you want to clean up the mess created by the shredded rubber center piece of the coupling assembly you will have to take off the motor mounting plate. It is held on by two bolts and removing it makes installing the coupling easier but probably not necessary.
Push the back half of the coupling on to the gearcase drive shaft until the shaft is flush with the face of the coupling. Install the new rubber center piece on to the coupling then re-install the motor mounting plate. Install the other half of the coupling on to the motor shaft and lift the motor up to the coupling. You have to rotate the motor shaft by spinning the fan blades until the coupling lines up so you can slide it into the other half of the coupling. Then just reattach the motor, connectors and water pump in the reverse order of disassembly.
First take off the water pump by removing the two clips that hold it in place. Place a shallow pan under the pump to catch the water that is in the pump and hoses. Open the hose clamps with a pair of pliers or channel locks (better) and slide the hoses off of the water pum ... Read more p.
The motor comes off next. Unplug the electrical connector from the motor and two wires from the capacitor. Remove the two screws holding the clamps in place and then pop off the two clamps. You will need to hold up the motor with one hand while you remove the clamps or it will fall to the floor once the clamps are removed.
One piece of the coupling assemble will be attached to the motor and the other will be attached to the gearcase drive shaft. If you want to clean up the mess created by the shredded rubber center piece of the coupling assembly you will have to take off the motor mounting plate. It is held on by two bolts and removing it makes installing the coupling easier but probably not necessary.
Push the back half of the coupling on to the gearcase drive shaft until the shaft is flush with the face of the coupling. Install the new rubber center piece on to the coupling then re-install the motor mounting plate. Install the other half of the coupling on to the motor shaft and lift the motor up to the coupling. You have to rotate the motor shaft by spinning the fan blades until the coupling lines up so you can slide it into the other half of the coupling. Then just reattach the motor, connectors and water pump in the reverse order of disassembly.
Read less
Was this instruction helpful to you?
Thank you for voting!
- Customer:
- mike from Kent, WA
- Parts Used:
- 80040
- Difficulty Level:
- Easy
- Total Repair Time:
- 15 - 30 mins
- Tools:
- Screw drivers, Socket set
washer wouldn't agitate
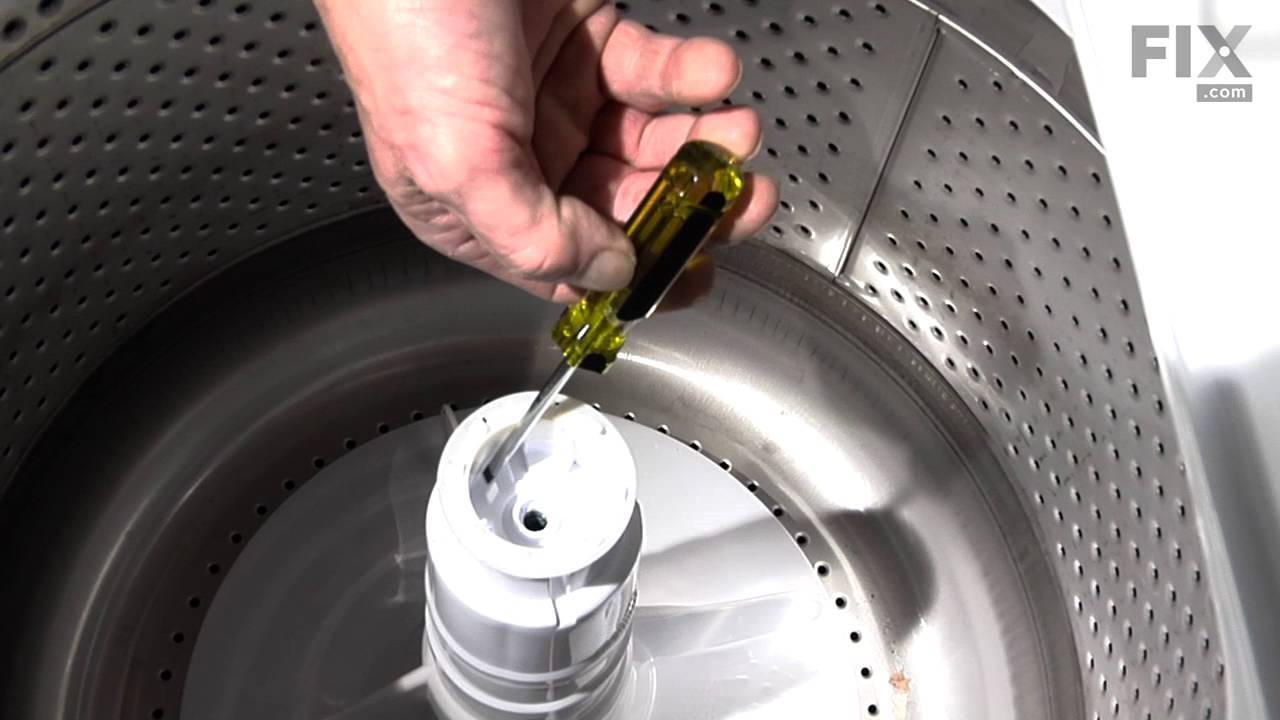
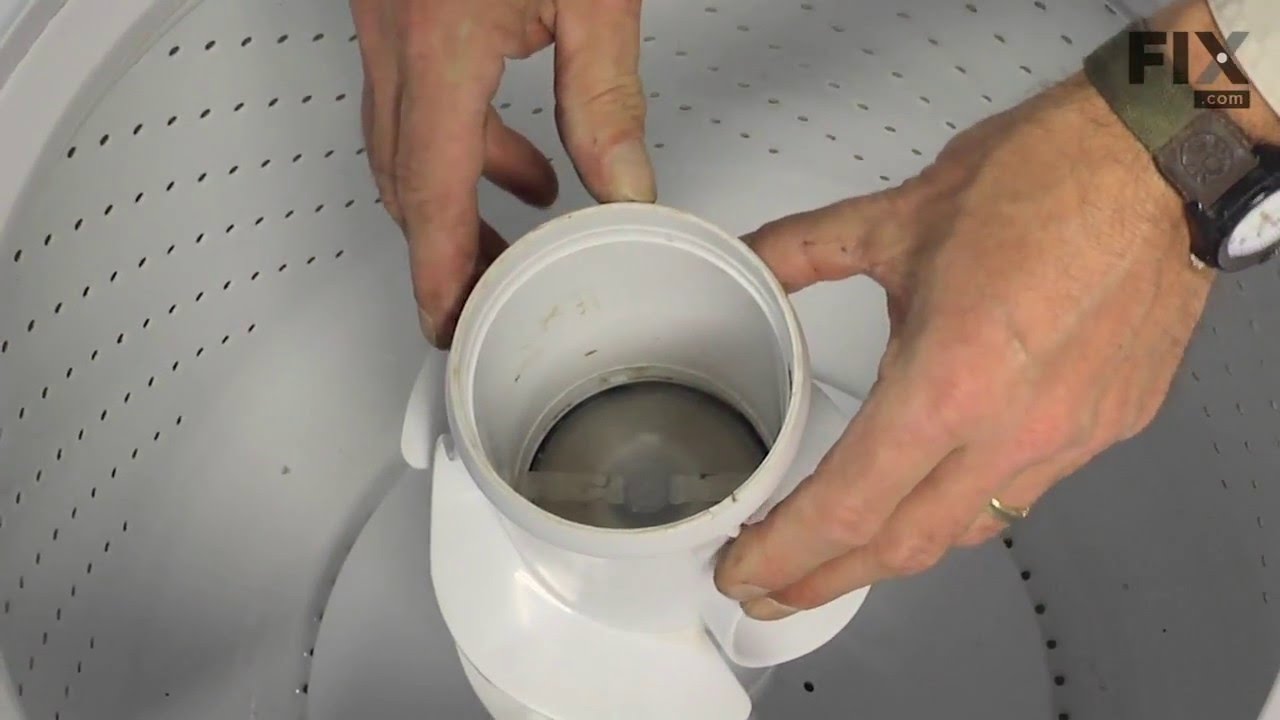
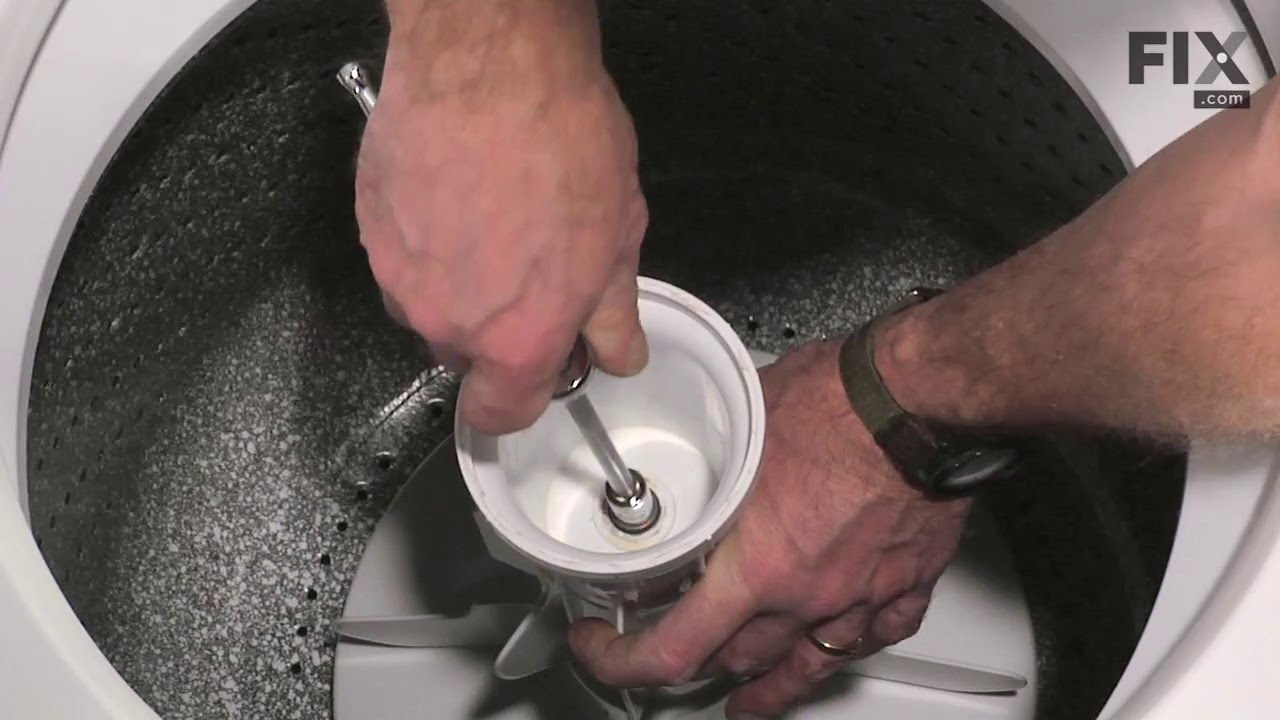
First pry off the cap of the agitator. Then using a socket remove the bolt that holds the plastic cup in place. Remove this cup by prying it loose from the two tabs that hold it in place. Once this cup is removed you can get to the broken cogs.
Slip the new cogs into the underside of the cup, and slide the cup back down in the a ... Read more gitator housing using the slots on the side for a guide. (You may want to remove the entire agitator and assemble everything upside down, then flip it all back over to mount, so the cogs don't fall out).
Tighten the bolt, snap the cap back in place on top of the agitator and your'e done. Easy repair.
Slip the new cogs into the underside of the cup, and slide the cup back down in the a ... Read more gitator housing using the slots on the side for a guide. (You may want to remove the entire agitator and assemble everything upside down, then flip it all back over to mount, so the cogs don't fall out).
Tighten the bolt, snap the cap back in place on top of the agitator and your'e done. Easy repair.
Read less
Was this instruction helpful to you?
Thank you for voting!
- Customer:
- RICHARD from PHILA, PA
- Parts Used:
- WPW10250667, WP3363394, WP3362952
- Difficulty Level:
- Really Easy
- Total Repair Time:
- 15 - 30 mins
- Tools:
- Nutdriver, Screw drivers, Socket set, Wrench set
Replace Water Pump Coupling
Removed casing tip over washer disconnected water pump. Disconnected motor then replace coupling then reassemble motor then replaced water pump.
Was this instruction helpful to you?
Thank you for voting!