



Models
>
MVW6230HW4,MVW6230HC4
MVW6230HW4,MVW6230HC4 Whirlpool Washer
Jump to:
Find Part by Name
Keep searches simple, eg. "belt" or "pump".
Models for MVW6230HW4,MVW6230HC4
Click on the best match to narrow your results.
Diagrams for MVW6230HW4,MVW6230HC4
Viewing 5 of 5




Keep searches simple, eg. "belt" or "pump".
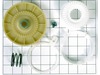
$39.63
The washer drive pulley kit is also known as a replacement clutch assembly, or a cam kit. The drive pulley is found at the bottom of your washing machine, mounted to the drive shaft. Common symptoms i...
In Stock
Order now and your part arrives by Oct 29
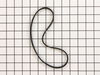
$29.98
The drive belt works with the pulley in your washer in order to spin the tub. If you notice a burning rubber smell, your washer has become excessively noisy, or it will not spin, it could indicate an ...
In Stock
Order now and your part arrives by Oct 29

This 18 ml bottle of white appliance touch-up paint is used to cover scratches or marks on your appliance. The white touch-up paint can be used on refrigerators, microwaves, ranges, clothes dryers, an...
No Longer Available

In Stock
Order now and your part arrives by Oct 29
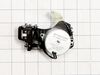
$77.48
This shift actuator plays a key role in the operation of your washing machine by controlling the transition between spin and agitate modes. It also relays spin speed information to the control board, ...
In Stock
Order now and your part arrives by Oct 29
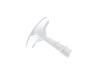
$70.05
If your washer isn’t cleaning clothes like it used to, the agitator might be the issue. This part spins back and forth to help scrub dirt from fabrics, using a central shaft and fins to move clothes a...
In Stock
Order now and your part arrives by Oct 29

In Stock
Order now and your part arrives by Oct 29
In Stock
Order now and your part arrives by Oct 29

In Stock
Order now and your part arrives by Oct 29

In Stock
Order now and your part arrives by Oct 29
$9.79
This clamp helps to prevent leaking by holding the end of water hose in place.
In Stock
Order now and your part arrives by Oct 29
$89.03
This start capacitor supports smooth motor startup in your top-load washer by supplying the required voltage surge. It’s an essential part for resolving issues like failure to start or agitate. Compat...
In Stock
Order now and your part arrives by Oct 29
Common Problems and Symptoms for MVW6230HW4,MVW6230HC4
Viewing 14 of 14Will not agitate
Fixed by these parts
How to fix it
Spinning Issues
Fixed by these parts
How to fix it
Leaking
Fixed by these parts

How to fix it
Noisy and Marks Left on Clothes
Fixed by these parts
How to fix it
Burning smell
Fixed by these parts
How to fix it
Shaking and Moving
Fixed by these parts

How to fix it
Spins slowly
Fixed by these parts
How to fix it
Cycle Not Advancing
Fixed by these parts
How to fix it
Will Not Start
Fixed by these parts
How to fix it
Will not drain
Fixed by these parts
How to fix it
Draining Issues
Fixed by these parts
How to fix it
Water Filling Issues
Fixed by these parts
How to fix it
Marks left on clothes
Fixed by these parts
How to fix it
Lid or door won’t close
Fixed by these parts
How to fix it

Keep searches simple. Use keywords, e.g. "leaking", "pump", "broken" or "fit".
- Customer:
- Jerry from WALLA WALLA, WA
- Parts Used:
- WPW10006384, W10721967
- Difficulty Level:
- Really Easy
- Total Repair Time:
- 15 - 30 mins
- Tools:
- Nutdriver, Screw drivers, Socket set
Noise on bottom of Washer louder as time went on. 1 1/2 years
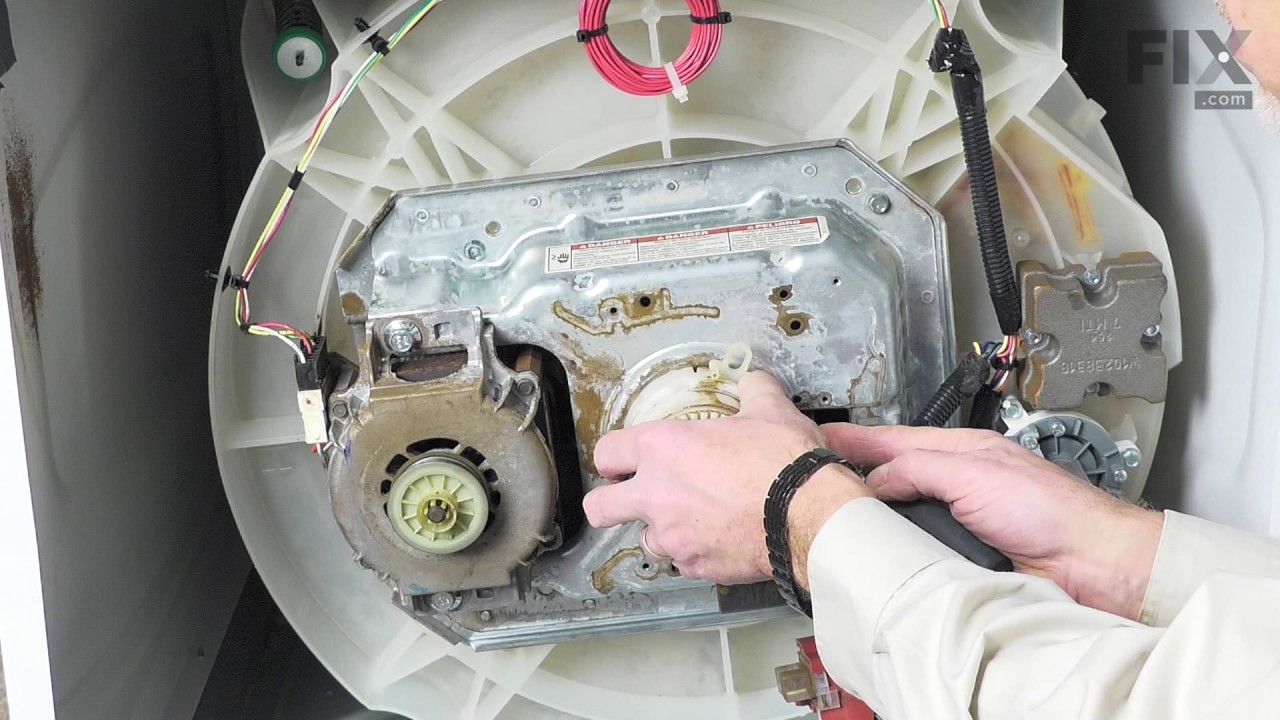
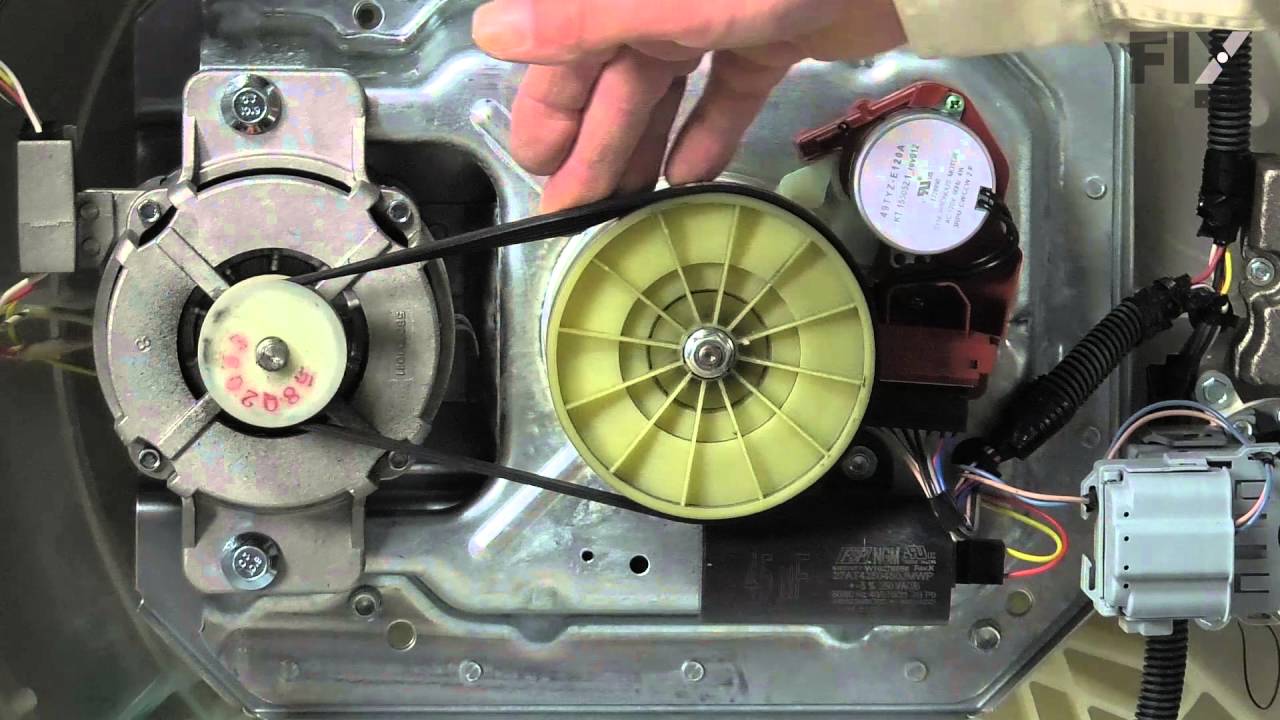
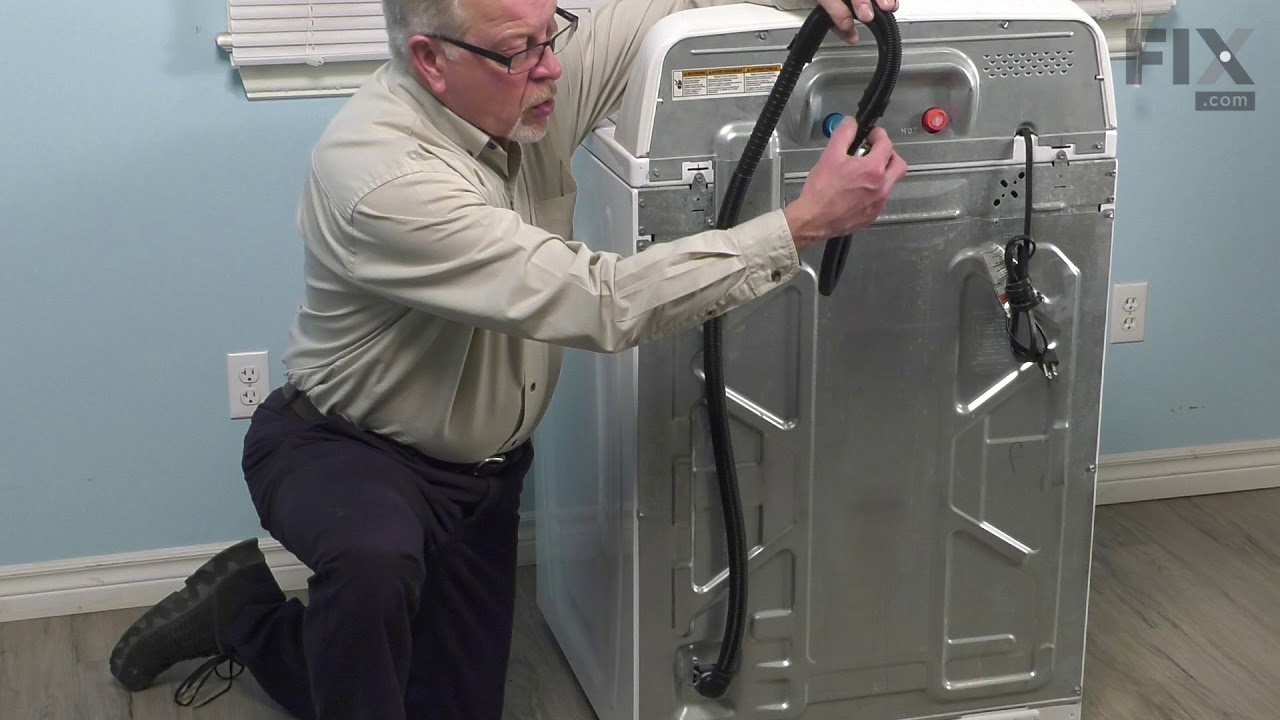
Well, first investigated and found loose nut on drive clutch. First take off the two screws with nut drive then cover off using a screwdriver blade to snap off the cover. Then socket ratchet to take off the nut on drive clutch. take off belt by slowly rotating the drive gear. two screws that hold the electronics to the upper drive clutch
... Read more
and put aside, so you can snap off the cover for drive clutch on upper part with screwdriver and off the parts come and install whole unit back as took it apart. Line up the new upper clutch so that is position as was before. (Using parts diagram helps a lot as www. partsselect.com has for you or Maytag.com.) Then put the electronic part board back on and the gear and nut. Make sure it is tight by several attempts to make sure it's snugged up good and then slowly roll belt back on the pulley and motor drive. Put your cover guard back on with two screws and done.
Read less
Was this instruction helpful to you?
Thank you for voting!
- Customer:
- David from BLOOMINGTON, IN
- Parts Used:
- W10721967
- Difficulty Level:
- Easy
- Total Repair Time:
- 30 - 60 mins
- Tools:
- Screw drivers, Socket set
Noise, grinding sounds. Wash tub stopped turning but motor and cycles kept functioning. Process of elimination, must be the clutch assembly.
Easy, just followed the repair video. Recommend also ordering the drive belt. Bought one locally during my repair.
Was this instruction helpful to you?
Thank you for voting!
- Customer:
- Roy from BROOKLYN, NY
- Parts Used:
- W10721967
- Difficulty Level:
- Really Easy
- Total Repair Time:
- 30 - 60 mins
- Tools:
- Nutdriver, Pliers, Screw drivers, Socket set
Making loud noises.
The video you sent me was very helpful told me the exact tools I needed and how to do it.
Thank you
Thank you
Was this instruction helpful to you?
Thank you for voting!