



Models
>
WTW7500GW3
WTW7500GW3 Whirlpool Washer
Jump to:
Find Part by Name
Keep searches simple, eg. "belt" or "pump".
Diagrams for WTW7500GW3
Viewing 5 of 5


Keep searches simple, eg. "belt" or "pump".

$7.60
This is a multi-use screw and can be used on a variety of appliances. The measurements of the screw are: 8/18 x 3/8. *Please note: the screw is sold individually. Refer to the manual provided by the m...
In Stock
Order now and your part arrives by Jul 31
$24.15
This 18 ml bottle of white appliance touch-up paint is used to cover scratches or marks on your appliance. The white touch-up paint can be used on refrigerators, microwaves, ranges, clothes dryers, an...
In Stock
Order now and your part arrives by Jul 31
$71.11
If your washer isn’t filling properly or is leaking near the back, this inlet valve might be the problem. It controls how hot and cold water enter your machine during the wash cycle. With two inlets a...
In Stock
Order now and your part arrives by Jul 31
$82.21
This lid lock assembly is a safety-critical component found in many top-load washing machines. Positioned beneath the washer lid, it includes both the locking mechanism and the wiring harness needed t...
In Stock
Order now and your part arrives by Jul 31

This washing machine cleaner includes three time-release tablets designed to remove odor-causing residues, grime, and buildup from high-efficiency and top-load washing machines. The tablets work by cl...
Special Order

In Stock
Order now and your part arrives by Jul 31

In Stock
Order now and your part arrives by Jul 31

$86.60
This washplate fits at the bottom of the spin basket in select top-load washers, helping circulate clothes through water for effective cleaning. It’s compatible with Whirlpool, Kenmore, and other bran...
In Stock
Order now and your part arrives by Jul 31
In Stock
Order now and your part arrives by Jul 31
In Stock
Order now and your part arrives by Jul 31

In Stock
Order now and your part arrives by Jul 31
In Stock
Order now and your part arrives by Jul 31
Common Problems and Symptoms for WTW7500GW3
Viewing 14 of 14Leaking
Fixed by these parts

How to fix it
Water Filling Issues
Fixed by these parts
How to fix it
Will not agitate
Fixed by these parts


How to fix it
Lid or door won’t close
Fixed by these parts

How to fix it
Shaking and Moving
Fixed by these parts
How to fix it
Spinning Issues
Fixed by these parts
How to fix it
Will not drain
Fixed by these parts
How to fix it
Locking Issues
Fixed by these parts
How to fix it
Will Not Start
Fixed by these parts
How to fix it
No hot or cold water
Fixed by these parts
How to fix it
Draining Issues
Fixed by these parts
How to fix it
Noisy and Marks Left on Clothes
Fixed by these parts
How to fix it
Cycle Not Advancing
Fixed by these parts
How to fix it
Spins slowly
Fixed by these parts
How to fix it



Keep searches simple. Use keywords, e.g. "leaking", "pump", "broken" or "fit".
- Customer:
- Marian from GREYBULL, WY
- Parts Used:
- W11165546
- Difficulty Level:
- Really Easy
- Total Repair Time:
- 30 - 60 mins
- Tools:
- Nutdriver
Faulty fill valve
Did troubleshooting after code LF showed on indicator window. Did troubleshooting; checked hoses for obstructions and small filters on inlets. All good. Ordered new fill valve. Came in a few days, good service.
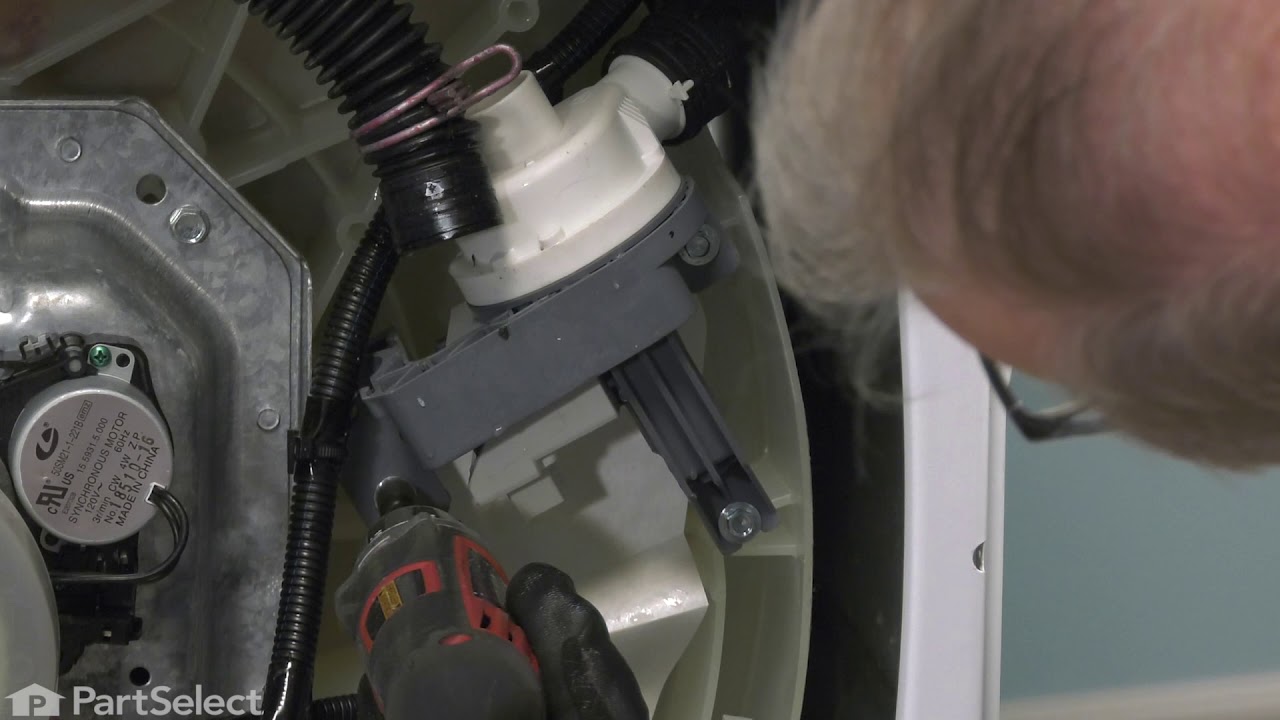
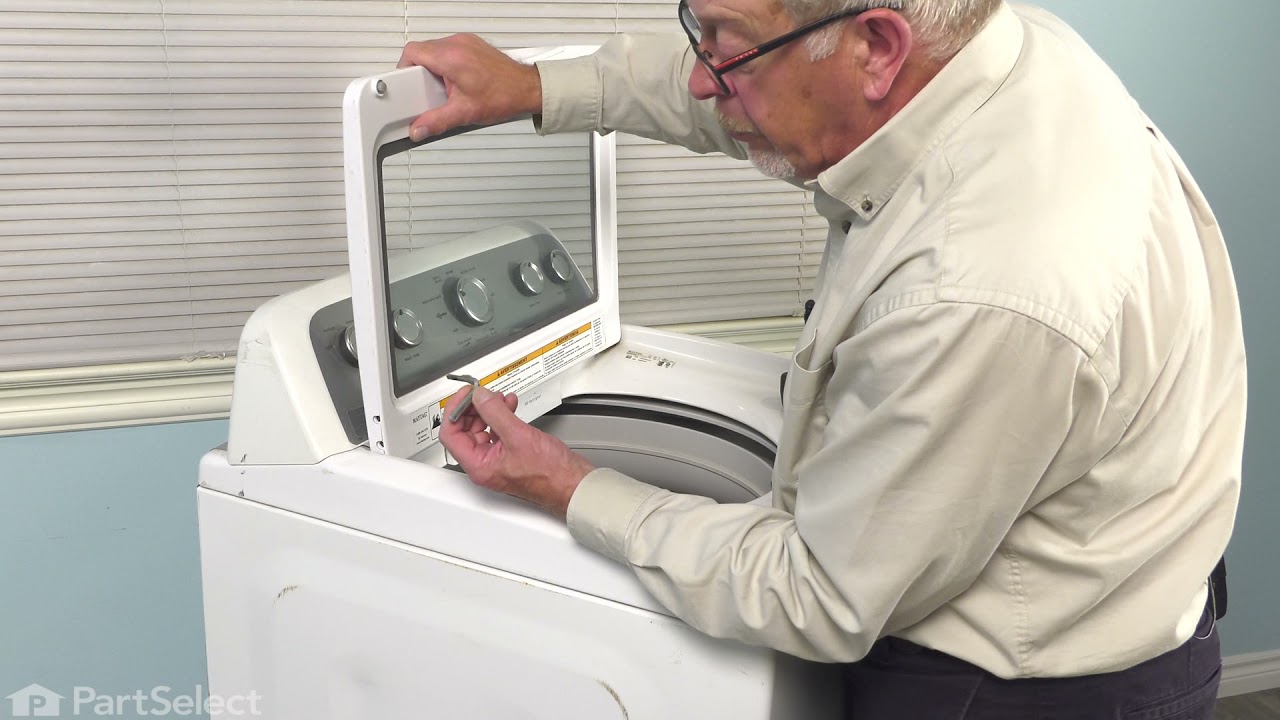
Removed control panel top by removing screws on back of control panel, then by pushing putty knife under each side to rele ... Read more ase spring clips. Carefully lifted cover and set onto lid. Photographed fill valve at left side as you are standing in front of machine. Removed screws with small ratchet. Carefully removed wires via clips. Lifted out valve.
Attached wires to new, set back into its place, replaced screws, tightened but not too tight so as to break part. Replaced control panel, pushing downward to engage spring clips, then replace screws on back.
Re attached hoses, ensuring they were on the correct sides, plugged machine into power, ran through cycle and VIOLA!! Worked perfectly!! After a couple weeks, still working perfectly! Was VERY happy it was only fill valve and not mother board as the cost was a fraction.
I found trouble shooting videos to be very helpful. Your service quite good.
Removed control panel top by removing screws on back of control panel, then by pushing putty knife under each side to rele ... Read more ase spring clips. Carefully lifted cover and set onto lid. Photographed fill valve at left side as you are standing in front of machine. Removed screws with small ratchet. Carefully removed wires via clips. Lifted out valve.
Attached wires to new, set back into its place, replaced screws, tightened but not too tight so as to break part. Replaced control panel, pushing downward to engage spring clips, then replace screws on back.
Re attached hoses, ensuring they were on the correct sides, plugged machine into power, ran through cycle and VIOLA!! Worked perfectly!! After a couple weeks, still working perfectly! Was VERY happy it was only fill valve and not mother board as the cost was a fraction.
I found trouble shooting videos to be very helpful. Your service quite good.
Read less
Was this instruction helpful to you?
Thank you for voting!
- Customer:
- Brian from FAIRBORN, OH
- Parts Used:
- W11165546
- Difficulty Level:
- Easy
- Total Repair Time:
- 30 - 60 mins
- Tools:
- Nutdriver, Pliers
Water Inlet Valve inoperative
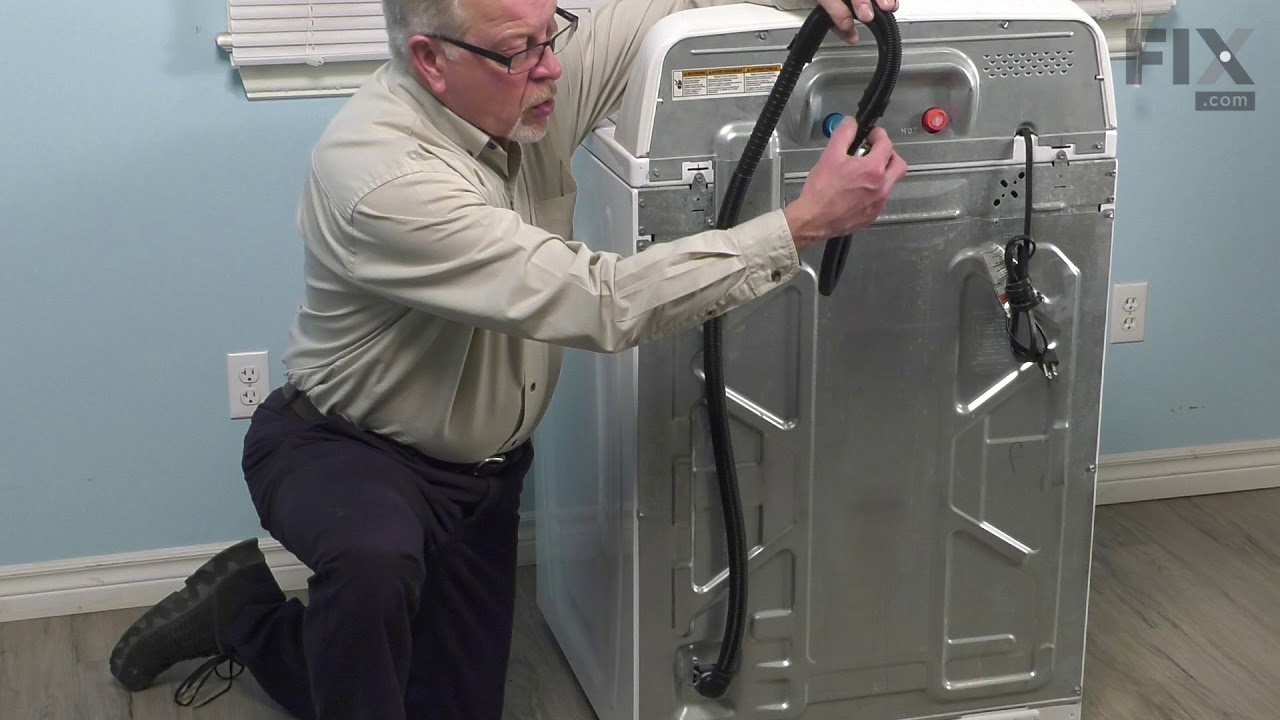
Washer would start cycle and return a CL error. No water would flow into the tub. Researched problem and probable cause. Ordered new water inlet valve. Once received, disconnected water hoses and electric plug and removed rear upper access panel (5 screws). Used thin putty knife under sides of front control panel to disengage spring clips
... Read more
. Once access to the faulty valve was attained, removed electrical harness and valve mounting screws. Installation of new valve was reverse process. Figuring out how to raise the front panel for access to the valve was most difficult. Found a YouTube video showing how; it was easy from there. Entire replacement took about 30 mins max.
Read less
Was this instruction helpful to you?
Thank you for voting!
- Customer:
- Michelle from Richardson, TX
- Parts Used:
- 72017
- Difficulty Level:
- Really Easy
- Total Repair Time:
- Less than 15 mins
Scratches in Surface
This product comes in a bottle with a brush like Liquid Paper. It goes on incredibly easy. A second coat might be needed. I wanted to prevent rust from setting in so I covered the scratches and dings. The paint is a little brighter since my washer is 10 years old but it still looks great.
Was this instruction helpful to you?
Thank you for voting!