
Models > WF210ANSXAC

WF210ANSXAC Samsung Washer

Jump to:

Find Part by Name

Keep searches simple, eg. "belt" or "pump".
This part is used for the shaft on rear of the tub. Sold individually.
In Stock
Order now and your part arrives by Aug 1
This drain pump is designed to remove water from the washer during the drain portion of the cycle. It is recommended to unplug the washer before installation to ensure safety. The Samsung Washer Drain...
No Longer Available
This hose can handle hot or cold water and is five feet long.
In Stock
Order now and your part arrives by Aug 1
In Stock
Order now and your part arrives by Aug 1
Shipping bolts are installed through the back of the washing machine, and hold the wash tub and basket in place while your washer is being transported. The tub suspension holds the tub correctly in pl...
In Stock
Order now and your part arrives by Aug 1
$95.93
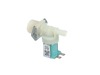
One solenoid valve for hot water
On Order
In Stock
Order now and your part arrives by Aug 1
In Stock
Order now and your part arrives by Aug 1
On Order
$40.69
This oil seal (part number DC62-00223A) is for washers. Oil seal DC62-00223A presses into the rear drum to prevent oil from leaking past the basket spin shaft. Unplug the appliance before installing t...
In Stock
Order now and your part arrives by Aug 1
In Stock
Order now and your part arrives by Aug 1
Assembly BOLT;SWF-P12,MOTOR/
In Stock
Order now and your part arrives by Aug 1

Questions and Answers

Be the first to ask our experts a question about this part!

Common Problems and Symptoms for WF210ANSXAC

Viewing 3 of 3
Will not drain
Fixed by these parts
Fixing Fixing
How to fix it
Leaking
Fixed by these parts
Fixing Fixing Fixing
How to fix it
Water Filling Issues
Fixed by these parts
Fixing
How to fix it
Keep searches simple. Use keywords, e.g. "leaking", "pump", "broken" or "fit".
Customer:
SCOTT from VERNAL, UT
Parts Used:
DC31-00054A
Difficulty Level:
Easy
Total Repair Time:
30 - 60 mins
Tools:
Pliers, Screw drivers
Code indicating washer was NOT discharging water
Watched the video, procedure was simple and as depicted on the video. Started by using a wet shop Vac to the discharge hose and sucked as much dirty wash water out as possible. Removed the pump,and found the motor did not turn freely. Removed the motor (3 screws) and replaced the motor with new part. Reassembled the washer, everything wor ked as it should. After about 3-4 loads of laundry, the "Not Draining" code / problem returned. Again, sucked out the water with the Shop Vac. Checked the Filter /Cleanout and found it completely packed with MUD. Cleaned that out, and again disassembled the washer. The pump was removed and the remaining muddy gunk was cleaned from the impeller. The 3 drain lines that attached to the pump were inspected for blockage/obstruction and flushed of any muddy residue. Reassembly was quick and easy, and the washer has worked well since. I have no idea how the dirt got into the system with enough dirt to gunk up the system. Recommend keeping more frequent inspections of the cleanout trap.
11 of 17 people found this instruction helpful.
Was this instruction helpful to you?
Thank you for voting!
Customer:
Helen from NASHUA, NH
Parts Used:
WP89503
Difficulty Level:
Really Easy
Total Repair Time:
30 - 60 mins
Leaking water inlet hoses.
Removed the old hoses and screwed on the new hoses.
4 of 6 people found this instruction helpful.
Was this instruction helpful to you?
Thank you for voting!
Customer:
Gary from Peachtree City, GA
Parts Used:
DC62-30312J
Difficulty Level:
Really Easy
Total Repair Time:
15 - 30 mins
Tools:
Screw drivers
OE error code, water keeps flowing during spin cycle, softener dispenser left half full of water, clothes wet after washer stops
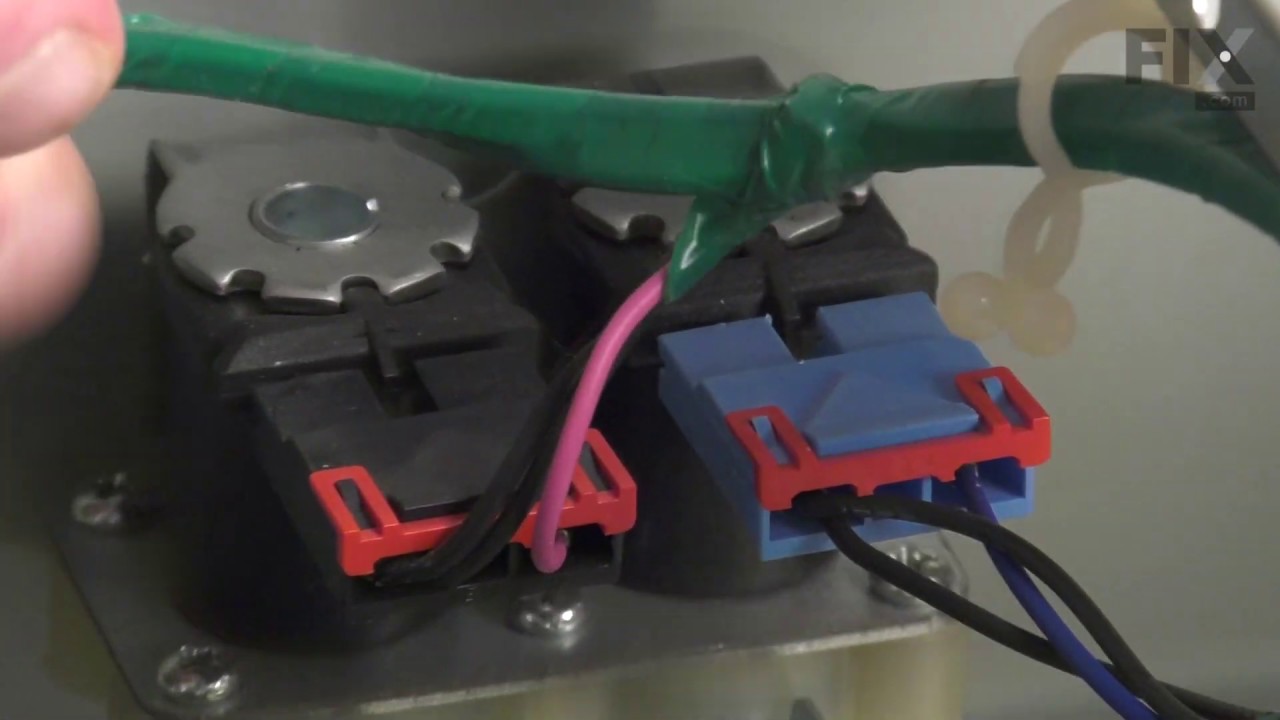
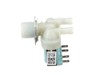
Found a repair video of a Samsung washer that looks like mine (9 years old). Removed two screws from the back of the washer, slid the top a few inches toward the front and lifted it off. Disconnected the two double electrical connections, the two rubber tubes from the solenoids, the cold water hose from the back and removed the two scre ws holding the valve in place. Installed the new valve by reversing those steps, slid the top back into place and secured it with the two screws and viola (as Kelly Bundy would say)! The washer now functions normally. I'm waiting for my next water bill to arrive to see whether the sudden increase in usage decreases to its normal amount. We have three adults and four small children in the household so the washer is constantly in use.
3 of 3 people found this instruction helpful.
Was this instruction helpful to you?
Thank you for voting!