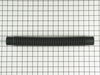
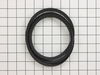
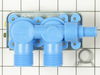
This is a V-style drive belt that measures approximately 51-inches long and 3/8-inches wide. This part connects the drive motor to the drive system in the washer to turn the basket. It is prone to wea...
This pump has 2 ports. This pump helps expel water from the washing machine and is activated after the spin speed is maintained for a specific period of time.
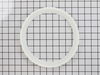
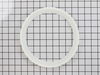
This snubber ring fits washers and is located between the leg and dome assembly. The ring has a diameter of 9 inches. It is used to reduce noise and vibration for stability when the washer is operatin...
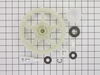
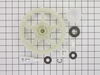
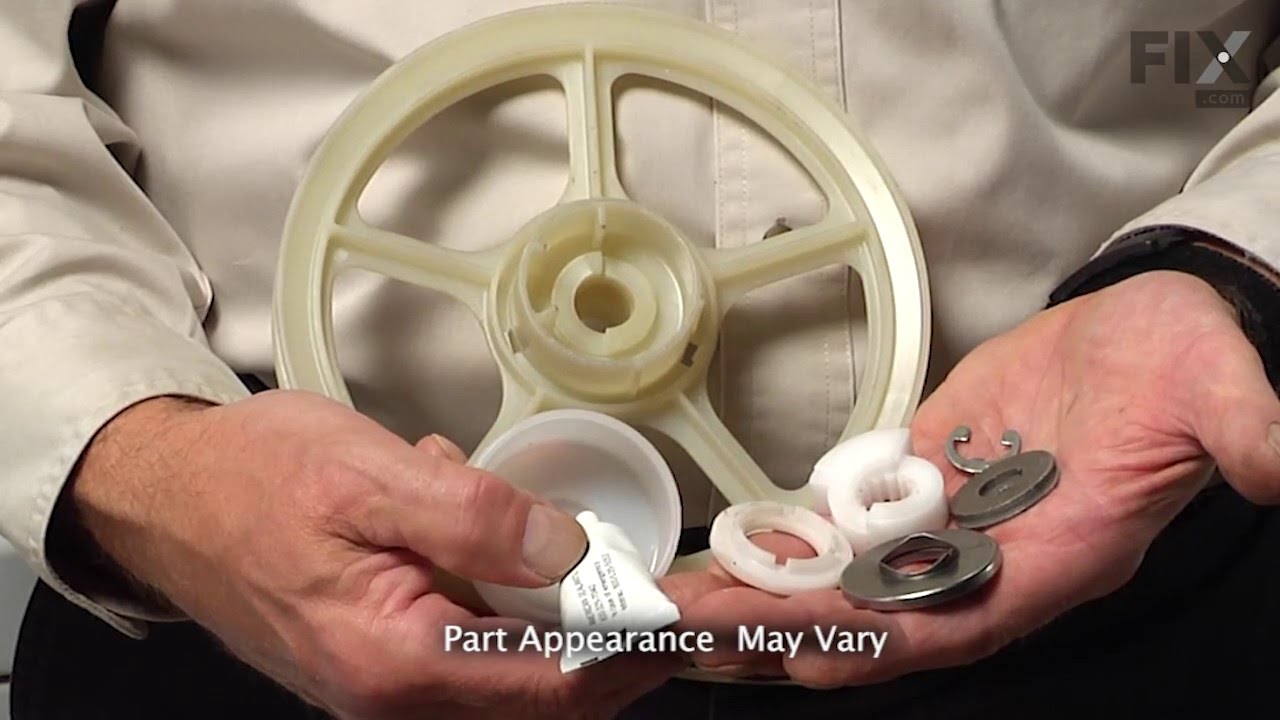
Also known as Thrust Bearing Kit. This kit includes the pulley, washer, thrust bearing, 2 upper race washers and 1 lower race washer. These parts are NOT available separately - they are ONLY availab...
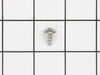
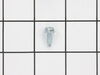
This is a multi-use screw and can be used on a variety of appliances. The measurements of the screw are: 8/18 x 3/8. *Please note: the screw is sold individually. Refer to the manual provided by the m...
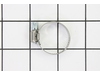
This hose clamp extends from half an inch to an inch in diameter. It is made entirely of metal and is intended for use with Maytag brand washing machines.
This is a multi-use cover screw. It fits appliances such as dryers, ranges, washers, dishwashers, refrigerators, air conditioners, washer dryer combos, freezers, wall ovens, microwaves, dehumidifiers,...
Ask our experts a question about this part and we'll get back to you as soon as possible!
2 questions answered by our experts.
< Prev
1
Next >
Sort by:
Search filter:
Clear Filter
Your search term must have 3 or more characters.
Keep searches simple. Use keywords, e.g. "leaking", "pump", "broken" or "fit".
Sorry, we couldn't find any existing answers that matched. Try using some different or simpler keywords, or submit your new question by using the "Ask a Question" button above!
Randy
December 18, 2022
First spin cycle causes the washer to make lots of internal noise not related to tub hitting walls of washer. Tub is a little unbalanced and rearranging load usually allows continuation. Any thoughts on issue? I looked into replacing the 8 springs but they are discontinued.
For model number PAV1000AWW
Hello Randy, thank you for contacting us. We have researched your model and would recommend checking the following parts to fix your issue: snubber ring, part number FIX11738845, pulley and bearing kit, part number FIX2003651, and suspension spring hook, part number FIX11738807. If you need help placing an order for it, please feel free to give us a call. We look forward to hearing from you!
Where is the filter located on this model and how do I access it to clean it?
For model number PAV1000AWW
Hello Cosette, thank you for getting in touch. According to your washer's user manual, your washing machine features an Automatic Lint Filtering System that is specifically designed to be maintenance-free. The system continuously filters wash and rinse water during the agitation cycle to trap lint away from your clothes, storing it between the inner wash basket and the outer tub. Because the lint is automatically flushed away during the spin cycle, the manual explicitly states that the lint filtering system does not require cleaning. We hope this helps.
Was this helpful?
Thank you for voting!
Ask a Question
Ask our experts a question on this part and we'll respond as soon as we can.
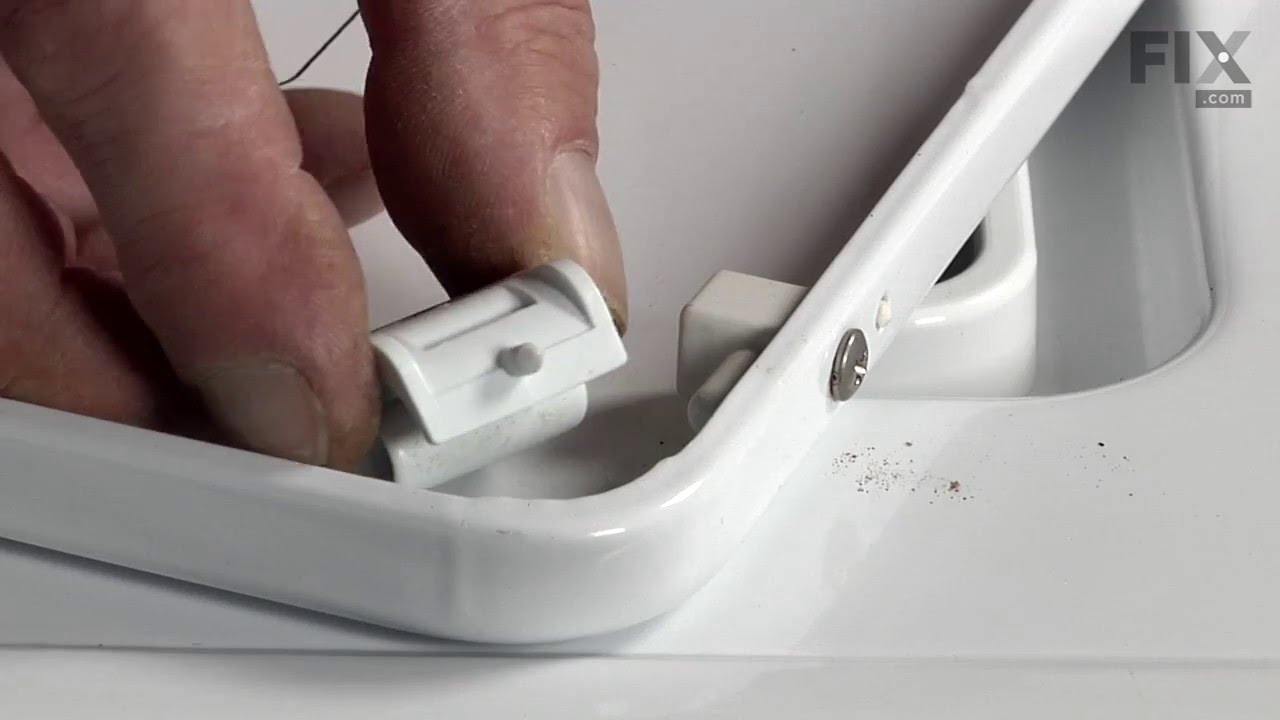
I used a flat screw driver to push in on the releases so I could raise the top of the machine. I then used a torx tool to remove both parts of the hinge, and then used a #2 phillips screw driver, on the new screws I'd also ordered, to re-attach both of the hinge parts. Every thing went just as anticipated.
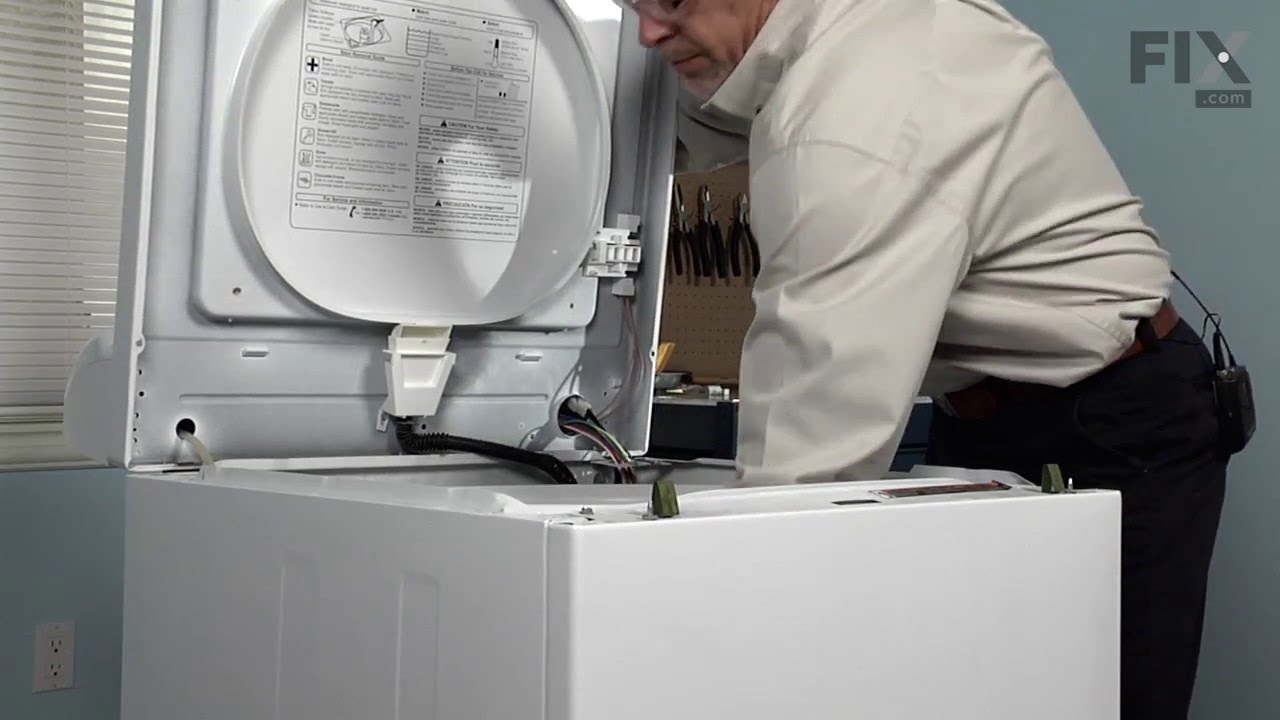
First unplug the washer for the electrical outlet. You will need to tip the washer back to get to the bottom of the machine. There you will see the belt that drives the transmission and the water pump from the motor. Remove the belt and set it to the side. Then you will need to gain access to the top side of the machine by gently using
... Read morea screwdriver to pry the front of the top up off the front panel on both sides then hinge it back out of the way. Use a nut driver to remove the two screws on the inside edge of the front panel and remove the front panel. Once the front panel is off you will see the water pump on the right hand side as you face the front of the machine. Remove the hose clamp on the water pump with the flat head screw driver or nut driver and use a pair of pliers to remove the compression clip on the water pump. Remove the 4 bolts holding the water pump in place. Reverse the entire process to put it back together. This job was very easy and I was only without a washer for 2 days because of partselect.com.