



Models
>
WM3470CM
WM3470CM LG Washer
Jump to:
Find Part by Name
Keep searches simple, eg. "belt" or "pump".
Models for WM3470CM
Click on the best match to narrow your results.
Diagrams for WM3470CM
Viewing 3 of 3


Keep searches simple, eg. "belt" or "pump".

$80.25
The tub bearing supports the spin basket shaft at the back of the washing tub. If your washing machine will not spin, is leaking water, or if there is a loud screeching noise during the wash cycle, th...
In Stock
Order now and your part arrives by Nov 14

In Stock
Order now and your part arrives by Nov 14

On Order

In Stock
Order now and your part arrives by Nov 14

In Stock
Order now and your part arrives by Nov 14

$157.25
If your washer isn’t locking or starting like it should, this replacement door lock switch could be the fix you need. It helps your machine know when the door is closed so it can lock and begin the cy...
In Stock
Order now and your part arrives by Nov 14

In Stock
Order now and your part arrives by Nov 14

$52.75
This part is the replacement rear tub gasket for your washer. It is made of black plastic and is approximately 3-1/4 inches in diameter. The rear tub gasket forms a watertight seal between the rear tu...
In Stock
Order now and your part arrives by Nov 14

In Stock
Order now and your part arrives by Nov 14

In Stock
Order now and your part arrives by Nov 14

In Stock
Order now and your part arrives by Nov 14

In Stock
Order now and your part arrives by Nov 14
Common Problems and Symptoms for WM3470CM
Viewing 7 of 7Leaking
Fixed by these parts
How to fix it
Lid or door won’t close
Fixed by these parts
How to fix it
Locking Issues
Fixed by these parts
How to fix it
Will Not Start
Fixed by these parts
How to fix it
Spinning Issues
Fixed by these parts

How to fix it
Water Filling Issues
Fixed by these parts
How to fix it
Noisy and Marks Left on Clothes
Fixed by these parts
How to fix it
Keep searches simple. Use keywords, e.g. "leaking", "pump", "broken" or "fit".
- Customer:
- CURTIS from OLIVE BRANCH, MS
- Parts Used:
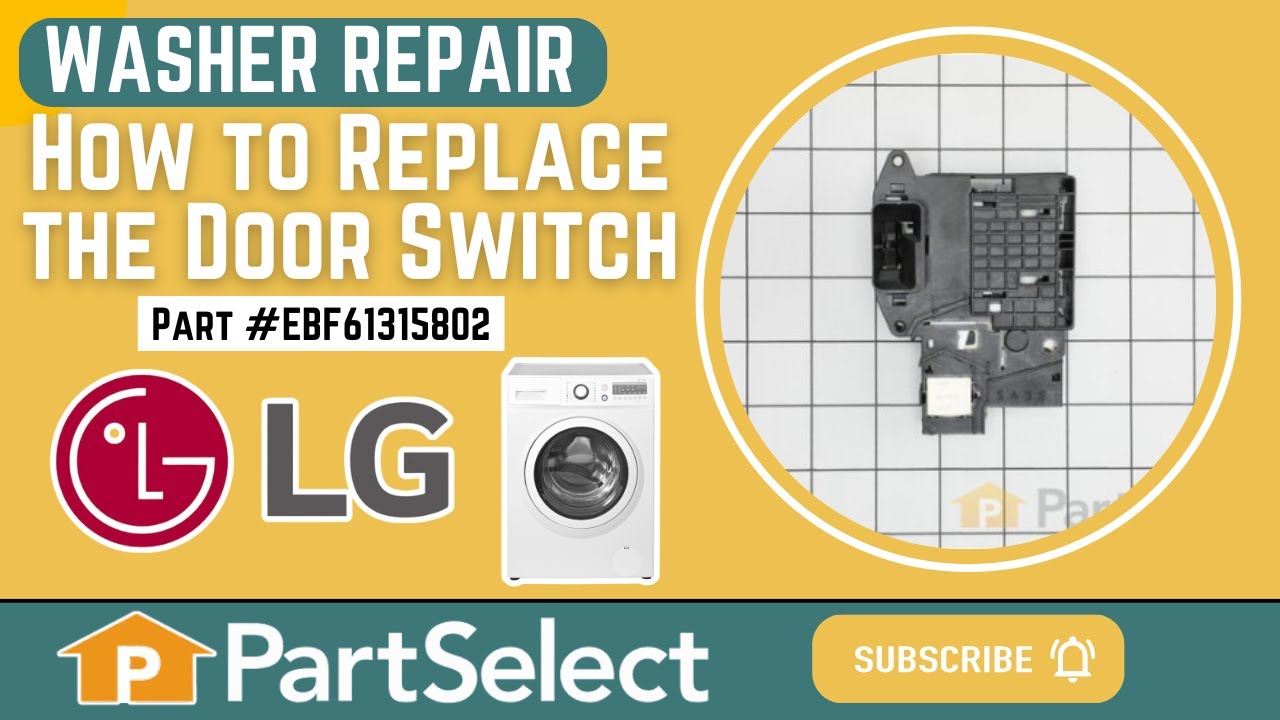
- EBF61315802
- Difficulty Level:
- Really Easy
- Total Repair Time:
- 15 - 30 mins
- Tools:
- Nutdriver, Screw drivers
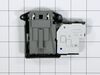
Washer did not recognize the door was shut
I removed the Wire and spring from the tub seal and then removed the seal on the side of the washer that contains the Door switch. I removed the two screws that held the door switch in place while holding the switch with my other hand. Once the screws where out I pulled the switch assembly out thru the gap and removed the wires from old
... Read more
assembly. I then plugged the wires into the new assembly aligned the holes up and put the screws back in the new door switch assembly. I then put the door seal and tub seal holder back on. This took about 15 minutes. I do recomend that you unplug the washer before starting this process.
Read less
Was this instruction helpful to you?
Thank you for voting!
- Customer:
- Marcia from TROY, OH
- Parts Used:
- 5221ER1003S
- Difficulty Level:
- Very Difficult
- Total Repair Time:
- More than 2 hours
- Tools:
- Screw drivers, Wrench (Adjustable)
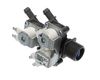
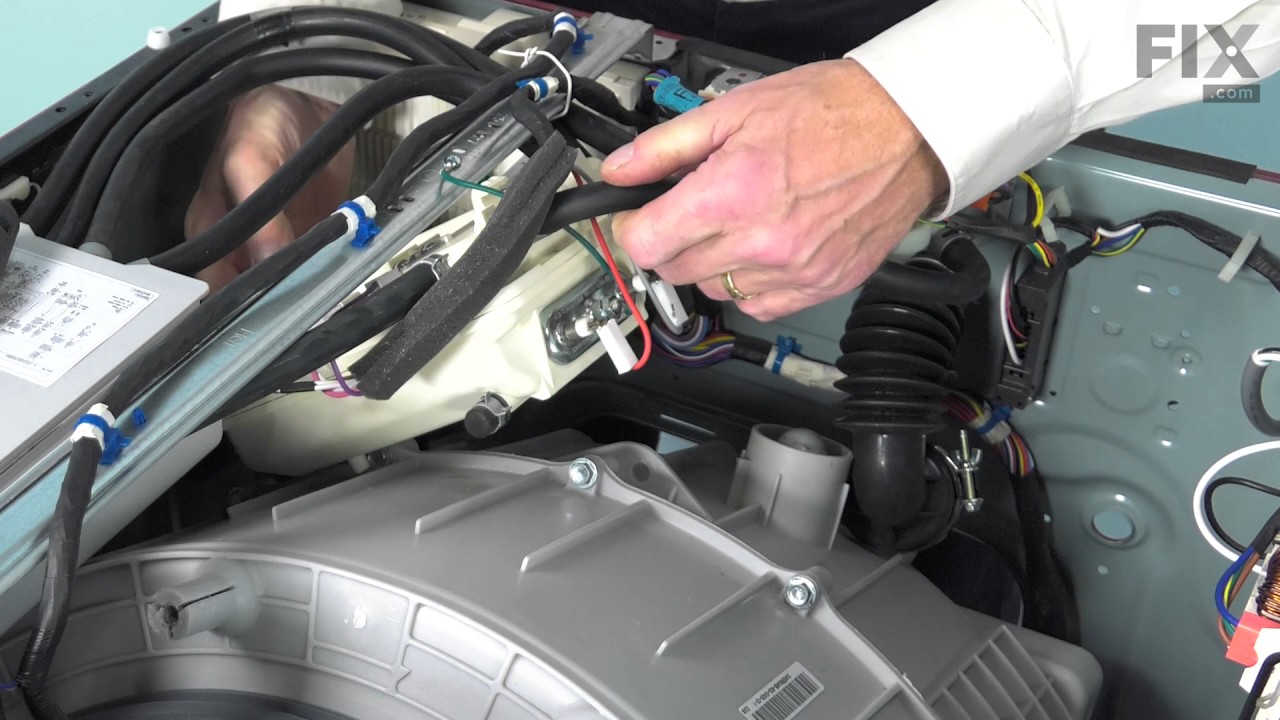
Water inlet valve relacement
Installed correctly but PartsSelect sent WRONG part, but part number on bag was correct. Installation of WRONG part fried the main board. A $100 fix is now costing me about $1300.00 for technician service and new unit. I asked PartsSelect to help with cost since outcome is due to their error. Totally unsatisfied. Will not suggest company
... Read more
to other DIYers.
Read less
Was this instruction helpful to you?
Thank you for voting!
- Customer:
- Thomas from CRIPPLE CREEK, CO
- Parts Used:
- 5220FR2006Z
- Difficulty Level:
- Really Easy
- Total Repair Time:
- 30 - 60 mins
- Tools:
- Screw drivers, Socket set
Getting IE code
Due to limited space I was only able to pull the washer forward enough to disconnect the water lines and unplug the power When removing the screws that hold the top on there are two on each side you need to remove the bottom one to allow the top to slide back a few inches, once the top is removed, then remove the power leads to the v
... Read more
alve, there is one screw that holds the bracket that mounts the hot and cold water valves. Remove the water lines noting which on get to each port on the valve The valves are set in a slot on the bracket. Carefully remove and replace the valve and replace it. Remount the valve bracket connect the hoses and the water lines. Replace the cover and your done. ( I did run the machine before replacing the cover just to make sure there were no leaks)
Read less
Was this instruction helpful to you?
Thank you for voting!