



Models
>
WM3570HWA
WM3570HWA (F14F1CDYP3) LG Washer
Jump to:
Find Part by Name
Keep searches simple, eg. "belt" or "pump".
Keep searches simple, eg. "belt" or "pump".

$65.37
This is a drain pump motor assembly for washers. This OEM part is responsible for removing water from the washer during the drain part of the cycle. When this part is clogged, damaged or defective it ...
In Stock
Order now and your part arrives by Nov 28

$37.35
Regulate the washer?s hot water supply with this single-solenoid inlet valve. It links the household hot water line to the internal filling system, opening on a control request and closing when the fi...
In Stock
Order now and your part arrives by Nov 28

$67.26
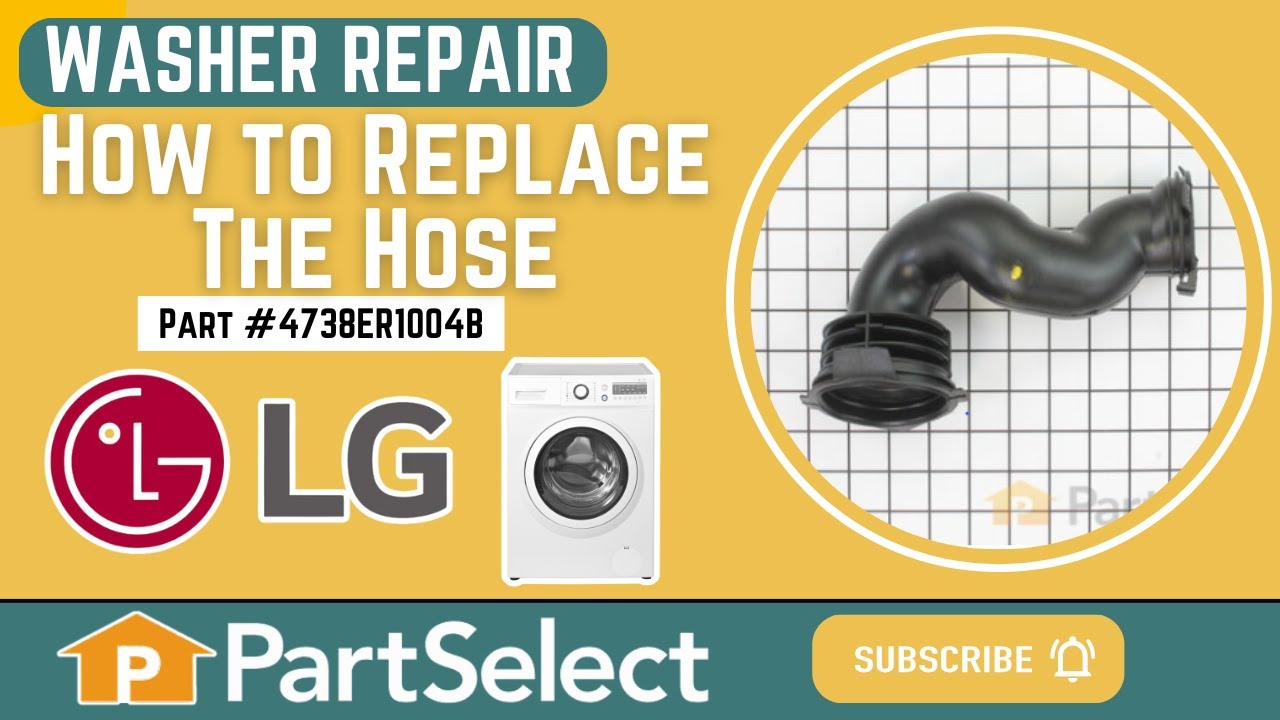
Water leaves the washer tub through this flexible tub-to-pump drain hose before reaching the drain pump housing. Its corrugated bellows section bends with tub movement, helping maintain the connection...
In Stock
Order now and your part arrives by Nov 28

$46.07
This washer rear tub ball bearing supports smooth drum rotation. Located at the back of the outer tub, it supports the inner drum shaft and reduces friction during washing and spinning. Installing a r...
In Stock
Order now and your part arrives by Nov 28

$26.28
Liquid detergent stays contained in this removable dispenser cup until water flushes it into the washer during the wash cycle. The blue plastic insert sits inside the main detergent drawer and can be ...
In Stock
Order now and your part arrives by Nov 28

$142.60
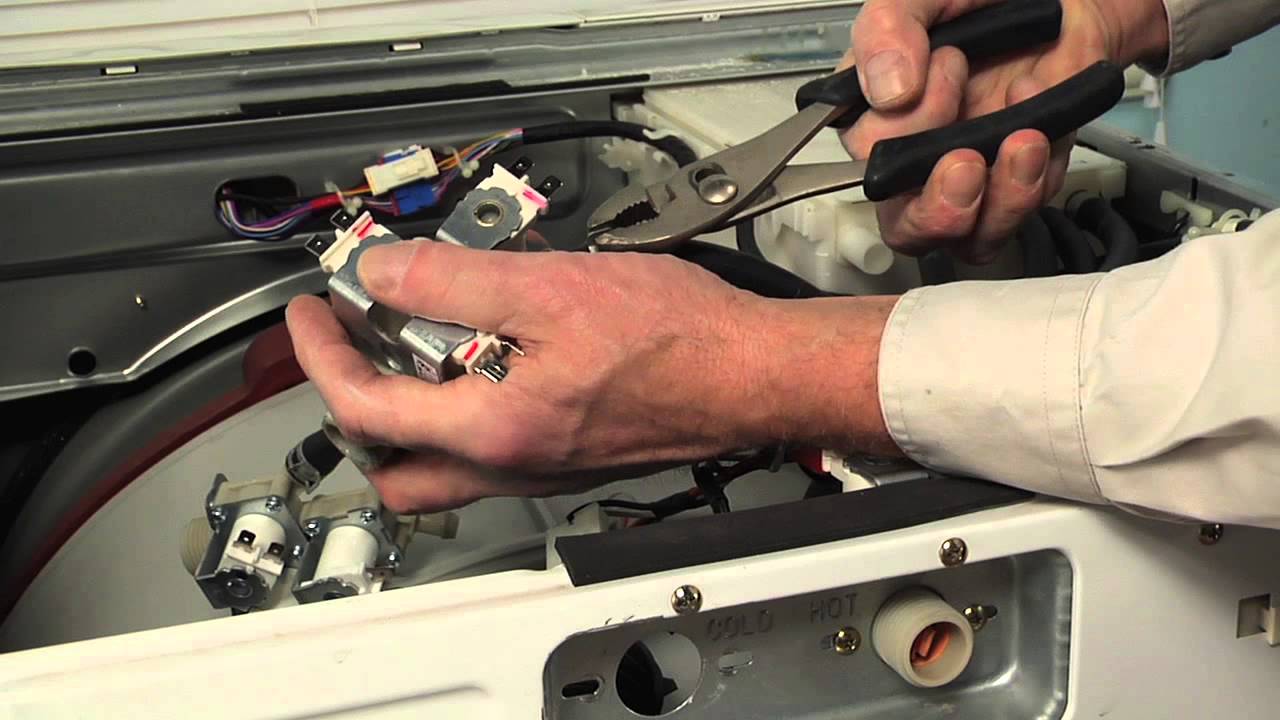
Cold water reaches the washer tub and dispenser through this triple-solenoid inlet valve assembly. Its three controlled outlets open during selected cycle stages, directing water where needed before c...
In Stock
Order now and your part arrives by Nov 28

$43.95
Water and detergent travel from the dispenser into the washer tub through this flexible rubber dispenser hose. Its bellows folds allow the hose to flex as the tub moves during operation, helping maint...
In Stock
Order now and your part arrives by Nov 28

$114.57
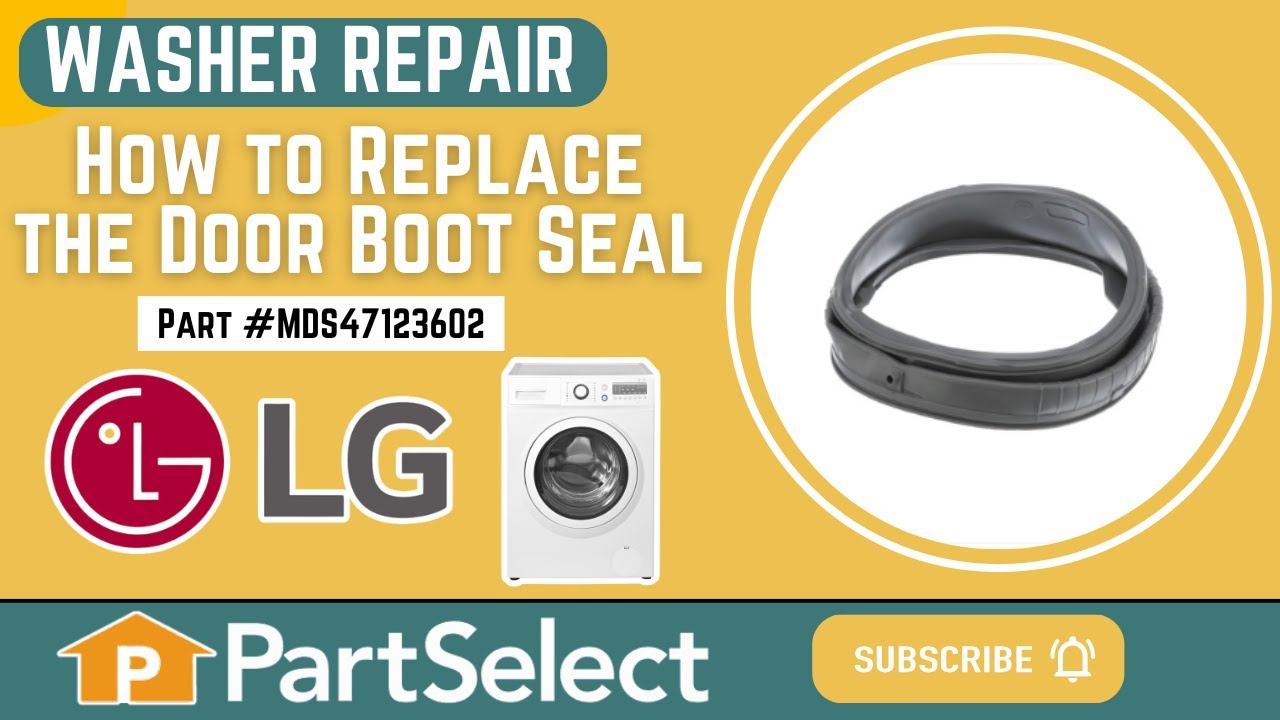
This flexible gasket seals the door on your LG or Kenmore front-load washer to keep water from leaking during cycles. If you’re seeing puddles, smelling mildew, or noticing moisture around the door, r...
In Stock
Order now and your part arrives by Nov 28

$38.45
The removable filter and cap assembly provides access for routine cleaning and seals the filter opening when tightened. Replace the damaged assembly to restore the debris trap and sealed access point....
In Stock
Order now and your part arrives by Nov 28

$80.25
Smooth, quiet drum movement relies on this washer tub ball bearing. Mounted at the back of the outer tub, it supports the inner drum shaft and reduces friction during wash and spin cycles. This OEM pa...
In Stock
Order now and your part arrives by Nov 28

In Stock
Order now and your part arrives by Nov 28

$52.75
Suspend the outer tub from the cabinet with this heavy-duty spring for select front-load washers and washer-dryer combinations. It carries the tub while absorbing movement through washing and spinning...
In Stock
Order now and your part arrives by Nov 28
Common Problems and Symptoms for WM3570HWA
Viewing 16 of 16Will not drain
Fixed by these parts
How to fix it
Leaking
Fixed by these parts
How to fix it
Draining Issues
Fixed by these parts
How to fix it
Lid or door won’t close
Fixed by these parts
How to fix it
Water Filling Issues
Fixed by these parts
How to fix it
Locking Issues
Fixed by these parts
How to fix it
Does not dispense fabric softener or detergent
Fixed by these parts
How to fix it
Noisy and Marks Left on Clothes
Fixed by these parts


How to fix it
Engine runs but does not pump water
Fixed by these parts
How to fix it
No hot or cold water
Fixed by these parts
How to fix it
Will Not Start
Fixed by these parts
How to fix it
Spinning Issues
Fixed by these parts
How to fix it
Noisy
Fixed by these parts
How to fix it
Burning smell
Fixed by these parts
How to fix it
Not draining
Fixed by these parts
How to fix it
Marks left on clothes
Fixed by these parts
How to fix it
Keep searches simple. Use keywords, e.g. "leaking", "pump", "broken" or "fit".
- Customer:
- Jorge from Apple Valley, CA
- Parts Used:
- 4681EA2001T
- Difficulty Level:
- Easy
- Total Repair Time:
- 1- 2 hours
- Tools:
- Screw drivers
Washing maching wouldn't drain
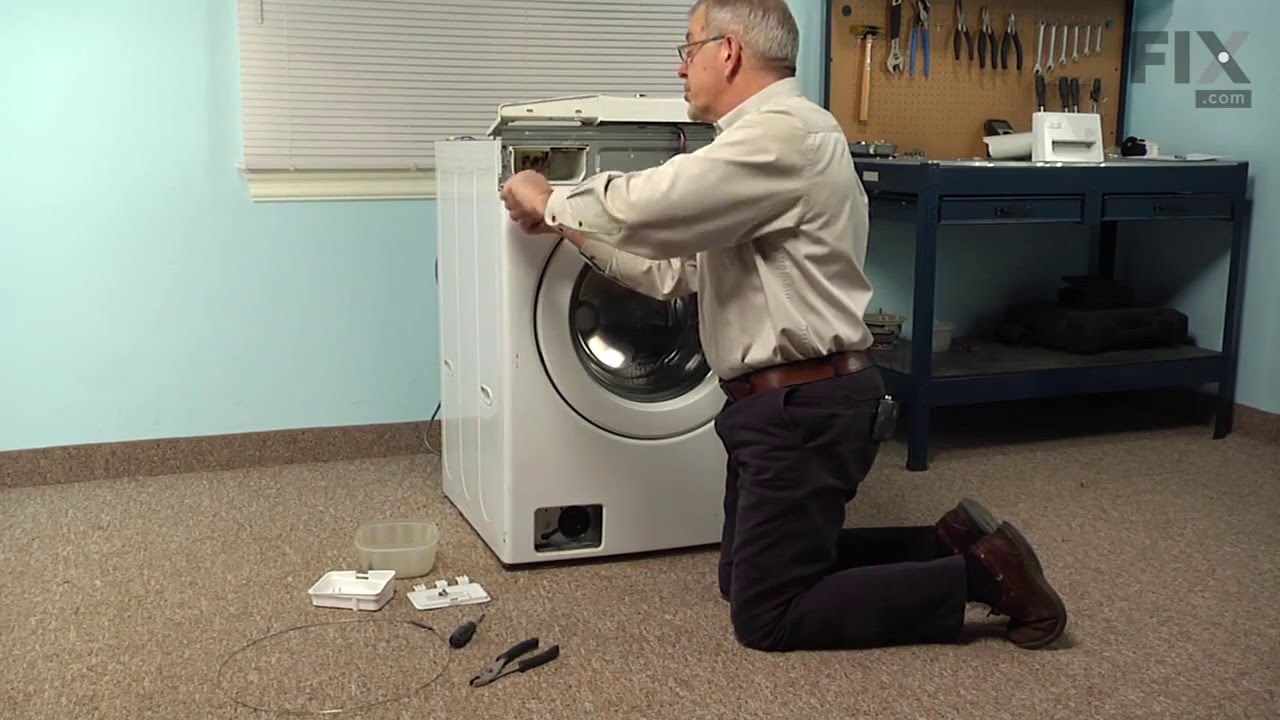
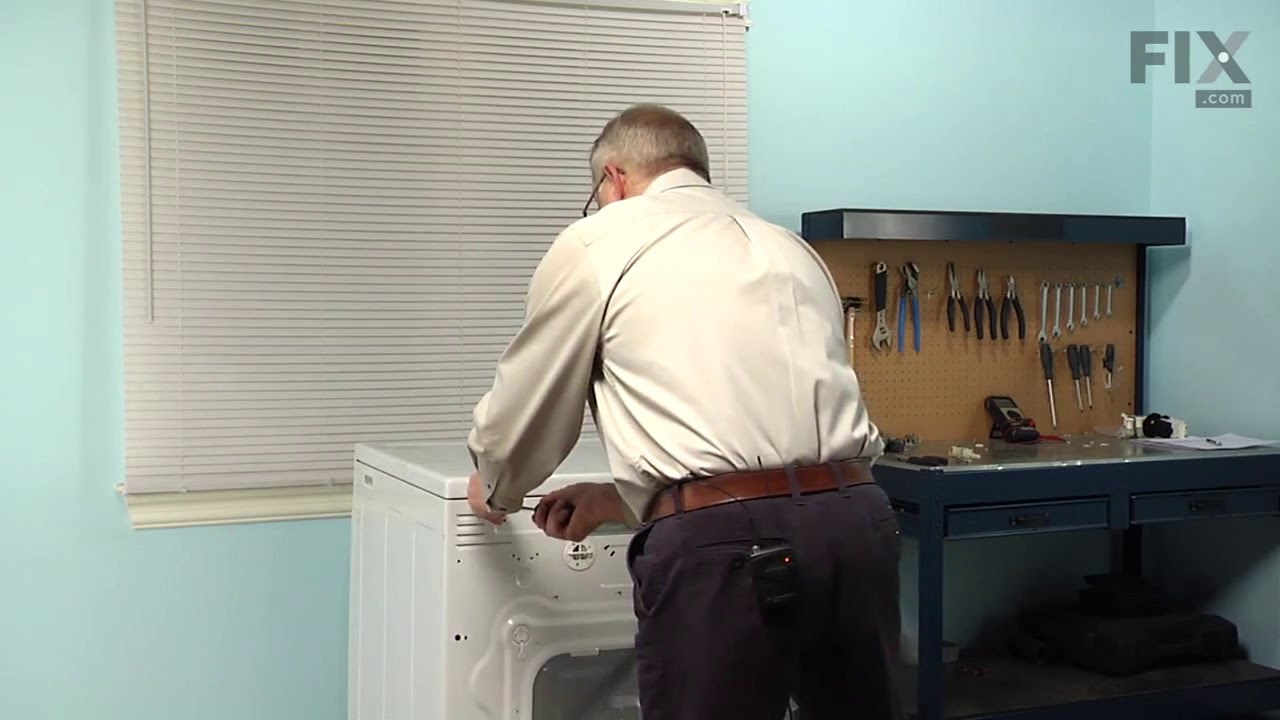
Removed the top of the washer by removing the 4 back screws and 2 small brackets. Then I removed the front panel, this was actually the hardest part, 2 screws and 8 tabs that you pop out carefully from the top of the panel. I only disconnected the power button and was able to rest the panel on top of the washer. The rest of the washer cam
... Read more
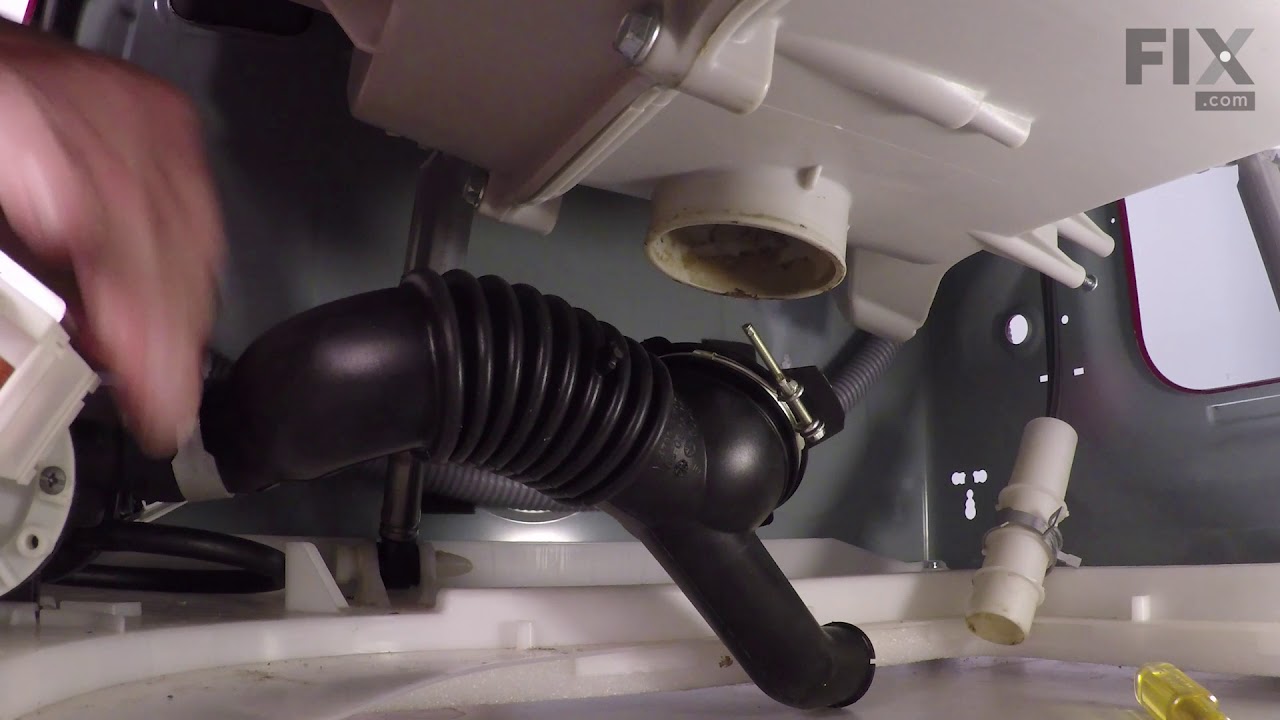
e apart quickly just moving down the front of the washer and removing the door, latch, tub gasket, drain cover. Removing the pump was just a mater of disconnecting the drain hoses, and one clip under the drain assembly. 3 screws attach the drain to assembly to the pump and only 2 wires that are clearly marked. Reassembly is just going back through in reverse order of disassenbly. The best thing about this is that it all comes apart with a standard phillips screwdriver.
Read less
Was this instruction helpful to you?
Thank you for voting!
- Customer:
- Michael from RALEIGH, NC
- Parts Used:
- 4681EA2001T
- Difficulty Level:
- Really Easy
- Total Repair Time:
- 30 - 60 mins
- Tools:
- Pliers, Screw drivers
noisy operation, sometimes did not drain, gave OE code
Thank you for the very helpful YouTube video. After watching the video, I was able to diagnose the problem, buy the part from your website, and complete the repair. This is my personal machine - I am not a professional repairman.
Was this instruction helpful to you?
Thank you for voting!
- Customer:
- Leslie from STOWE, VT
- Parts Used:
- 4738ER1002A
- Difficulty Level:
- Easy
- Total Repair Time:
- 30 - 60 mins
- Tools:
- Screw drivers
leaking tub-to-pump drain hose
Pull washer away from wall. Unplug cord and remove drain hose from receptacle. Remove 4 screws holding panel to rear of washer. Squeeze and slide back hose clamps on each end of drain hose and loosen center clamp with screwdriver. Remove old hose. Reinstall new hose in reverse order using existing clamps. Re-install back panel.
Was this instruction helpful to you?
Thank you for voting!