



Models
>
11029133411
11029133411 Kenmore Washer
Jump to:
Find Part by Name
Keep searches simple, eg. "belt" or "pump".
Models for 11029133411
Click on the best match to narrow your results.
Diagrams for 11029133411
Viewing 6 of 6


Keep searches simple, eg. "belt" or "pump".

$7.60
This is a multi-use screw and can be used on a variety of appliances. The measurements of the screw are: 8/18 x 3/8. *Please note: the screw is sold individually. Refer to the manual provided by the m...
In Stock
Order now and your part arrives by Oct 29
This 18 ml bottle of white appliance touch-up paint is used to cover scratches or marks on your appliance. The white touch-up paint can be used on refrigerators, microwaves, ranges, clothes dryers, an...
No Longer Available
$82.21
This lid lock assembly is a safety-critical component found in many top-load washing machines. Positioned beneath the washer lid, it includes both the locking mechanism and the wiring harness needed t...
In Stock
Order now and your part arrives by Oct 29

In Stock
Order now and your part arrives by Oct 29
In Stock
Order now and your part arrives by Oct 29
In Stock
Order now and your part arrives by Oct 29
In Stock
Order now and your part arrives by Oct 29

In Stock
Order now and your part arrives by Oct 29
$49.29
This clutch slider kit is part of the washer’s transmission system, helping control the agitator’s speed and direction during wash and spin cycles. It includes the clutch band, slider, and lock ring. ...
In Stock
Order now and your part arrives by Oct 29
$232.90
This drum shaft assembly is for washers. Drum shaft assembly connects the spin basket to the drive motor to spin the basket. Unplug the washer before installing this part. Wear work gloves to protect your hands.
In Stock
Order now and your part arrives by Oct 29
$21.82
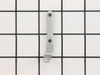
This lid hinge is a genuine OEM replacement part for your washing machine. This hinge is for the left side of your lid, although it is a good idea to replace btoh hinges at once. The hinge holds up th...
In Stock
Order now and your part arrives by Oct 29
Common Problems and Symptoms for 11029133411
Viewing 12 of 12Leaking
Fixed by these parts

How to fix it
Lid or door won’t close
Fixed by these parts

How to fix it
Spinning Issues
Fixed by these parts
How to fix it
Will not agitate
Fixed by these parts
How to fix it
Shaking and Moving
Fixed by these parts

How to fix it
Locking Issues
Fixed by these parts
How to fix it
Will Not Start
Fixed by these parts
How to fix it
Noisy and Marks Left on Clothes
Fixed by these parts
How to fix it
Cycle Not Advancing
Fixed by these parts
How to fix it
Will not drain
Fixed by these parts
How to fix it
Draining Issues
Fixed by these parts
How to fix it
Spins slowly
Fixed by these parts
How to fix it


Keep searches simple. Use keywords, e.g. "leaking", "pump", "broken" or "fit".
- Customer:
- Charles from STARKVILLE, MS
- Parts Used:
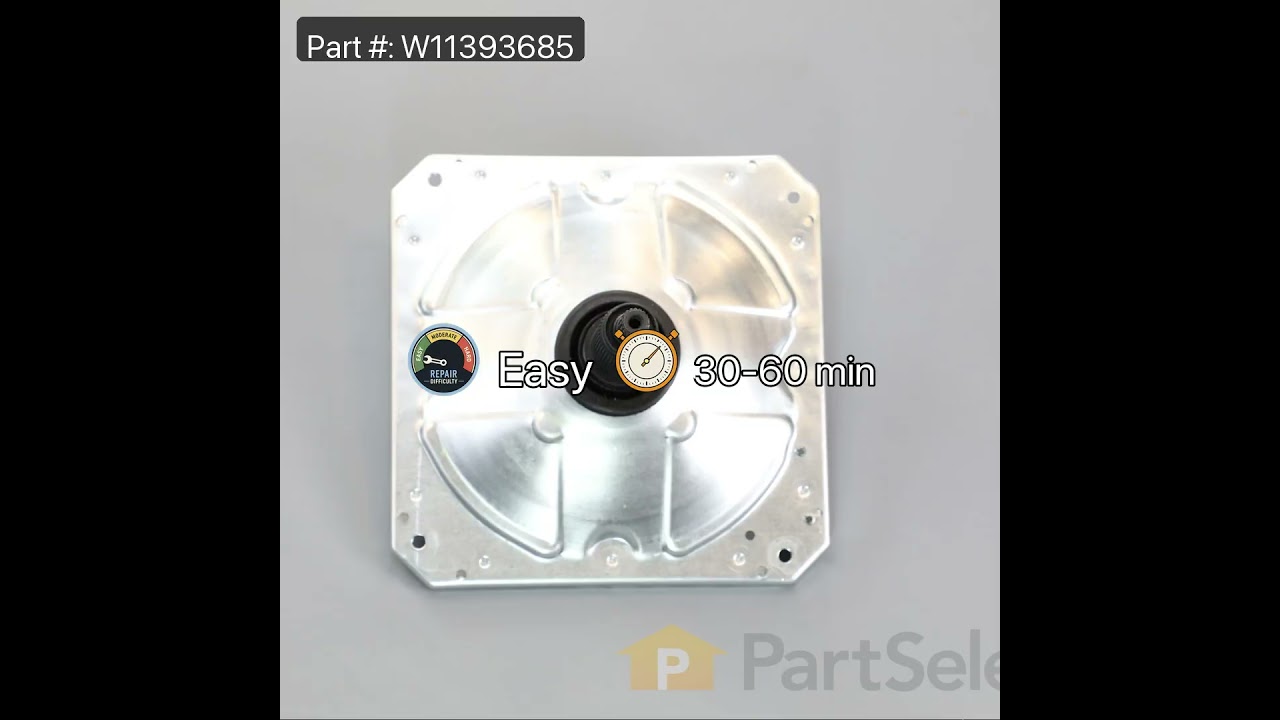
- W11393685
- Difficulty Level:
- Easy
- Total Repair Time:
- 1- 2 hours
- Tools:
- Nutdriver, Screw drivers, Socket set
Loud grinding noise when the washer was in use.
1.) disconnect power to your washer. Turn off water supply and disconnect from the washer.
open the washer top and remove plastic cap from the wash plate
2.) using 7/16 socket, remove bolt from the wash plate. If you can't remove it with a socket , I recommend using impact wrench.
3.) remove wash plate ... Read more ( you might need to spray penetrating oil or wd40 inside the bolt hole to loosen it.
Check to make sure the wash plate gear grooves are not worn down, if they are, replace it.
4.) using your Maytag specific spaner nut wrench, remove the spaner nut from the shaft of the gear case. This should be right underneath where the wash plate was. If you can't turn it by hand , use a rubber mallet or hammer to encourage it.
5.) some people remove the wash basket at this point. I don't think it is necessary.
6.) close your washing machine. Tape the top closed to keep it from flying open. Tilt your washer back and prop it up where you have access to the underside of the washing machine.
7) remove motor rotor bolt and pull rotor off of the motor.
8.) disconnect the two wire connectors that supply power to motor. using a socket, remove bolts that are keeping motor attached to the gear case.
9.) Now that the gear case is all the is remaining on the underside, you can remove the 4 bolts that are holding the gear case to the washer. Now try to pull gear case out.
10.) if gearcase will not pull out, lower washer back to upright position. Spray penetrating oil or wd40 around the shaft of the gearcase and allow it to sit for 5-10 minutes. Using a hammer, lightly tap on the shaft of the gearcase and it should now fall out. ( you might have to apply penetrating oil again, or apply more force with the hammer.
11.) reinstall motor to new gearcase. Insert new gear case to the washer. Reinstall bolts and reconnect power supply wires.
12. ReInstall spaner nut inside the washer, reinstall wash plate.
open the washer top and remove plastic cap from the wash plate
2.) using 7/16 socket, remove bolt from the wash plate. If you can't remove it with a socket , I recommend using impact wrench.
3.) remove wash plate ... Read more ( you might need to spray penetrating oil or wd40 inside the bolt hole to loosen it.
Check to make sure the wash plate gear grooves are not worn down, if they are, replace it.
4.) using your Maytag specific spaner nut wrench, remove the spaner nut from the shaft of the gear case. This should be right underneath where the wash plate was. If you can't turn it by hand , use a rubber mallet or hammer to encourage it.
5.) some people remove the wash basket at this point. I don't think it is necessary.
6.) close your washing machine. Tape the top closed to keep it from flying open. Tilt your washer back and prop it up where you have access to the underside of the washing machine.
7) remove motor rotor bolt and pull rotor off of the motor.
8.) disconnect the two wire connectors that supply power to motor. using a socket, remove bolts that are keeping motor attached to the gear case.
9.) Now that the gear case is all the is remaining on the underside, you can remove the 4 bolts that are holding the gear case to the washer. Now try to pull gear case out.
10.) if gearcase will not pull out, lower washer back to upright position. Spray penetrating oil or wd40 around the shaft of the gearcase and allow it to sit for 5-10 minutes. Using a hammer, lightly tap on the shaft of the gearcase and it should now fall out. ( you might have to apply penetrating oil again, or apply more force with the hammer.
11.) reinstall motor to new gearcase. Insert new gear case to the washer. Reinstall bolts and reconnect power supply wires.
12. ReInstall spaner nut inside the washer, reinstall wash plate.
Read less
Was this instruction helpful to you?
Thank you for voting!
- Customer:
- Roy from MAYNARDVILLE, TN
- Parts Used:
- W11393685
- Difficulty Level:
- Really Easy
- Total Repair Time:
- 30 - 60 mins
- Tools:
- Nutdriver, Pliers, Screw drivers
Washer making noise on spin cycle
Removed two screws on back of lid to raise top removed tub one bolt and one spanernut pulled tub lowered top reinstalled screws laid washer down to get to bottom of washer unplugged wiring removed four bolts pulled gear box and motor removed motor from gear box installed motor on new gear box reassemble washer
Was this instruction helpful to you?
Thank you for voting!
- Customer:
- Thomas from MILLBURY, OH
- Parts Used:
- W10752187
- Difficulty Level:
- Easy
- Total Repair Time:
- 30 - 60 mins
- Tools:
- Nutdriver, Pliers, Screw drivers, Socket set
Worn out splines connecting transmission driveshaft to agitator.
DIY'er working on a Maytag Centennial type washing machine should be aware that replacing a a transmission or agitator due to worn out splines is only half a job done well. I originally replaced my transmission due to worn splines, only to discover later that the worn agitator splines caused the new transmission splines to wear out at an
... Read more
accelerated rate. Transmission and Agitator should be replaced together, along with a new Agitator mounting bolt. There are plenty of video's online of how to do this repair so I won't get into that here. Just wanted to drop the above sage advice. Transmissions for these washers aren't cheap.
Read less
Was this instruction helpful to you?
Thank you for voting!