



Models
>
VLLR1020T0WO
VLLR1020T0WO Hotpoint Washer
Jump to:
Find Part by Name
Keep searches simple, eg. "belt" or "pump".
Diagrams for VLLR1020T0WO
Viewing 4 of 4


Keep searches simple, eg. "belt" or "pump".
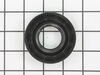
$20.72
If your washer is leaking when it is filling or agitating, you may need to replace the tub seal. The tub seal is found between the transmission and the outer tub in your washing machine. This genuine ...
In Stock
Order now and your part arrives by Sep 13
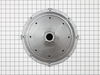
$85.40
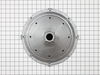
This part is the replacement inner tub base hub for your washer. It is made of metal and is approximately 15 inches in diameter. The inner tub base hub fits between the wash tub and the spin basket, a...
In Stock
Order now and your part arrives by Sep 13
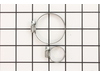
$25.10
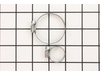
This hose clamp kit contains two clamps. The smaller of the two is an inch in diameter while the larger of the two is two inches in diameter.
In Stock
Order now and your part arrives by Sep 13
In Stock
Order now and your part arrives by Sep 13
In Stock
Order now and your part arrives by Sep 13


Special Order
Special Order
Common Problems and Symptoms for VLLR1020T0WO
Viewing 4 of 4Leaking
Fixed by these parts
How to fix it
Will not agitate
Fixed by these parts
How to fix it
Marks left on clothes
Fixed by these parts
How to fix it
Spinning Issues
Fixed by these parts
How to fix it
Keep searches simple. Use keywords, e.g. "leaking", "pump", "broken" or "fit".
- Customer:
- Jim from Marion, MA
- Parts Used:
- WH45X10027
- Difficulty Level:
- A Bit Difficult
- Total Repair Time:
- 1- 2 hours
- Tools:
- Pliers, Screw drivers, Wrench (Adjustable)
Loud bang during spinning
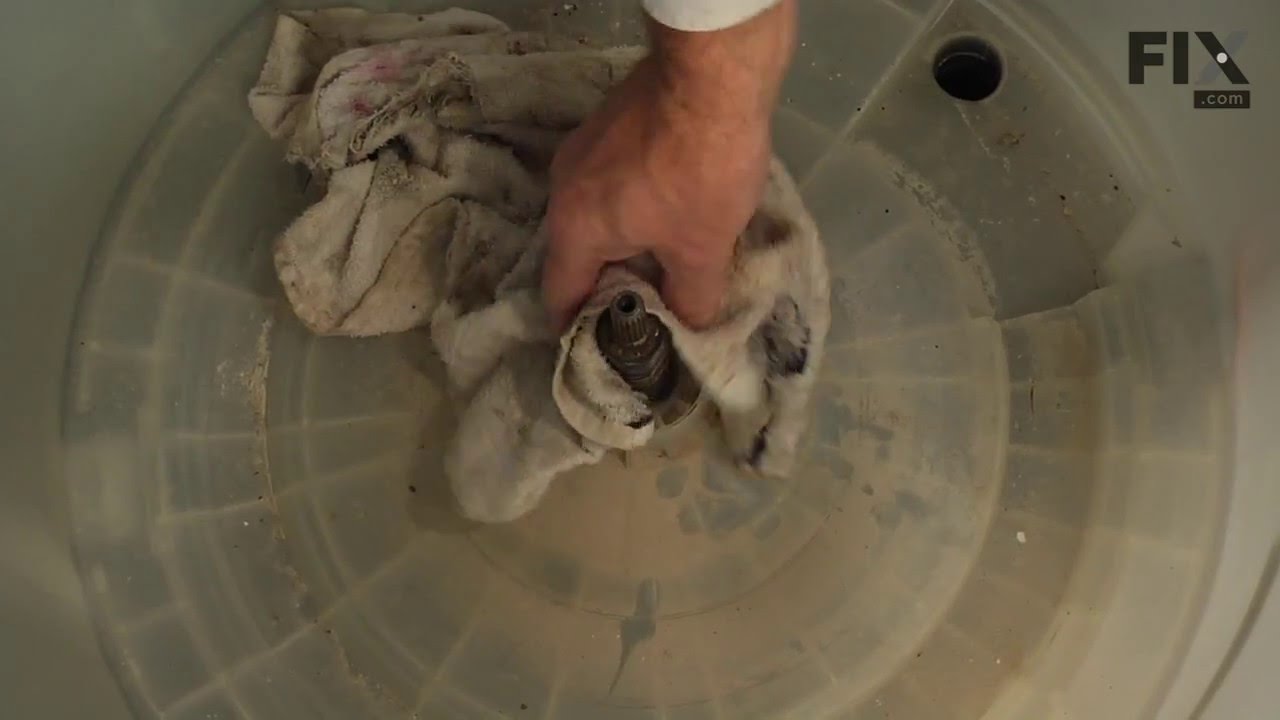
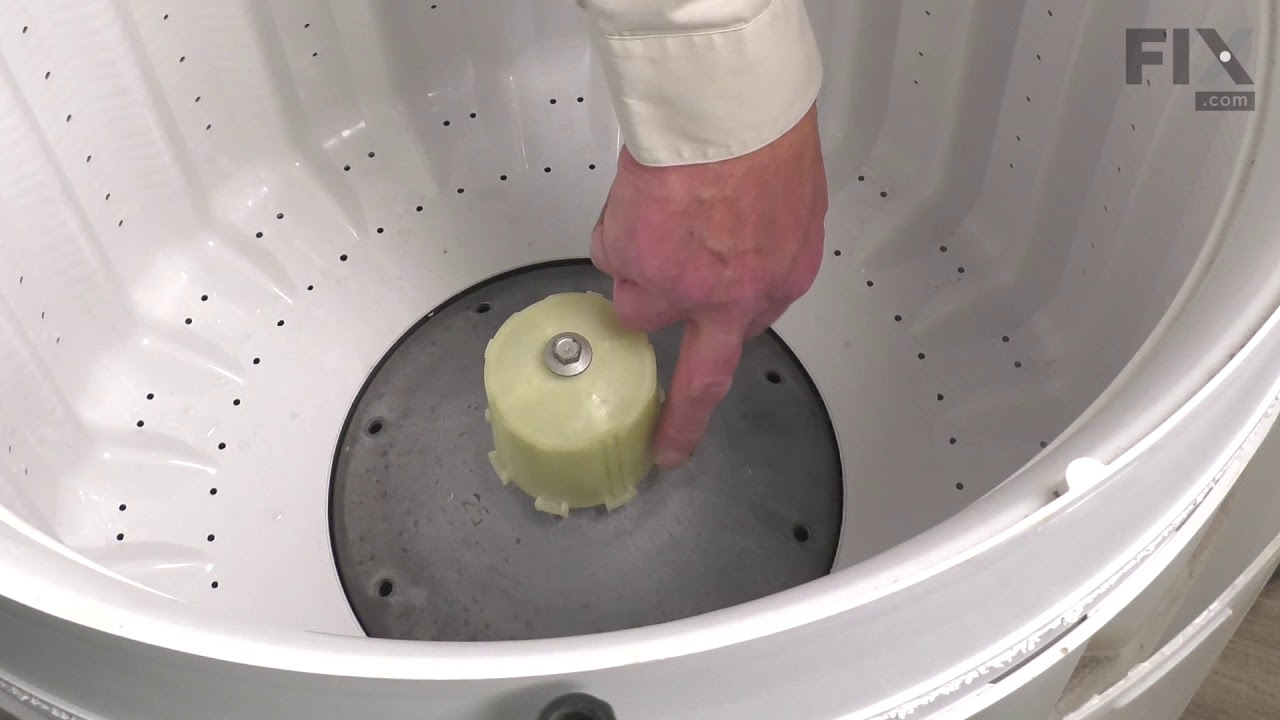
Remove aggitator, disconect 4 support straps, pry off clips/ latches on top of drum. Remove small bolt that holds on the small plastic unit unto trans.
That will give you access to the large bolt that holds the hub in place. This nut is on tight use a pipe wrench and adjustable wrench and TURN CLOCKWISE TO REMOVE - lock for direction ... Read more on nut.
Remove the bin gently and turn over to remove the small bolts that hold the hub in place.
Installation is reverse of removal.
That will give you access to the large bolt that holds the hub in place. This nut is on tight use a pipe wrench and adjustable wrench and TURN CLOCKWISE TO REMOVE - lock for direction ... Read more on nut.
Remove the bin gently and turn over to remove the small bolts that hold the hub in place.
Installation is reverse of removal.
Read less
Was this instruction helpful to you?
Thank you for voting!
- Customer:
- James from Lapeer, MI
- Parts Used:
- WH45X10027
- Difficulty Level:
- A Bit Difficult
- Total Repair Time:
- More than 2 hours
- Tools:
- Pliers, Screw drivers, Socket set, Wrench (Adjustable), Wrench set
The zinc drive hub that connects the transmission to the tub had corroded away.
It was almost a complete tear down. Most difficult part was discivering how to remove the front panel. Slip a putty knife between the top and front covers. push and depress the spring tab on each side. The left hand nut on the hub was difficult. I had to get a neighbor to hold a large pair of pliers while I put a pipe wrench on the nut an
... Read more
d hit it with a 2 lb. hammer in order to break it loose. Puting it back together do not forget to reconnect the level sensing hose to the level selector, I did. Machine will not perform without it. You can do it! I did.
Read less
Was this instruction helpful to you?
Thank you for voting!
- Customer:
- Tom from VERMILLION, SD
- Parts Used:
- WH02X10383
- Difficulty Level:
- Really Easy
- Total Repair Time:
- More than 2 hours
- Tools:
- Nutdriver, Socket set
Leak
You tube is the only way to go!
Was this instruction helpful to you?
Thank you for voting!