



Models
>
WPSQ4160T2AA
WPSQ4160T2AA General Electric Washer
Jump to:
Find Part by Name
Keep searches simple, eg. "belt" or "pump".
Diagrams for WPSQ4160T2AA
Viewing 4 of 4


Keep searches simple, eg. "belt" or "pump".

In Stock
Order now and your part arrives by Aug 9
$25.10
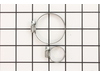
This hose clamp kit contains two clamps. The smaller of the two is an inch in diameter while the larger of the two is two inches in diameter.
In Stock
Order now and your part arrives by Aug 9
In Stock
Order now and your part arrives by Aug 9
Special Order
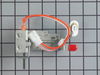
The pin on the lid pushes on the lever of the lid switch to tell the machine that the lid is closed.
No Longer Available
Special Order
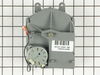
The timer controls most of the operations of the washer: water level, tub filling and emptying, length of cycles, and cycle setting sequences.
No Longer Available
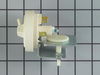
This part is located behind the control panel. It helps determine the level of water in the washer. As the water fills the hose, while tub is filling, it will push the air against a diaphragm inside t...
No Longer Available
Special Order
In Stock
Order now and your part arrives by Aug 9
In Stock
Order now and your part arrives by Aug 9
Common Problems and Symptoms for WPSQ4160T2AA
Viewing 3 of 3Leaking
Fixed by these parts

How to fix it
Will not agitate
Fixed by these parts
How to fix it
Noisy and Marks Left on Clothes
Fixed by these parts
How to fix it
Keep searches simple. Use keywords, e.g. "leaking", "pump", "broken" or "fit".
- Customer:
- Stephen from Woodbridge, VA
- Parts Used:
- WH12X1043
- Difficulty Level:
- Easy
- Total Repair Time:
- Less than 15 mins
- Tools:
- Screw drivers
Lid switch failed
First removed front washer access panel.
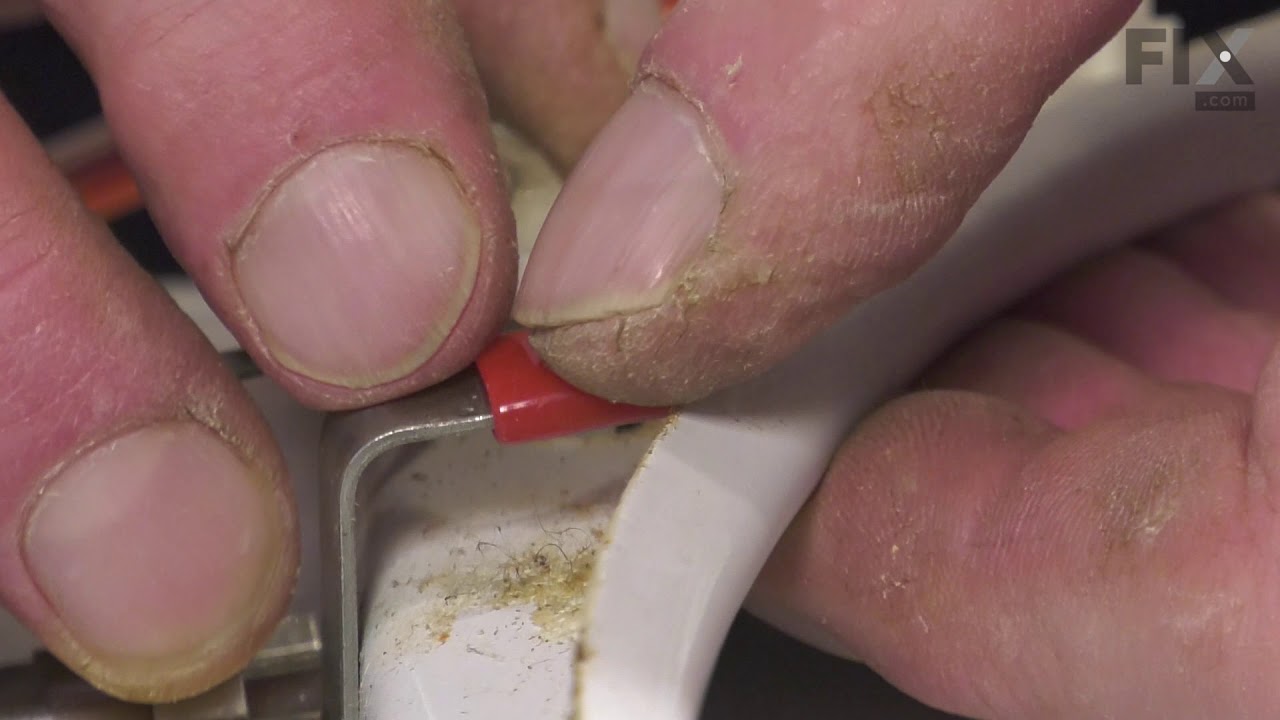
Next: removed top panel torx screws and disconnected lid switch wiring connector
Next: removed washer top/lid
Next: removed inoperative lid switch (two phillips head screws)
Next: installed new lid switch and screws
Next: installed washer top and connected lid switch wire c ... Read more onnector
Next: installed control panel and screws
Next: tested installation
Next: installed front washer access panel
Easy repair. FYI, Parts Select had best price and part arrived within two days of ordering! Highly recommend them for your parts.
Next: removed top panel torx screws and disconnected lid switch wiring connector
Next: removed washer top/lid
Next: removed inoperative lid switch (two phillips head screws)
Next: installed new lid switch and screws
Next: installed washer top and connected lid switch wire c ... Read more onnector
Next: installed control panel and screws
Next: tested installation
Next: installed front washer access panel
Easy repair. FYI, Parts Select had best price and part arrived within two days of ordering! Highly recommend them for your parts.
Read less
Was this instruction helpful to you?
Thank you for voting!
- Customer:
- Dennis from Burley, ID
- Parts Used:
- WH12X10069
- Difficulty Level:
- Really Easy
- Total Repair Time:
- Less than 15 mins
- Tools:
- Screw drivers
Pressure switch would not detect water level.
I replaced the pressure switch which I ordered from A-1. It still did not work. I then took a small rigid wire and inserted it into the pressure box on the side of the tub. Then I squirted water thru the tube to clean out the hole where the tube from the pressure switch is hooked up. The washer then worked fine. The pressure switch I repl
... Read more
aced was probably OK. This was a learning experiance which cost me $68.00. Still cheaper than a repairman
Read less
Was this instruction helpful to you?
Thank you for voting!
- Customer:
- John from Portland, OR
- Parts Used:
- WH12X1037
- Difficulty Level:
- Really Easy
- Total Repair Time:
- Less than 15 mins
- Tools:
- Screw drivers
The timer unit on my 15 year old washer (only used for three, however, as we put it in storage while overseas) had been broken so that the push-pull on-off mechanism no longer functioned. The timer itself was fine, however not much good if I couldn't start and stop loads. Unfortunate because repla
Repairing was simple. The old timer assemply was easy to remove after opening the console panel. Installing the replacement part was a simple reversal of the steps. It was that easy. First, however, I unpluged the unit! Then after opening the console I found that two flanges held the timer unit on one side (these are what was broken
... Read more
on the old part) and a screw on the other. I had to unhook the electrical harness from the old part (a bit of tugging) and unscrew the ground. Putting it back together was actually a bit easier because I knew what to expect. In short, this was a fix within my reach and doing the work myself saved a service call.
Read less
Was this instruction helpful to you?
Thank you for voting!