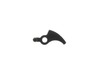
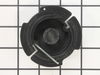
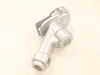
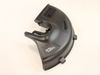
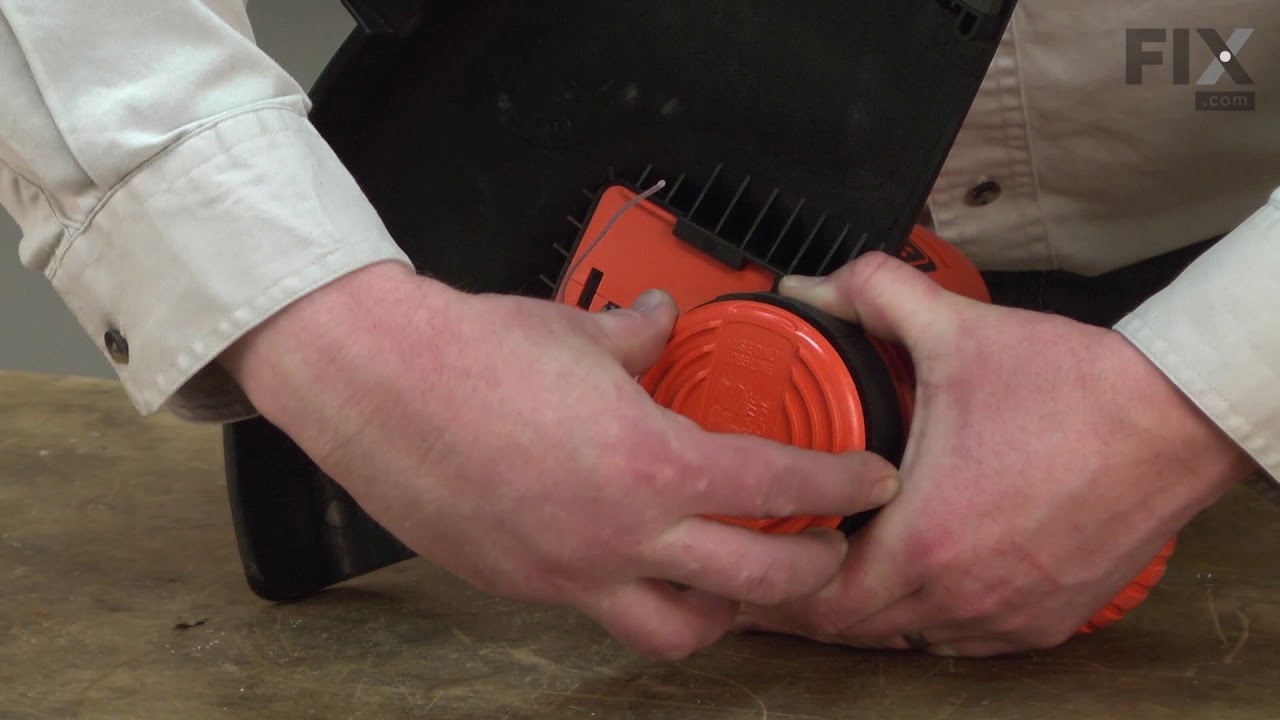
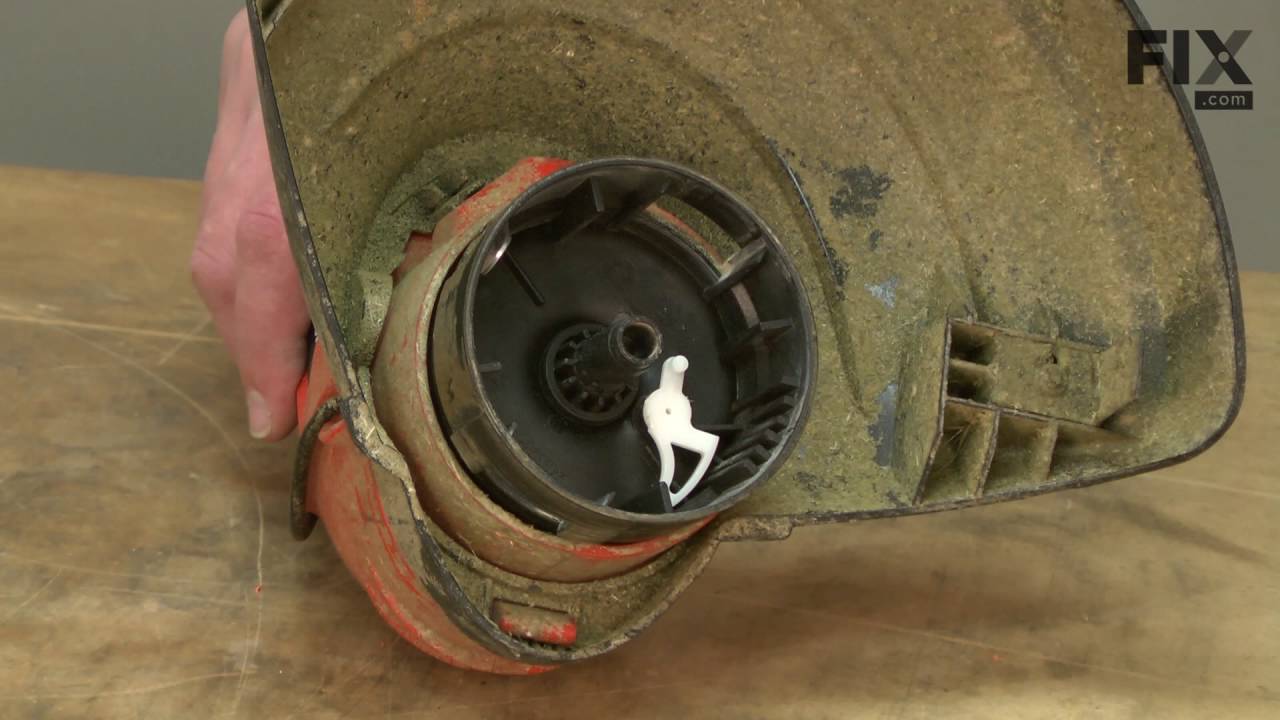
This authentic string trimmer lever assembly is sold individually. The lever is what controls the amount of line that is fed from the auto-feed spool. The lever tends to wear over time, and so should ...
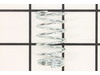
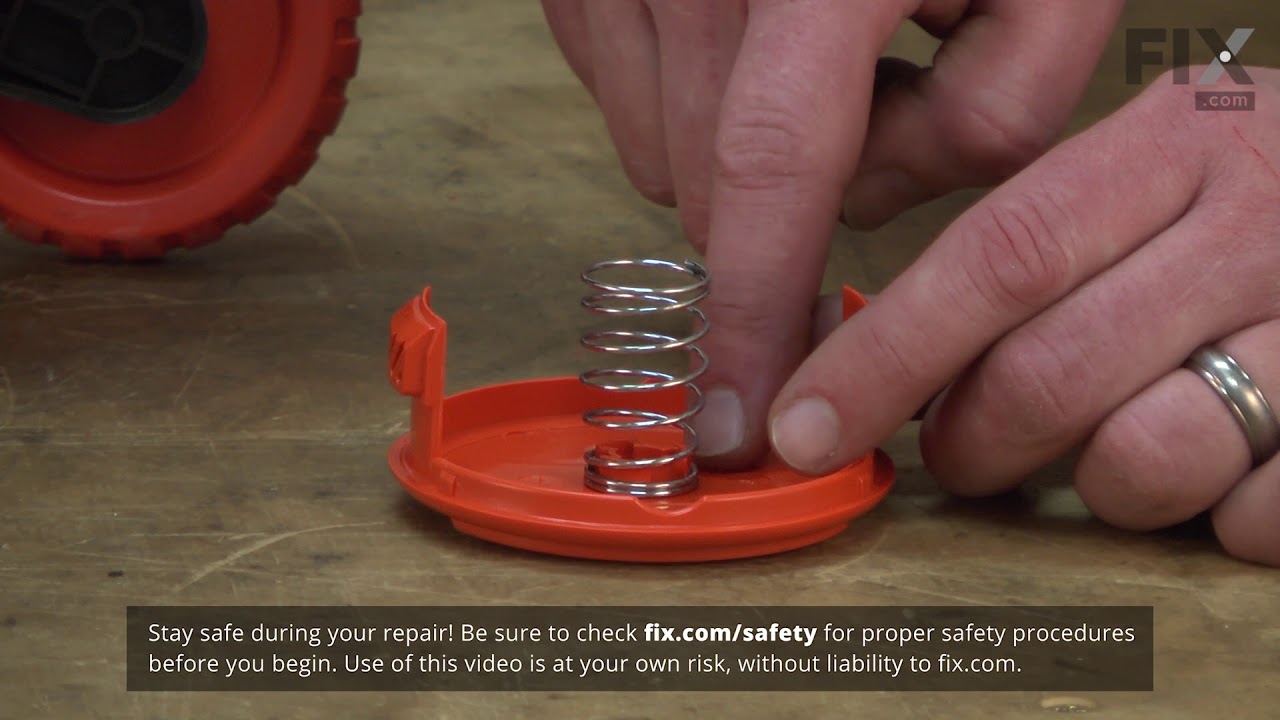
This is an OEM spring located between the spool and spool cover of your trimmer. It is designed to hold the spool in position. This spring can lose tension over time and may cause the trimmer head to ...
Genuine Black and Decker replacement part, this item is sold individually. This screw is used to secure the line cutting blade located on the trimmer guard on the models shown below. Depending on the ...
This is a genuine Black & Decker replacement part, sold individually. This Replacement Spool eases the tedious work of hand-winding spools. 30-foot factory-wound replacement spool features a .065-i...
This item has been sourced from the original manufacturer to be used with electric trimmers from Black and Decker. The durable plastic housing fits onto the bottom of the main tube and is used to cove...
This is a genuine Black and Decker replacement part designed for use with string trimmers. Edge guide serves a couple of purposes. When pushed down it can be used as a guide to edge your lawn. It can ...
This replacement line cutting blade is specially designed for use with Black and Decker string trimmers. It is attached to the guard and is generally used to cut the string line. This is a metal blade...
This replacement screw is a genuine OEM supplied item that is designed for use with Black and Decker and Dewalt power equipment. It has multiple uses depending on your unit, for correct application pl...
This genuine OEM sourced replacement part is specially designed for use with handheld Black and Decker string trimmers. It is secured over the trimmer head to direct grass clippings away from the user...
The switch goes next to the trigger and is made of metal and plastic. This item is available as an individual replacement part. This is a genuine Black & Decker replacement part for use in string trim...
Ask our experts a question about this part and we'll get back to you as soon as possible!
5 questions answered by our experts.
< Prev
1
Next >
Sort by:
Search filter:
Clear Filter
Your search term must have 3 or more characters.
Keep searches simple. Use keywords, e.g. "leaking", "pump", "broken" or "fit".
Sorry, we couldn't find any existing answers that matched. Try using some different or simpler keywords, or submit your new question by using the "Ask a Question" button above!
Tom
November 26, 2023
I need to replace part 19 LINE TRIMMER AND GEAR, but I cannot understand how to detach the old gear from part 13 TUBE MOTOR ASSEMBLY.
For model number LST136
Hi Tom, thank you for contacting us. We have attached a relevant video regarding the replacement of motor assembly, which will help you to detach the old gear. This video may not be of the same model but will help you in replacement. Glad to be of help!
1 person found this helpful.
Was this helpful?
Thank you for voting!
MARK
May 22, 2026
How do I split the plastic motor housing on the LST136? I have removed the 1 guard screw, guard and 8 housing screws but it will not split. Is there a hidden screw somewhere?
For model number LST136
Hi Mark, thank you for your inquiry. Yes, there is a hidden Phillips screw located directly beneath the product/warning sticker on the side of the motor housing. Instead of peeling the sticker back, press your thumb firmly across the surface of the label until you feel a circular dip or indentation. Once you locate it, you can push your Phillips screwdriver right through the sticker to back the screw out. Additionally, check the deeply recessed screw holes for packed dirt or grass clippings, which can completely camouflage a screw. Once all fasteners are completely out, the two halves are held by a tight friction fit and a few alignment tabs; use a flathead screwdriver or plastic pry tool to gently pop the seam open. Glad to be of help!
1 person found this helpful.
Was this helpful?
Thank you for voting!
Bobby Moffett
4 days ago
String will not feed ?
For model number LST136
Hello Bobby, thank you for the question. Remove the battery and press the side tabs on the spool cover to remove it along with the spring and spool. Inspect the line for any sections that have melted or fused together from contact with hard surfaces like concrete or fencing which could cause a stuck feed. Also, check that the line is wound neatly and evenly in the direction shown by the arrow on the spool. Loose or crisscrossed winding will prevent the automatic feed from working regardless of the other components. Check the spool cover spring, part number FIX18988535, for debris, flattening, or damage, it needs to sit snugly in the housing to maintain the correct spool tension for bump feeding. The Actuator, part number FIX18988538, should pivot freely without resistance. If it is worn flat from line friction or jammed with dried grass buildup it will not trigger the line release. Also confirm the line being used is 0.065 inch diameter, line that is too thick will bind inside the spool and prevent feeding. We hope this is what you were looking for!
Need to replace spool cover as eyelit has a groove and is now cutting the line
For model number LST136
Hi Ronald, thank you for contacting us. The spool cover for your model is part number FIX12443187. Customer service is available 7 days a week if you require assistance placing an order!
Hi Steve,
Thank you for your question. If your trimmer will not feed out the line, you will need to check the line, the spring and the spool. We have included a link that you may reference on how to check these parts. Once you have determined the part you need, please feel free to call customer service. We are open 7 days a week and anyone will be happy to assist you. We look forward to hearing from you!