
Models > RS495111

RS495111 Maytag Refrigerator

Jump to:

Find Part by Name

Keep searches simple, eg. "belt" or "pump".

Diagrams for RS495111

Viewing 12 of 12
Keep searches simple, eg. "belt" or "pump".
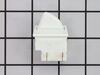
This part includes one authentically sourced 3-pin rocker switch for a refrigerator. It is responsible for turning the light on inside the fridge when the door is open. It is commonly replaced because...
In Stock
Order now and your part arrives by May 29
This is a multi-use screw and can be used on a variety of appliances. The measurements of the screw are: 8/18 x 3/8. *Please note: the screw is sold individually. Refer to the manual provided by the m...
In Stock
Order now and your part arrives by May 29
Support for the crisper or shelf frame.
In Stock
Order now and your part arrives by May 29
Need to keep your fridge’s water and ice working while the filter is out? This bypass cap lets water flow to the dispenser and ice maker without a filter. It’s easy to install and fits Whirlpool, Mayt...
In Stock
Order now and your part arrives by May 29
In Stock
Order now and your part arrives by May 29
This helix end cap is almost four inches in diameter. It is all white in color and is made of plastic. This end cap is used in a refrigerator's icemaker.
In Stock
Order now and your part arrives by May 29
This is the replacement water tube kit for your refrigerator. This tubing is made of plastic, is 1/4 inch in diameter, and comes with 2 inserts. This tube may be longer than the original tube, and may...
In Stock
Order now and your part arrives by May 29
This is a light switch for your refrigerator. It activates when the door of your appliance is opened, and it will turn the light inside on and off. You will need to replace this part is if your light ...
In Stock
Order now and your part arrives by May 29
$11.98
This screw is sold individually.
In Stock
Order now and your part arrives by May 29
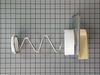
This is the replacement ice maker auger and crusher blade assembly for your refrigerator. It is approximately 15 inches long and 7 inches wide. The ice maker auger sits within the ice maker assembly a...
In Stock
Order now and your part arrives by May 29
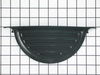
This drip tray, also known as an overflow grille, is a manufacturer-approved replacement part for your refrigerator. The drip tray catches drips of water from the ice and water dispenser. To replace t...
In Stock
Order now and your part arrives by May 29
This part is the replacement ice chute door for your refrigerator/freezer. It is a round, black part that is approximately 2 ½ inches in diameter. The dispenser ice chute door opens to let ice through...
No Longer Available

Questions and Answers

Be the first to ask our experts a question about this part!

Common Problems and Symptoms for RS495111

Viewing 9 of 9
Light not working
Fixed by these parts
Fixing Fixing Fixing
How to fix it
Leaking
Fixed by these parts
Fixing Fixing Fixing
How to fix it
Ice maker won’t dispense ice
Fixed by these parts
Fixing Fixing Fixing
How to fix it
Ice maker not making ice
Fixed by these parts
Fixing Fixing Fixing
How to fix it
Not dispensing water
Fixed by these parts
Fixing Fixing Fixing
How to fix it
Door Sweating
Fixed by these parts
Fixing
How to fix it
Ice maker dispenses too little ice
Fixed by these parts
Fixing
How to fix it
Noisy
Fixed by these parts
Fixing
How to fix it
Door won’t open or close
Fixed by these parts
Fixing
How to fix it
Keep searches simple. Use keywords, e.g. "leaking", "pump", "broken" or "fit".
Customer:
Todd from Lancaster, PA
Parts Used:
WP67005959, WPD7749401
Difficulty Level:
Really Easy
Total Repair Time:
Less than 15 mins
Tools:
Socket set
Ice maker would not turn allowing the ice to come out the dispenser. The ice bucket was also cracked from kids (ok and parents) getting frustrated and shaking the ice bucket!
Piece of cake!

Removed the old ice bucket which was cracked and ice would not dispense. The Helix Cap also looked worn which is why I ordered both parts. (Probably if not for the shaking of the ice bucket the Helix cap would have been the only part required. We ended up cracking the ice bucket) Removed the four hex screws from the auger system on the old ice bucket with a socket wrench. Removed the old Helix end cap from the auger system and replaced with the new. Literally just slips on the auger. Reinstalled auger system back onto the new ice bucket. Total time not even five minutes.

Working great! Probably saved $ 75.00 - $ 100.00 on a service call. Half of a wrench on skill level needed (One=Low skill level/ Five=High skill level)

Great response & delivery from Parts Select!
Definitely recommend highly.

Todd
Lancaster-PA
50 of 56 people found this instruction helpful.
Was this instruction helpful to you?
Thank you for voting!
Customer:
Kevin from Beckley, WV
Parts Used:
W11396033
Difficulty Level:
Really Easy
Total Repair Time:
Less than 15 mins
Tools:
Screw drivers
while closing the door, the light switch fouled, resulting in the switch breaking
I used a flat screwdriver and released the lock tab on the bottom of the light switch, and pried the switch out, being careful to not damage the plastic around the mounting place of the switch, unplugged wiring from old switch, plugged in the new one and pushed the new switch into place. Job finished light switch now working.
65 of 116 people found this instruction helpful.
Was this instruction helpful to you?
Thank you for voting!
Customer:
James from Robinson, TX
Parts Used:
WP12740302
Difficulty Level:
Easy
Total Repair Time:
15 - 30 mins
Tools:
Screw drivers
Ice Dispenser had jammed up and become inoperative
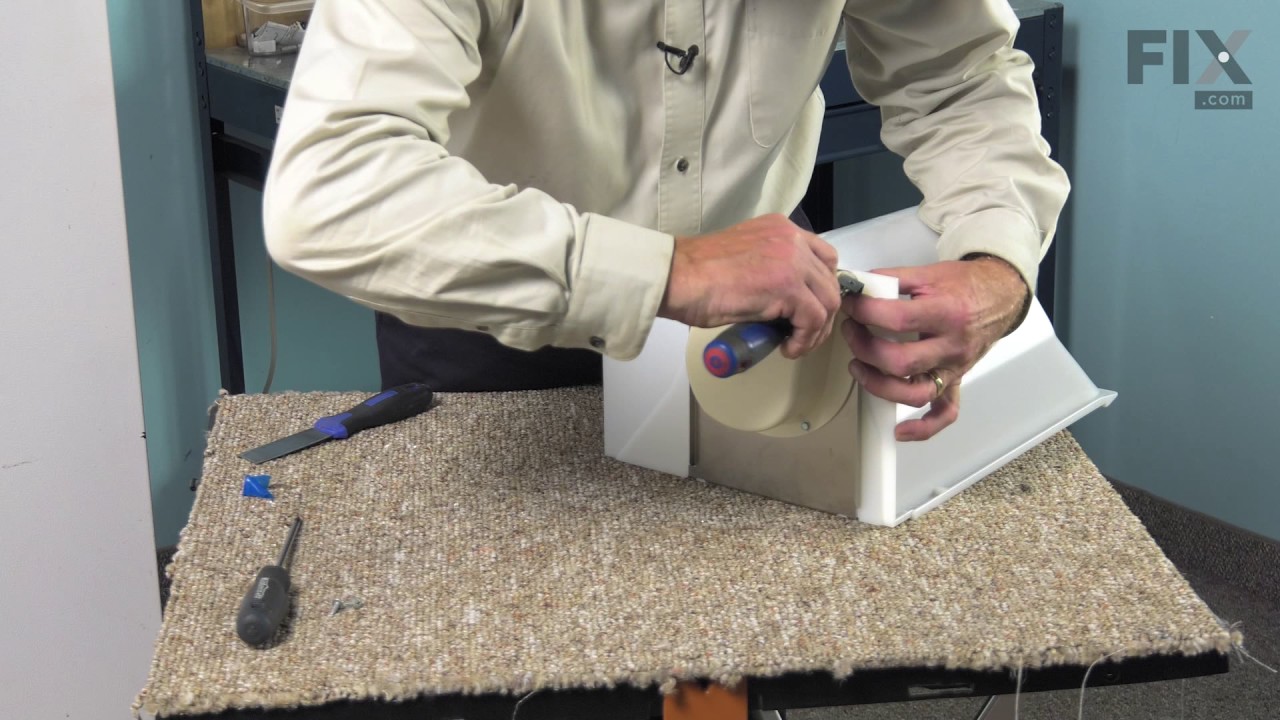
The parts discription was a bit vague and I wasn't sure exactly what I was ordering, but I received everything I needed and it works fine. The combination screw conveyor/ice crusher came in one piece. The ice cube bin is a plastic assembly that snaps apart. I used a wide blade screw driver carefully to facilitate assembly/disassembly. Once you have it apart the old converyor slips out and the new one slides in. Do not remove the two screws that hold the new assembly together. You need a phillips scredriver to take out two of the screws from the old assembly and put in the new one. That is, there are four screws and you need to trasfer two of them. Everything now works fine.
40 of 47 people found this instruction helpful.
Was this instruction helpful to you?
Thank you for voting!