



Models
>
LFXC22526D
LFXC22526D (ASBCNA2) LG Refrigerator
Jump to:
Find Part by Name
Keep searches simple, eg. "belt" or "pump".
Diagrams for LFXC22526D
Viewing 7 of 7


Keep searches simple, eg. "belt" or "pump".
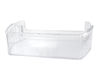
$63.33
This refrigerator door bin stores bottles, jars, condiments, and other small items. It measures about 14.08 inches long, 8.5 inches wide, and 3.7 inches high. Replace the bin if it is cracked, broken,...
Special Order
$48.21
Refrigerator Air Filters are a key component for neutralizing odors and ensuring a fresh stream of air into your refrigerator. Swapping your old filter out for a fresh one isn’t difficult and should t...
Special Order
In Stock
Order now and your part arrives by Oct 22
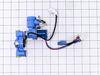
$126.83
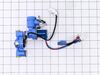
This includes the primary and secondary valves along with the wire harness.
In Stock
Order now and your part arrives by Oct 22
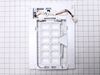
$259.57
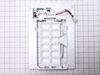
This ice maker assembly is for refrigerators. This Ice maker assembly contains the complete ice maker and housing. The assembly may include multiple parts; refer to your parts diagram for a complete ...
In Stock
Order now and your part arrives by Oct 22
In Stock
Order now and your part arrives by Oct 22
$64.74
The water reservoir holds the water for the water dispenser as the water chills.
In Stock
Order now and your part arrives by Oct 22
Special Order
$209.63
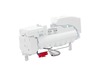
This ice maker assembly is built to fit a range of LG refrigerator models and includes all the essential components for reliable ice production. The unit features an ice mold, water inlet valve, ice b...
In Stock
Order now and your part arrives by Oct 22
$24.00
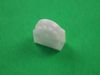
This roller assembly supports smooth movement of drawers or sliding components, reducing friction and maintaining alignment. It is replaced when items bind, drag, or no longer glide easily during use.
In Stock
Order now and your part arrives by Oct 22
In Stock
Order now and your part arrives by Oct 22
On Order
Common Problems and Symptoms for LFXC22526D
Viewing 8 of 8Leaking
Fixed by these parts
How to fix it
Ice maker not making ice
Fixed by these parts
How to fix it
Not dispensing water
Fixed by these parts
How to fix it
Ice maker won’t dispense ice
Fixed by these parts
How to fix it
Noisy
Fixed by these parts
How to fix it
Fridge and Freezer are too warm
Fixed by these parts
How to fix it
Door won’t open or close
Fixed by these parts
How to fix it
Ice maker dispenses too much ice
Fixed by these parts
How to fix it
Keep searches simple. Use keywords, e.g. "leaking", "pump", "broken" or "fit".
- Customer:
- Richard from JACKSONVILLE, FL
- Parts Used:
- AJU72992601
- Difficulty Level:
- Really Easy
- Total Repair Time:
- 15 - 30 mins
- Tools:
- Screw drivers
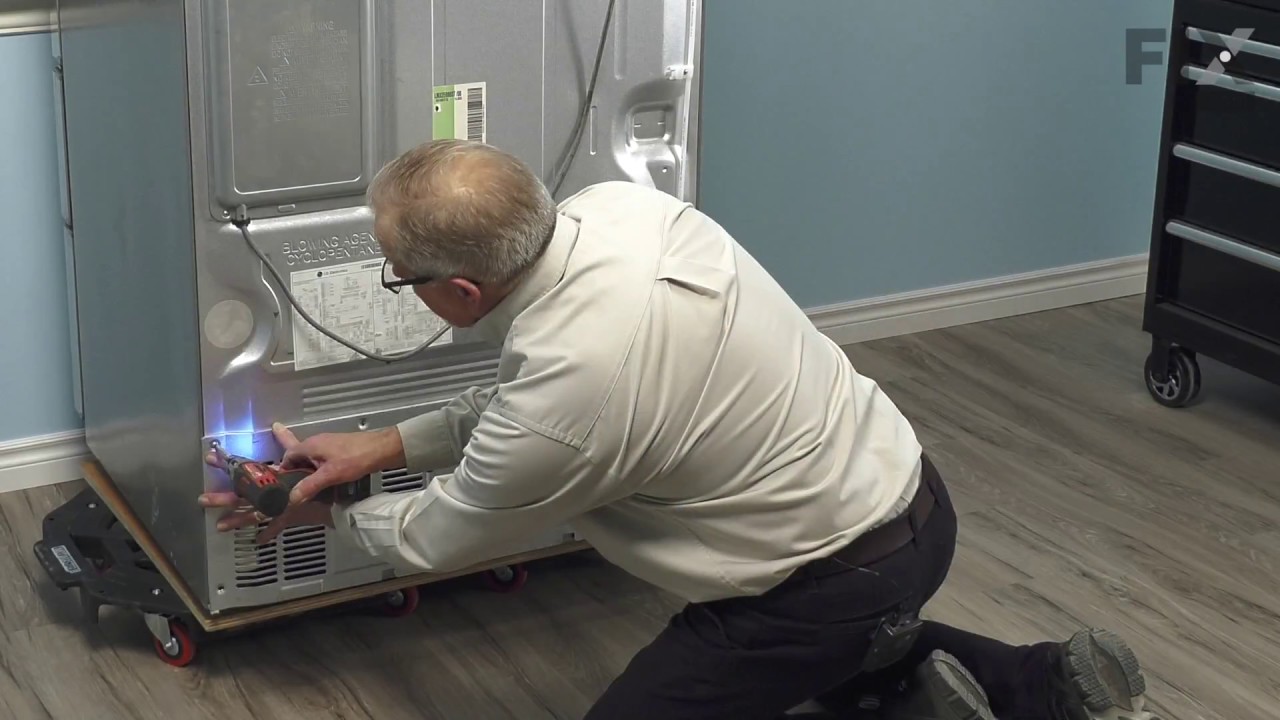
replace leaking water inlet valve assembly
1. Shut off water to refrigerator. 2. Removed bottom sheet metal cover (6 screws). 3. Removed leaking water inlet valve assembly from refrigerator (1 screw). 4. Remove water inlet tube (loosen nut) and tube back to refrigerator (pull from water valve after remove cotter pin washer). 5. Detach two electrical wire harnesses. 6. Install new
... Read more
water inlet valve assembly to refrigerator (1 screw). 7. Replace both water tubes to water inlet assembly. 8. Re-attach both wiring harnesses. 9. Turn water to refrigerator on. 10. Check for leaks. 11. Re-attach bottom sheet cover (6 screws).
Read less
Was this instruction helpful to you?
Thank you for voting!
- Customer:
- John from WEST ROCKPORT, ME
- Parts Used:
- AEQ72909603
- Difficulty Level:
- Very Easy
- Total Repair Time:
- Less than 15 mins
- Tools:
- Screw drivers
needed to replace broken ice maker
Take out 2 screws and unplug unit before removing. Plug-in new unit and screw in 2 screws. That's it.
Was this instruction helpful to you?
Thank you for voting!
- Customer:
- Amber from PEORIA, IL
- Parts Used:
- AEQ72909603
- Difficulty Level:
- Really Easy
- Total Repair Time:
- 15 - 30 mins
- Tools:
- Screw drivers
Icemaker quit releasing ice from tray and water was pouring and freezing in ice storage bin
This couldn't have been easier. Two tiny screws in the front needed unscrewed, and then two plastic clips in the middle just had to be popped lose. Finally, you unplugged the power cord. Then, you just needed to reverse the process by plugging the new ice maker in, popping the clips in place, and screwing the two holes back in and turning
... Read more
the whole thing on. Voila! Perfect ice cubes again. And for only a little over $100.
Read less
Was this instruction helpful to you?
Thank you for voting!