



Models
>
PCG23NGSAFWW
PCG23NGSAFWW General Electric Refrigerator
Jump to:
Find Part by Name
Keep searches simple, eg. "belt" or "pump".
Keep searches simple, eg. "belt" or "pump".
$89.87
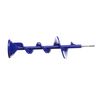
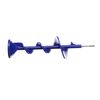
If the ice maker in your fridge is noisy or no longer dispensing ice, there may be an issue with the auger in the ice bucket. The auger works by spinning to pull and dispense ice from the bin down the...
In Stock
Order now and your part arrives by Oct 16
In Stock
Order now and your part arrives by Oct 16
In Stock
Order now and your part arrives by Oct 16
$224.48
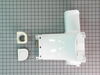
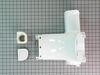
This kit includes damper, fan assembly, nozzle and gasket for nozzle. The damper and fan has been updated by the manufacturer to avoid freezing in the refrigerator. Also known as a damper assembly.
In Stock
Order now and your part arrives by Oct 16
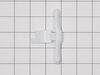
$20.95
This part regulates the humidity of your crisper bins. It does so by opening and closing vents on the bin. If your humidity control is broken or missing, you will need to replace it. This is a genuine...
In Stock
Order now and your part arrives by Oct 16
In Stock
Order now and your part arrives by Oct 16
In Stock
Order now and your part arrives by Oct 16
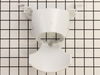
$51.43
This part is the replacement ice funnel for your refrigerator. It is made of white plastic and is sold individually. The funnel is approximately 7 inches wide and 8 inches long. The ice funnel has a p...
In Stock
Order now and your part arrives by Oct 16
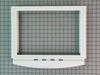
This plastic crisper cover fits over the refrigerator’s crisper drawers and supports the glass shelf insert above. It helps maintain humidity for produce and keeps the drawers functioning smoothly. Co...
In Stock
Order now and your part arrives by Oct 16
In Stock
Order now and your part arrives by Oct 16
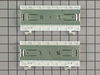
These are the slide brackets for the bottom drawer.
No Longer Available
$104.81
Part may appear different than original, but is a direct replacement and comes with custom cool tray.
Special Order
Common Problems and Symptoms for PCG23NGSAFWW
Viewing 13 of 13Ice maker won’t dispense ice
Fixed by these parts
How to fix it
Ice maker dispenses too little ice
Fixed by these parts
How to fix it
Fridge too cold
Fixed by these parts
How to fix it
Ice maker not making ice
Fixed by these parts
How to fix it
Not dispensing water
Fixed by these parts
How to fix it
Noisy
Fixed by these parts
How to fix it
Light not working
Fixed by these parts
How to fix it
Fridge too warm
Fixed by these parts
How to fix it
Engine revs but auger will not turn
Fixed by these parts
How to fix it
Will Not Start
Fixed by these parts
How to fix it
Ice maker dispenses too much ice
Fixed by these parts
How to fix it
Won’t start
Fixed by these parts
How to fix it
Engine runs but cutters do not turn
Fixed by these parts
How to fix it
Keep searches simple. Use keywords, e.g. "leaking", "pump", "broken" or "fit".
- Customer:
- Tim from Newport News, VA
- Parts Used:
- WR29X43990
- Difficulty Level:
- A Bit Difficult
- Total Repair Time:
- 30 - 60 mins
- Tools:
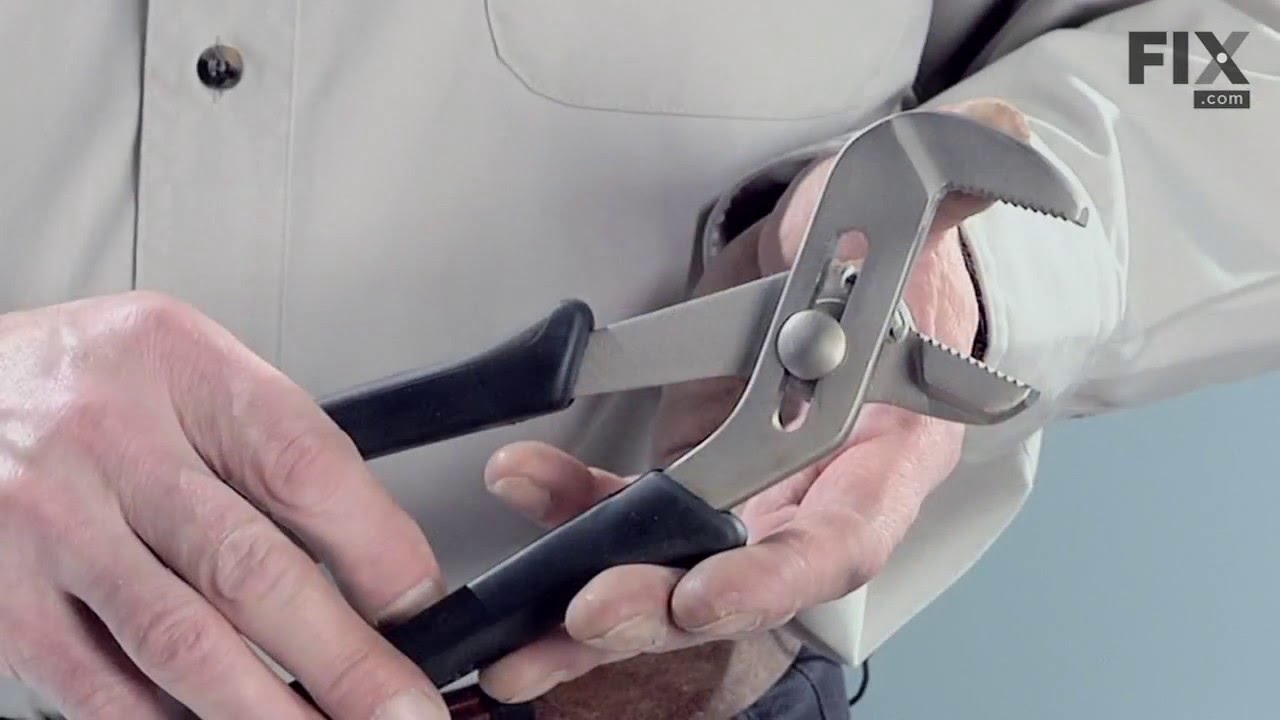
- Pliers, Screw drivers
Plastic Auger blades broke in ice tray
I used a digital camera and photographed the assembled unit and the metal blades before I started the repair. Then, I removed the top screw on the clear shield. Flip over ice tray and removed two Phillips screws on bottom. Exterior plastic white cover comes off next. The cover sides have hard push-in white plastic tabs. Push them in; pry
... Read more
up top cover with small flathead screwdriver. Slide white top cover up and you will now see the metal blades and assembly. Auger is held in place with a metal c-clip and washer on the end. Use flat head screwdriver to pry off c-clip. Then you will see a nylon round slotted nut. The threads are reverse, use pliers and loosen nut. It is not that tight but pliers are needed. Then it all is loose and ready for removal. I slid all the blades off at one time and kept them stacked together. Slide out auger and clear flat shield cover. Install new auger, clear shield, and metal blade stack. When you put it all back together take a look at the long metal J-hook on the bottom make sure it is in the slot before you make everything tight. Failing to do this will prevent cubed ice from dispensing.
It is not that hard to do the repair it just takes some patience and paying attention to details.
It is not that hard to do the repair it just takes some patience and paying attention to details.
Read less
Was this instruction helpful to you?
Thank you for voting!
- Customer:
- Marc from Orlando, FL
- Parts Used:
- WR49X10091
- Difficulty Level:
- A Bit Difficult
- Total Repair Time:
- 1- 2 hours
- Tools:
- Screw drivers
Refrigerator too cold
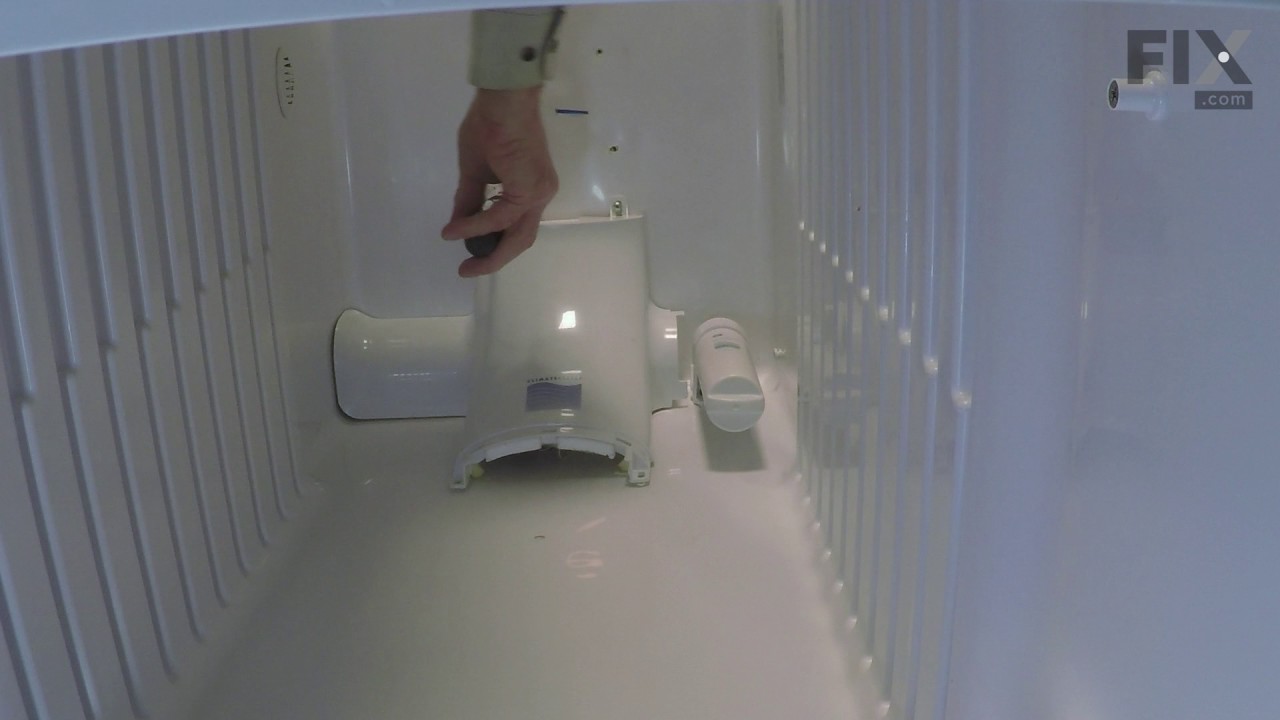
My repair experience was a little more complicated than previous posts, but nothing major. And most importantly replacing the Fresh Food Air Inlet Cover did fix my problem. Here are the steps I followed:
1. You will need to remove a minimum of the top two shelves to get access to the Air Inlet Cover. It runs along the back of the ... Read more fridge and connects to a hole to the freezer side. It has a little fan inside that sucks the cold air from the freezer and diverts to the top and bottom of the fridge.
2. As mentioned in other posts, there are four screws holding the Inlet Cover in place, 2 lower and 2 upper. To get access to the lower two screws,you simply pop off the lower duct assembly (squeeze the sides). Be careful when removing and installing these screws. If you drop one into the lower duct, you will add a few more steps to the installation to remove more shelves and take out the lower duct to get to where the screw fell. Obviously this happened to me. Not difficult to do, just adds more time.
3. To access the upper two screws I had to remove the top light cover (one screw) and then slide out the top duct/diffuser assy (my name, not GE's).
4. Finally to get clearance to pull out the Inlet Cover, I had to remove the water filter and cover. When you pull away the Inlet Cover, you will see the electrical connection that is simple to disconnect.
5. After I removed my Inlet Cover, it was obvious that it was broken because it rattled and I could peek inside to see that the plastic air diverter/flapper thingy was broken.
6. One final surprise was that the replacement Air Inlet Cover did not exactly match the one I removed. The replacement only had one upper air outlet, while my old one had three upper outlets, left, right and center. I noticed there was a plastic cover over one of the side outlets on the replacement, so I just popped that off and hoped for the best.
7. The replacement Air Inlet Cover Kit came with sticky back insulation that you attach to where the Inlet Cover meet the freezer access hole to make sure snug fit to limit extra cold air leaking into the fridge side.
8. Installation of the replacement Air Inlet Cover was fairly easy, just follow the above steps in reverse and make sure you don't drop any screws.
It's been a couple of weeks since I performed this installation and my fridge has been maintaining temperature perfectly. No more frozen milk or lettuce. The wife is very happy.
1. You will need to remove a minimum of the top two shelves to get access to the Air Inlet Cover. It runs along the back of the ... Read more fridge and connects to a hole to the freezer side. It has a little fan inside that sucks the cold air from the freezer and diverts to the top and bottom of the fridge.
2. As mentioned in other posts, there are four screws holding the Inlet Cover in place, 2 lower and 2 upper. To get access to the lower two screws,you simply pop off the lower duct assembly (squeeze the sides). Be careful when removing and installing these screws. If you drop one into the lower duct, you will add a few more steps to the installation to remove more shelves and take out the lower duct to get to where the screw fell. Obviously this happened to me. Not difficult to do, just adds more time.
3. To access the upper two screws I had to remove the top light cover (one screw) and then slide out the top duct/diffuser assy (my name, not GE's).
4. Finally to get clearance to pull out the Inlet Cover, I had to remove the water filter and cover. When you pull away the Inlet Cover, you will see the electrical connection that is simple to disconnect.
5. After I removed my Inlet Cover, it was obvious that it was broken because it rattled and I could peek inside to see that the plastic air diverter/flapper thingy was broken.
6. One final surprise was that the replacement Air Inlet Cover did not exactly match the one I removed. The replacement only had one upper air outlet, while my old one had three upper outlets, left, right and center. I noticed there was a plastic cover over one of the side outlets on the replacement, so I just popped that off and hoped for the best.
7. The replacement Air Inlet Cover Kit came with sticky back insulation that you attach to where the Inlet Cover meet the freezer access hole to make sure snug fit to limit extra cold air leaking into the fridge side.
8. Installation of the replacement Air Inlet Cover was fairly easy, just follow the above steps in reverse and make sure you don't drop any screws.
It's been a couple of weeks since I performed this installation and my fridge has been maintaining temperature perfectly. No more frozen milk or lettuce. The wife is very happy.
Read less
Was this instruction helpful to you?
Thank you for voting!
- Customer:
- robert from wesley chapel, FL
- Parts Used:
- WR29X43990
- Difficulty Level:
- Easy
- Total Repair Time:
- 30 - 60 mins
- Tools:
- Pliers, Screw drivers
Plastic auger cracked. This part moves the ice in the bin forward to the dispenser
1) Removed the ice bin and emptied the ice.
2) Removed 5 screws total
3) (hardest part) JImmied a flat blade screwdriver into the left top side of the housing and pried gently to disengage the plastic holding clip. This only allows the left side of the housing to move up about a half-inch. Did the same on the right side and 'wal ... Read more ked' the assembly out of the bin.
4) Removed the C clip and washer that holds the auger. and removed the auger assembly.
5) Before removing the screw at the end of the assembly, it is a good idea to take pictures of the ice crushing part of the assembly so that it goes back on correctly.
6) Removed the screw and carefully stacked the ice crush blades and washers.
7) Installed the ice crush blades on the new auger, re-installed the screw, washer and C clip.
8) Re-assembly is easy, you just need to set the end of the auger in the back of the ice bin and slowly re-install the housing portion.
2) Removed 5 screws total
3) (hardest part) JImmied a flat blade screwdriver into the left top side of the housing and pried gently to disengage the plastic holding clip. This only allows the left side of the housing to move up about a half-inch. Did the same on the right side and 'wal ... Read more ked' the assembly out of the bin.
4) Removed the C clip and washer that holds the auger. and removed the auger assembly.
5) Before removing the screw at the end of the assembly, it is a good idea to take pictures of the ice crushing part of the assembly so that it goes back on correctly.
6) Removed the screw and carefully stacked the ice crush blades and washers.
7) Installed the ice crush blades on the new auger, re-installed the screw, washer and C clip.
8) Re-assembly is easy, you just need to set the end of the auger in the back of the ice bin and slowly re-install the housing portion.
Read less
Was this instruction helpful to you?
Thank you for voting!