



Models
>
GR-L248MSRM
GR-L248MSRM (ASTCNA0) LG Refrigerator
Jump to:
Find Part by Name
Keep searches simple, eg. "belt" or "pump".
Diagrams for GR-L248MSRM
Viewing 9 of 9


Keep searches simple, eg. "belt" or "pump".
$15.26
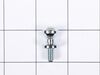
This part includes a single mounting bolt needed to secure the door handle to your refrigerator. This part is commonly replaced because the handle has started to loosen. Try tightening the screw first...
In Stock
Order now and your part arrives by Aug 7
$259.57
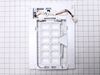
This ice maker assembly is for refrigerators. This Ice maker assembly contains the complete ice maker and housing. The assembly may include multiple parts; refer to your parts diagram for a complete ...
In Stock
Order now and your part arrives by Aug 7
In Stock
Order now and your part arrives by Aug 7
$103.17
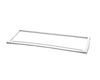
Keep your LG refrigerator running efficiently with this replacement door gasket, also known as a door seal. It helps block warm air from entering the fridge, preserving the cool temperature inside. If...
In Stock
Order now and your part arrives by Aug 7
$103.17
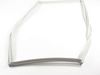
Keep your fridge cool and efficient with this replacement door gasket. Made from flexible rubber, it lines the edge of the refrigerator door to seal in cold air and keep warm air out. If your current ...
In Stock
Order now and your part arrives by Aug 7
In Stock
Order now and your part arrives by Aug 7
Special Order

In Stock
Order now and your part arrives by Aug 7
$209.63
This ice maker assembly is built to fit a range of LG refrigerator models and includes all the essential components for reliable ice production. The unit features an ice mold, water inlet valve, ice b...
On Order
$209.63
This replacement ice bucket assembly includes the bin and auger used to store and dispense ice in compatible refrigerators. It’s ideal for replacing a broken or worn-out unit and helps restore proper ...
On Order
In Stock
Order now and your part arrives by Aug 7
In Stock
Order now and your part arrives by Aug 7
Common Problems and Symptoms for GR-L248MSRM
Viewing 8 of 8Ice maker not making ice
Fixed by these parts
How to fix it
Leaking
Fixed by these parts

How to fix it
Door Sweating
Fixed by these parts
How to fix it
Door won’t open or close
Fixed by these parts
How to fix it
Ice maker won’t dispense ice
Fixed by these parts
How to fix it
Frost buildup
Fixed by these parts
How to fix it
Freezer section too warm
Fixed by these parts
How to fix it
Noisy
Fixed by these parts
How to fix it
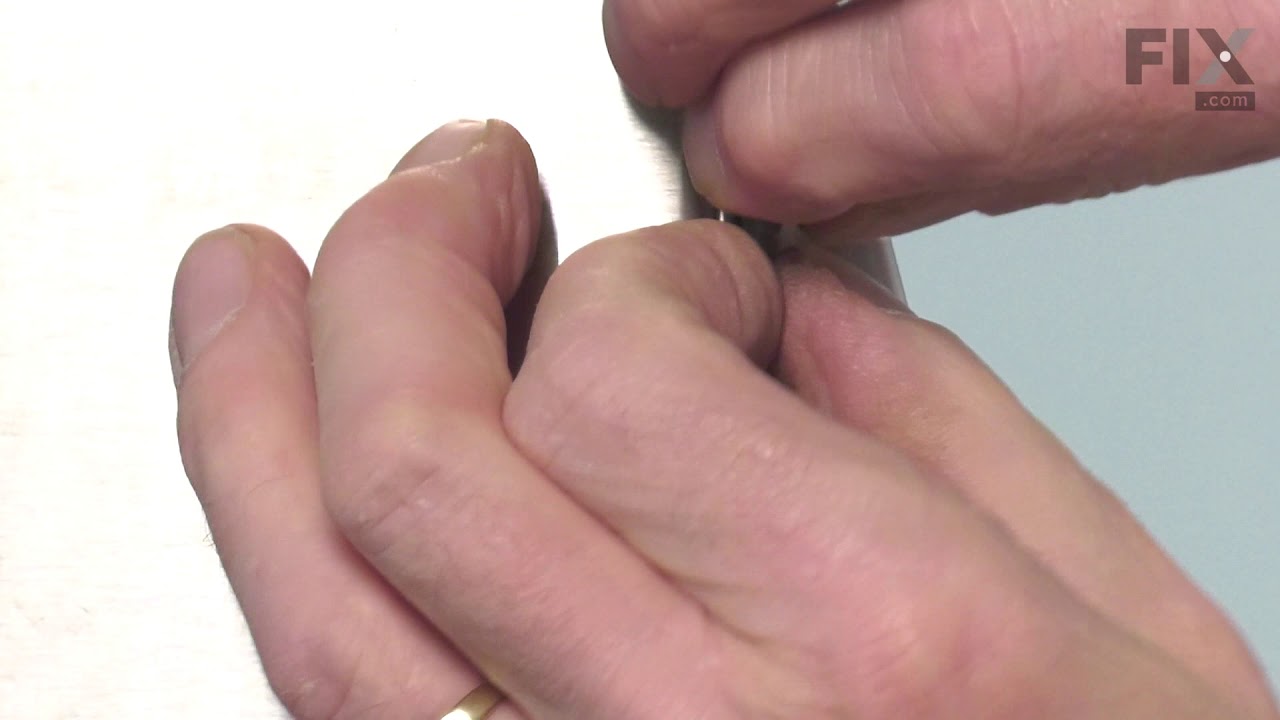
Keep searches simple. Use keywords, e.g. "leaking", "pump", "broken" or "fit".
- Customer:
- Amber from PEORIA, IL
- Parts Used:
- AEQ72909603
- Difficulty Level:
- Really Easy
- Total Repair Time:
- 15 - 30 mins
- Tools:
- Screw drivers
Icemaker quit releasing ice from tray and water was pouring and freezing in ice storage bin
This couldn't have been easier. Two tiny screws in the front needed unscrewed, and then two plastic clips in the middle just had to be popped lose. Finally, you unplugged the power cord. Then, you just needed to reverse the process by plugging the new ice maker in, popping the clips in place, and screwing the two holes back in and turning
... Read more
the whole thing on. Voila! Perfect ice cubes again. And for only a little over $100.
Read less
Was this instruction helpful to you?
Thank you for voting!
- Customer:
- John from WEST ROCKPORT, ME
- Parts Used:
- AEQ72909603
- Difficulty Level:
- Very Easy
- Total Repair Time:
- Less than 15 mins
- Tools:
- Screw drivers
needed to replace broken ice maker
Take out 2 screws and unplug unit before removing. Plug-in new unit and screw in 2 screws. That's it.
Was this instruction helpful to you?
Thank you for voting!
- Customer:
- Megan from Elk Grove, CA
- Parts Used:
- ADX72930461, ADX72930460
- Difficulty Level:
- Very Easy
- Total Repair Time:
- Less than 15 mins
- Tools:
- Screw drivers
Replaced Old Molded Gasket with new one
For the right side of the refrigerator door, just pulled off the old gasket and replaced it with the new one. Old gasket came off easily. Just had to pull it off. No screws on the right side. Just pushed the new one in place in the groove on the door.
For the left side, needed a Phillip’s screwdriver to remove the flap first. H ... Read more elps to have a second person hold the door from moving. Once flap was off, pulled the old gasket off and installed the new one just like the right side. Then screwed the flap back on once the gasket was in the groove properly.
Initially after install, it seemed like the magnet on the door was not strong enough but after a couple of days, the magnet seems a lot stronger, sealing the air out. Very happy I replaced it. It was a lot simpler to replace than I thought it would be.
For the left side, needed a Phillip’s screwdriver to remove the flap first. H ... Read more elps to have a second person hold the door from moving. Once flap was off, pulled the old gasket off and installed the new one just like the right side. Then screwed the flap back on once the gasket was in the groove properly.
Initially after install, it seemed like the magnet on the door was not strong enough but after a couple of days, the magnet seems a lot stronger, sealing the air out. Very happy I replaced it. It was a lot simpler to replace than I thought it would be.
Read less
Was this instruction helpful to you?
Thank you for voting!