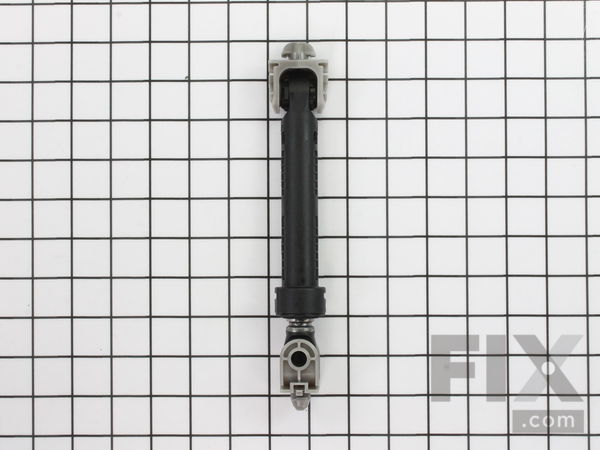
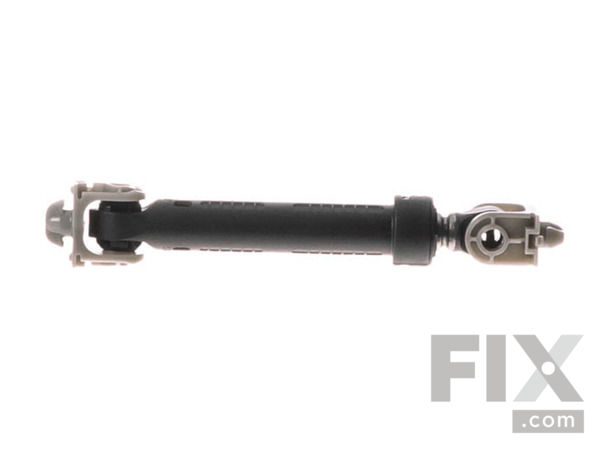
Shock Absorber
$51.14
In Stock
Fix Number: FIX11745030
Manufacturer #: WP8182703
Manufactured by:
Whirlpool
-
Product Description
Shock absorbers help keep the washer from vigorous shaking during its cycles. Sold individually.
-
Works with the following brandsKenmore, Whirlpool, KitchenAid
-
Works with the following productsWasher
-
Part Number Cross ReferencePart# WP8182703 replaces these:AP6011831, 8181646, 8182703, WP8182703VP
Product Description
Shock absorbers help keep the washer from vigorous shaking during its cycles. Sold individually.
-
Works with the following brands:Kenmore, Whirlpool, KitchenAid
-
Works with the following products:Washer
-
Part# WP8182703 replaces these:AP6011831, 8181646, 8182703, WP8182703VP
Videos For installing this part.
Replacing your Shock Absorber

Questions and Answers
We're sorry, but our Q&A experts are temporarily unavailable.
Please check back later if you still haven't found the answer you need.
Related PartsAdditional or alternate parts to consider.
Installation Instructions Provided by Fix customers like you.
- < Prev
- 1
- Next >
Sort by:
Search filter:
Clear Filter
Your search term must have 3 or more characters.
Keep searches simple. Use keywords, e.g. "leaking", "pump", "broken" or "fit".
Sorry, we couldn't find any existing installation instruction that matched.
-
Customer:mark from Glendora, CA
-
Difficulty Level:A Bit Difficult
-
Total Repair Time:30 - 60 mins
-
Tools:Nutdriver, Pliers, Screw drivers, Wrench set
basket shock absorbers broke, leaving basket to be out of ballance
replace shock absorbers. Do not even attempt to change the back two shocks from the front, pull the unit out and take the back off. Besides, it gives you the opportunity to clean the mess that has accumulated under the unit for years.
Was this instruction helpful to you?
Thank you for voting!
-
Customer:Mark from Wichita, KS
-
Difficulty Level:Easy
-
Total Repair Time:More than 2 hours
-
Tools:Nutdriver, Pliers, Screw drivers, Wrench (Adjustable)
Washer Shakes bad when on spin cycle
I also replaced the belt, but had purchased it many years ago, just never installed it - bought as a back-up. I removed the back panel, the lower front panel and the top panel - all took same nut driver except front lower panel was three screws. Changed the shock absorbers first. Used a small adjustable wrench to turn base counter-clockwise 90-degrees, then the top clockwise. I used a small flathead screw driver to push the locking clips in as I turned them. Could not easily reach a couple clips on the base so just allowed them to snap off when turning - no big deal. The access to the suspension springs is from the top. I placed a properly cut-to-length little 2x4 under the front of the washer drum to hold it up in order to release some strain on the springs. Had to unclip the wiring harness on one side and a dispenser tube on the other side. Then, just grip the springs from the top and pull up and off. Needed to stand on chair for this too. Note that the springs are a bit longer 1/4" or so than the original, but thicker so probably better spring constant, don't know but they did work just fine - seem like a slight part upgrade. The belt was the most difficult. Take off the big pulley, then old belt. Replace the pulley, then rotate pulley to reinstall. You will need some sort of a tool to accomplish the reinstall of the belt and wear some gloves. I used an old-style drum brake adjustment tool against the big pulley to hold the belt in the correct position to simply turn the pulley by hand to get the belt installed. I needed something because the belt gets stretched upon install. I tried putting it on the pulleys before re-installing the big pulley but that did not work - it took a tool to help hold it while turning the pulley and stretching it for install. Machine now runs like new. I really love this machine and the internal layout is pretty simple. We will keep it for many more years due to places like this where parts can be purchased and articles tell the basics of repair.
Was this instruction helpful to you?
Thank you for voting!
-
Customer:Jeffrey from Vancouver, WA
-
Parts Used:WP8182703
-
Difficulty Level:Easy
-
Total Repair Time:30 - 60 mins
-
Tools:
Front-load washer tub would oscillate wildly and auto-shut down spin cycle
In order to minimize the oscillation of the washer tub, we replaced all four of the shock absorbers beneath the washer tub assembly. Access is achieved by removing the panel underneath the front door; there are three screws holding it in place. Replacement of each shock absorber is simple; twist each end 1/4 turn to disengage from the component to which it is mounted. I used channel locks to provide more leverage for this operation, and a flashlight to illuminate the interior of the washer. Be aware that there is a raised "nub" to stop the rotation of each foot of the shock absorber, rotate away from the nub to disengage, rotate toward the nub to lock. One side of the shock absorber has an elbow, the other is straight; for easiest installation, install the elbow side first on the floor of the washer, and then bend the elbow toward the basket assembly. Total install time for all four shocks can be accomplished in about a half hour. Be careful not to break any of the fragile plastic wire bundle hangars.
Was this instruction helpful to you?
Thank you for voting!
- < Prev
- 1
- Next >
Model Compatibility
This part works with the following models:
Fix Number: FIX11745030
Manufacturer Part Number: WP8182703
Brand
Model Number
Description