
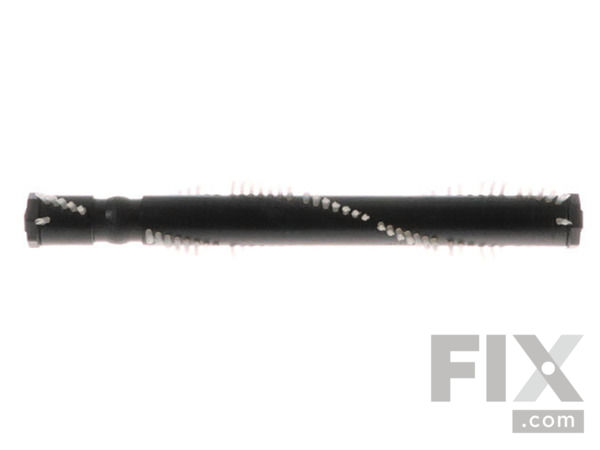
Part Location Diagram of E-62228-4 Eureka Brushroll Assembly - Cart
See part B22 in the diagram
( Grid squares measure 1x1 inch )

Brushroll Assembly - Cart E-62228-4

$ 0.00
No Longer Available

No Longer Available

Sorry, this part is No Longer Available at Fix.com, which means:

  • The part is no longer sold by the manufacturer.
  • The manufacturer does not stock any substitute parts to replace this one and therefore, unfortunately, we cannot obtain or recommend a substitution for this part.
  • We cannot obtain the part through any other means.

Our call center and online agents are, unfortunately, unable to help you locate this part, but you may still be able to find the part elsewhere. We recommend:

  • Typing your part number into a search engine and checking to see whether another company might stock it.
  • Searching online stores like eBay for your part number.
  • Visiting a local appliance store or parts dealer to see if they have this part in stock.
  • Contacting a local technician, who may be able to repair your existing part or replace it with their own solution.
  • Contacting the manufacturer of your appliance directly to check for their recommendations.
Fix Number:
FIX12164630
Manufacturer #:
E-62228-4
Manufactured by:
Eureka

Product Description

This genuine OEM supplied replacement part is designed to fit Sanitaire upright vacuums. Spinning motion of this brush help to pick up dust and debris. Over time bristles on rotating floor brush will wear down requiring replacement. This part is made out of plastic and it is sold individually. To complete this repair your would need a screwdriver. • Make sure the unit is unplugged • Lower handle to floor • Remove three screws to remove the hood/cover • Lift left end of brush roll • Remove and discard old brush roll • Place new brush roll around motor shaft • Place belt around brush roll pulley • Align left end cap with base and push it securely into place • Push right end cap into base until it snaps into place • Rotate brush roll by hand two full rotations to properly position belt • Re-assemble and test the unit