Jump to:
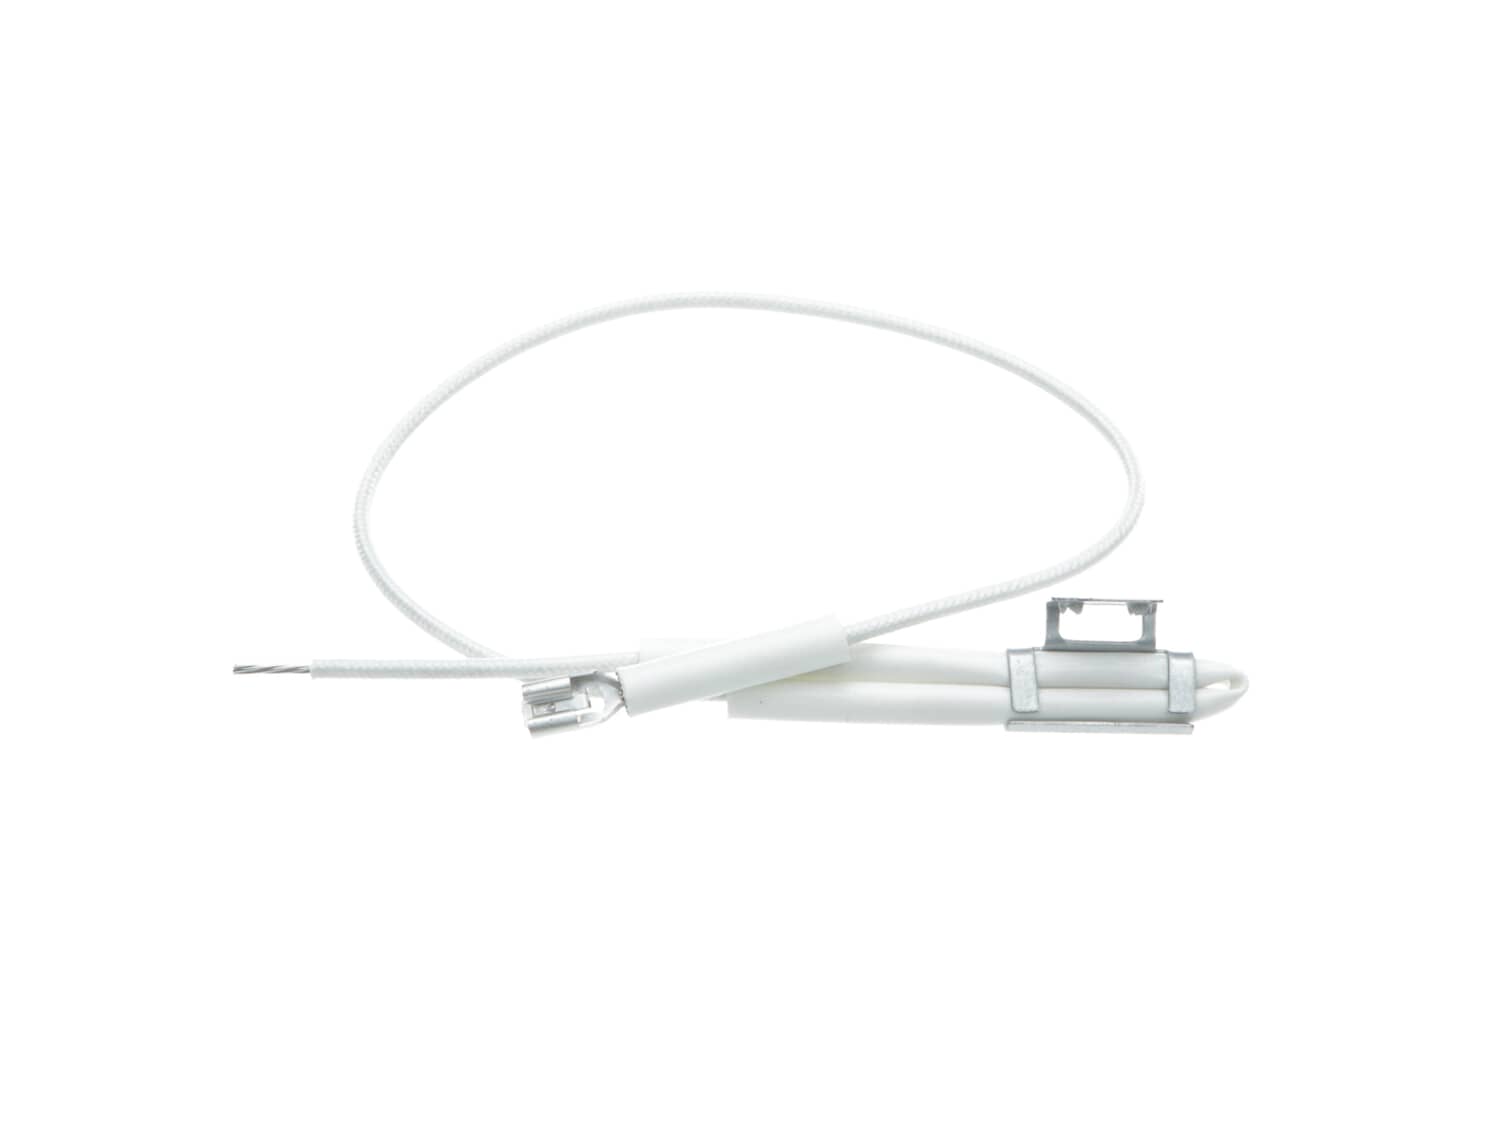
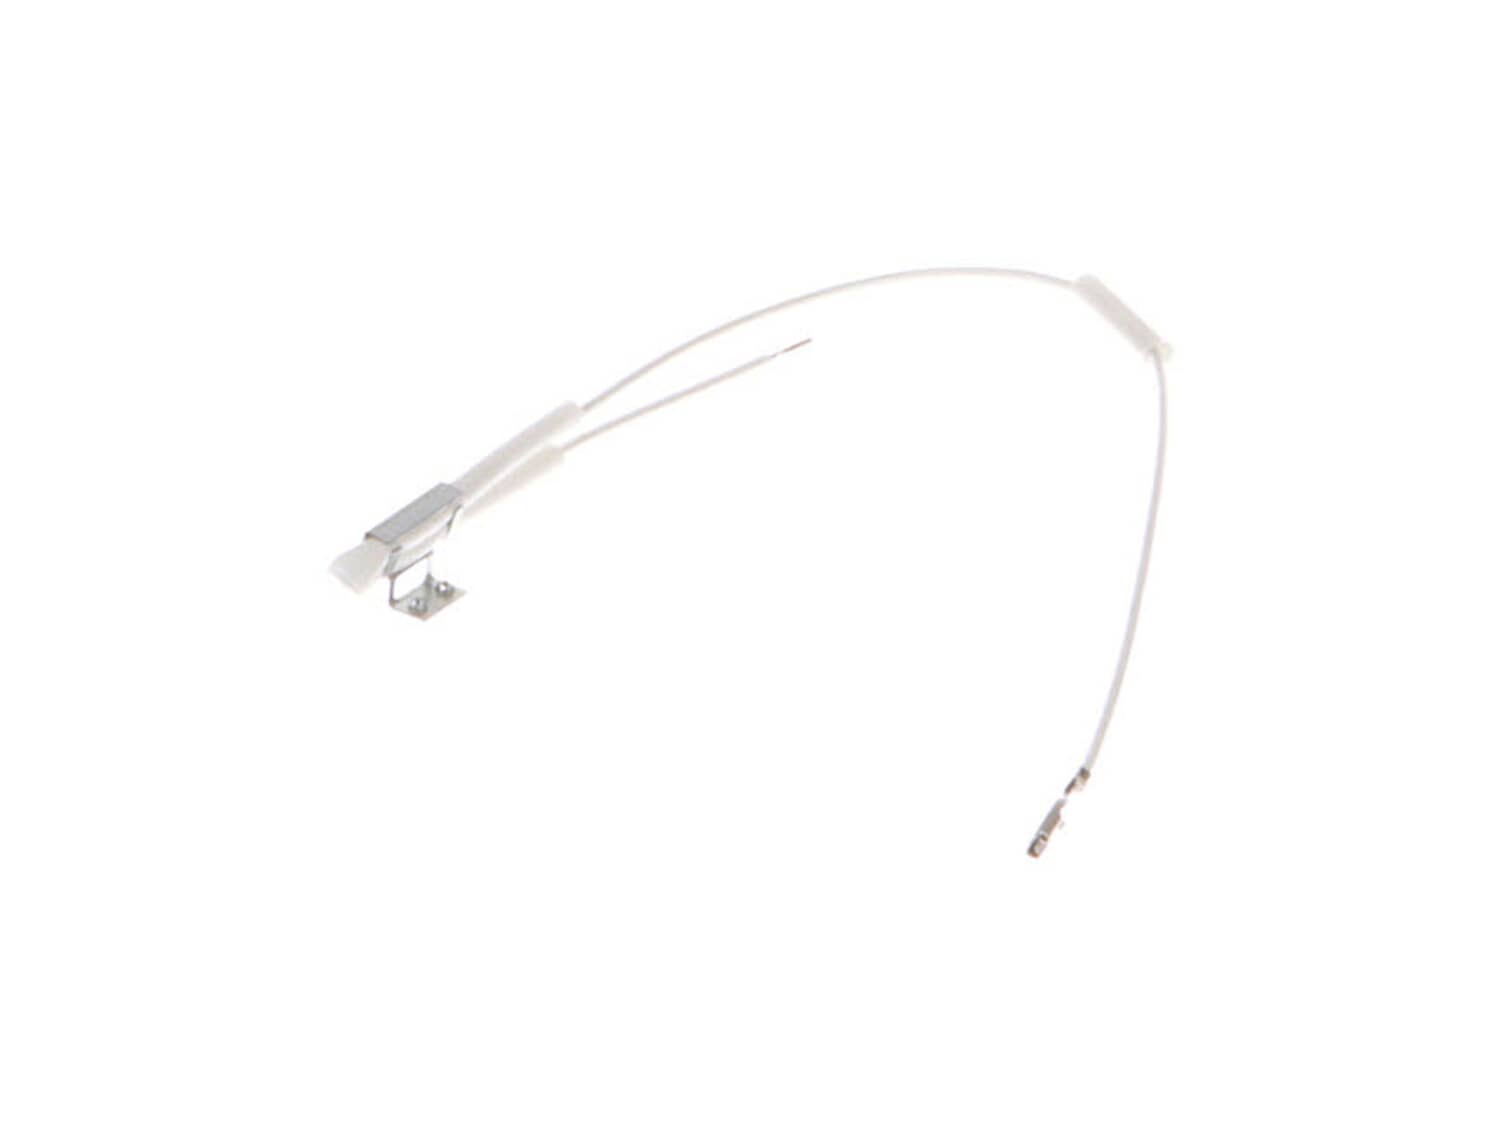
Product Description
-
Works with the following brands:Breville
-
Works with the following products:Toaster Oven
- Works with the following brands:
- Breville
- Works with the following products
- Toaster Oven
Questions and Answers
Be the first to ask our experts a question about this part!
Ask a Question
Ask our experts a question on this part and we'll respond as soon as we can.
Sorry, we couldn't find a match for "".
Here's a guide for finding your model number.
Something went wrong. Please try again later.
Your Question Has Been Submitted!
Our experts will send you an email as soon as your question has been answered.

Related Parts Additional or alternate parts to consider.
Installation Instructions Provided by Fix customers like you.
- < Prev
- 1
- Next >
Sort by:
Search filter:
Clear Filter
Your search term must have 3 or more characters.
Keep searches simple. Use keywords, e.g. "leaking", "pump", "broken" or "fit".
Sorry, we couldn't find any existing installation instruction that matched.
- Customer:
- Paul from CRESSKILL, NJ
- Parts Used:
- SP0010484
- Difficulty Level:
- Really Easy
- Total Repair Time:
- 30 - 60 mins
- Tools:
- Pliers, Screw drivers
No power to the toaster oven, no lights
Remove rear feet (2 visible screws and break 1 rivet in each), remove front right foot (under control panel with 3 visible screw and 2 hidden screws beneath the 1 visible), remove back panel (about 22 screws), remove 2 screws along bottom edge of side panel next to control panel.
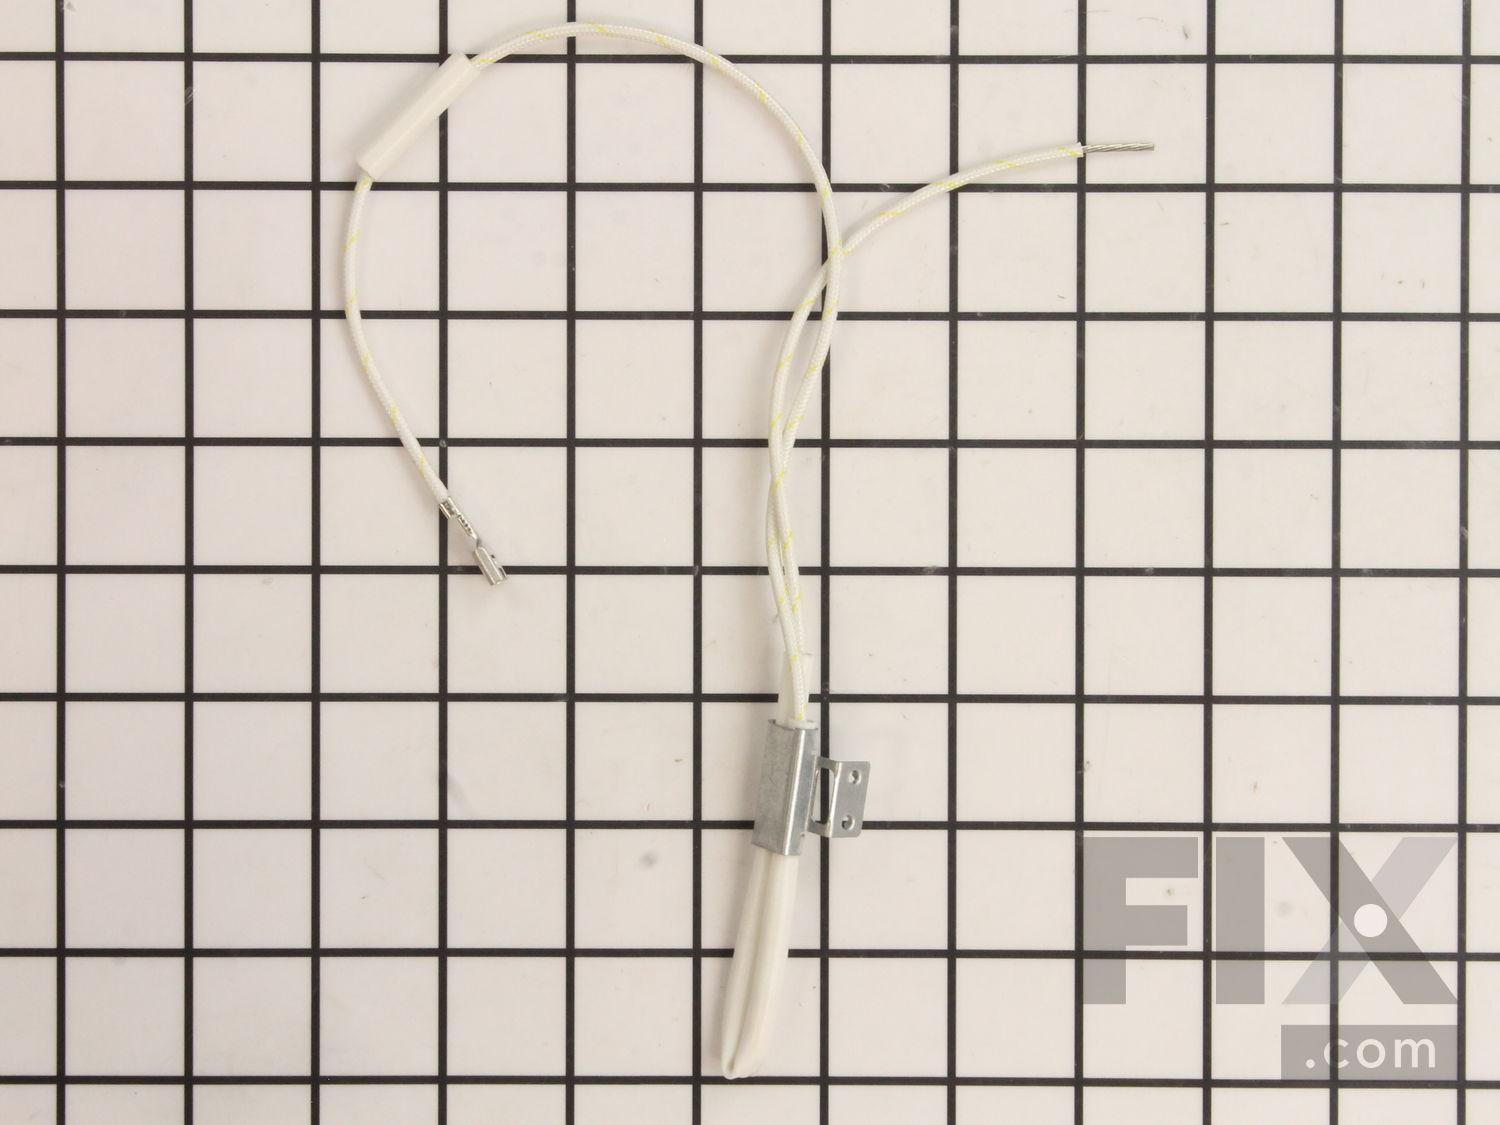
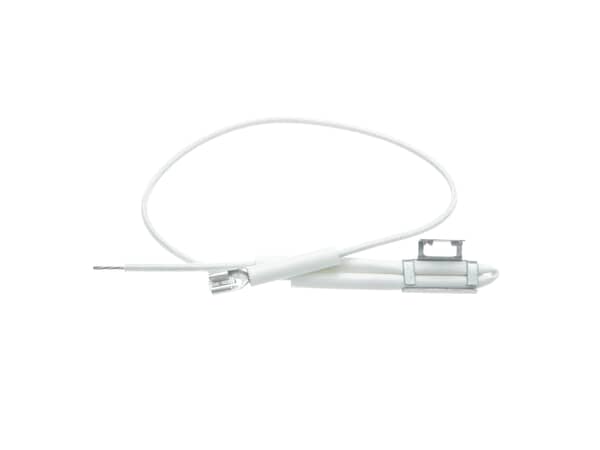
Remove 2 small screws holding the thermal fuse bracket ... Read more to oven back. Remove thermal fuse lead from electrical connector by uncrimping the connector. Remove 3 screws from the inside holding the side panel to the front edge, so that you can pull the side panel away from the control panel to give you room to remove thermal fuse connector on front control panel with needle nose pliers. Install new thermal fuse to front connector by control panel. Connect end of thermal fuse wire to electrical connector with other wire and crimp to secure. Install fuse bracket with 2 screws to oven wall. Reverse directions to re-assemble side panel to front control panel on the inside, side panel to bottom edge, back panel and feet. This video was very helpful https://www.youtube.com/watch?v=cqbbwjixTPg
Read less
1 of 2 people
found this instruction helpful.
Was this instruction helpful to you?
Thank you for voting!
- < Prev
- 1
- Next >
★
Customer Reviews
Filter By Rating:
- < Prev
- 1
- Next >
Sort by:
Search filter:
Clear Filter
Your search term must have 3 or more characters.
Keep searches simple. Use keywords, e.g. "leaking", "pump", "broken" or "fit".
Sorry, we couldn't find any existing reviews that matched. Try using some different or simpler keywords.
Nathalie T - September 8, 2021
Verified Purchase
Exactly what I needed
We were ready to throw out our Breville Toaster Oven, but found a video suggesting our thermal fuse was busted. The part from Fix.com was exactly what I needed. Toaster Oven has another 10 years!
Brian K W - January 24, 2020
Verified Purchase
Thermo coupler replacement.
Great work.
The part came in ahead of time and we were back in business that day.
RANDY T - October 8, 2020
Verified Purchase
Works great!
Replaced this part and the toaster oven works great again. This was a cheap and easy repair.
Jon R - September 14, 2020
Verified Purchase
Breville Toaster repair BOV450XL
This part was perfect. It was a bit tough to figure out how to install it, but once I got it in, it fixed my problem (toaster would not turn on at all) entirely. I ended up bending the bracket away from the toaster wall a bit extra in order to assure no future contact between the thermal fuse and the toaster. I'm hoping this prevents overheating down the road. Thanks! AND big thanks to this page https://virantha.com/2014/03/02/fix-your-breville-smart-oven-by-replacing-the-thermal-fuse/ by Virantha Ekanayake for pointing me to the correct part and detailing the installation instructions! If you are a DIY person, absolutely buy this part!!!
Model Compatibility
This part works with the following models:
Fix Number: FIX12008667
Manufacturer Part Number: SP0010484
| Brand | Model Number | Description |
|---|---|---|
| Breville | BOV450XL | Toaster Oven - The Mini Smart Oven |
| Breville | RM-BOV450BSS1BCA1 | Toaster Oven - Rm-Breville The Mini Smart Oven |
| Breville | RM-BOV450XL | Toaster Oven - Rm - Mini Smart Oven |
Mail-In Recycling Rebate
Some of the parts we sell are eligible for mail-in rebates since we can recycle them. We will display any applicable rebates in your shopping cart. To redeem your rebate, contact Customer Service after you have received your part.