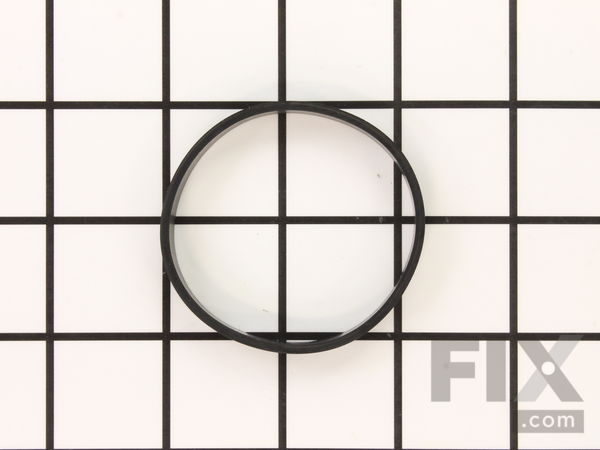
Belt, Motor
$6.42
In Stock
Fix Number: FIX12049188
Manufacturer #: O-5336401
Manufactured by:
Oreck
-
Works with the following brandsOreck
-
Works with the following productsSteamer
Product Description
-
Works with the following brands:Oreck
-
Works with the following products:Steamer
Questions and Answers
We're sorry, but our Q&A experts are temporarily unavailable.
Please check back later if you still haven't found the answer you need.
Installation Instructions Provided by Fix customers like you.
- < Prev
- 1
- Next >
Sort by:
Search filter:
Clear Filter
Your search term must have 3 or more characters.
Keep searches simple. Use keywords, e.g. "leaking", "pump", "broken" or "fit".
Sorry, we couldn't find any existing installation instruction that matched.
-
Customer:David from ANDOVER, MA
-
Parts Used:O-5336401
-
Difficulty Level:Very Difficult
-
Total Repair Time:30 - 60 mins
-
Tools:Pliers, Screw drivers
drive belt for brush motor broke
I first tried to just uncover the brush pulley and use a small pliers to push the new belt over the motor shaft, but that was impossible. I then removed the cover over the motor so I could see the end of motor shaft, but the end of the shaft was so close to the housing that I still could not get the belt over both the motor shaft and the brush pulley with any tool that I had. The motor is held in place by a spring steel clip that is screwed to the housing. I removed that clip, installed the belt over the brush pulley, and used my hand to position the motor shaft inside the belt. It was not easy to get a belt loop into the motor housing area, but it got done. With the motor at an angle and shaft inside the belt, I slowly pressed the motor back in the mounting area and secured it with the steel clamp. I then replaced the motor cover and the brush pulley cover and I was back in business.
One reason for all my difficulty is the new belt is smaller than the path of the motor shaft and brush pulley. So the belt must be stretched to install it. It is very strong and not at all easy to stretch. One final word of caution: all the screws that I removed are self-threaded into the plastic housing. If you simply turn the screws back into the housing, you are in danger of cross threading and the screws may not hold securely. A trick that I learned a long time ago for such screws is to turn the screw counterclockwise with slight downward pressure. When I feel a click and the screw drops a bit, it means that the screw is in the original threads. I then turn it clockwise until it is snugly seated. Done this way, I've never had a screw refuse to tighten, no matter how often I've removed and replaced the screw.
Was this instruction helpful to you?
Thank you for voting!
- < Prev
- 1
- Next >
Model Compatibility
This part works with the following models:
Fix Number: FIX12049188
Manufacturer Part Number: O-5336401
Brand
Model Number
Description