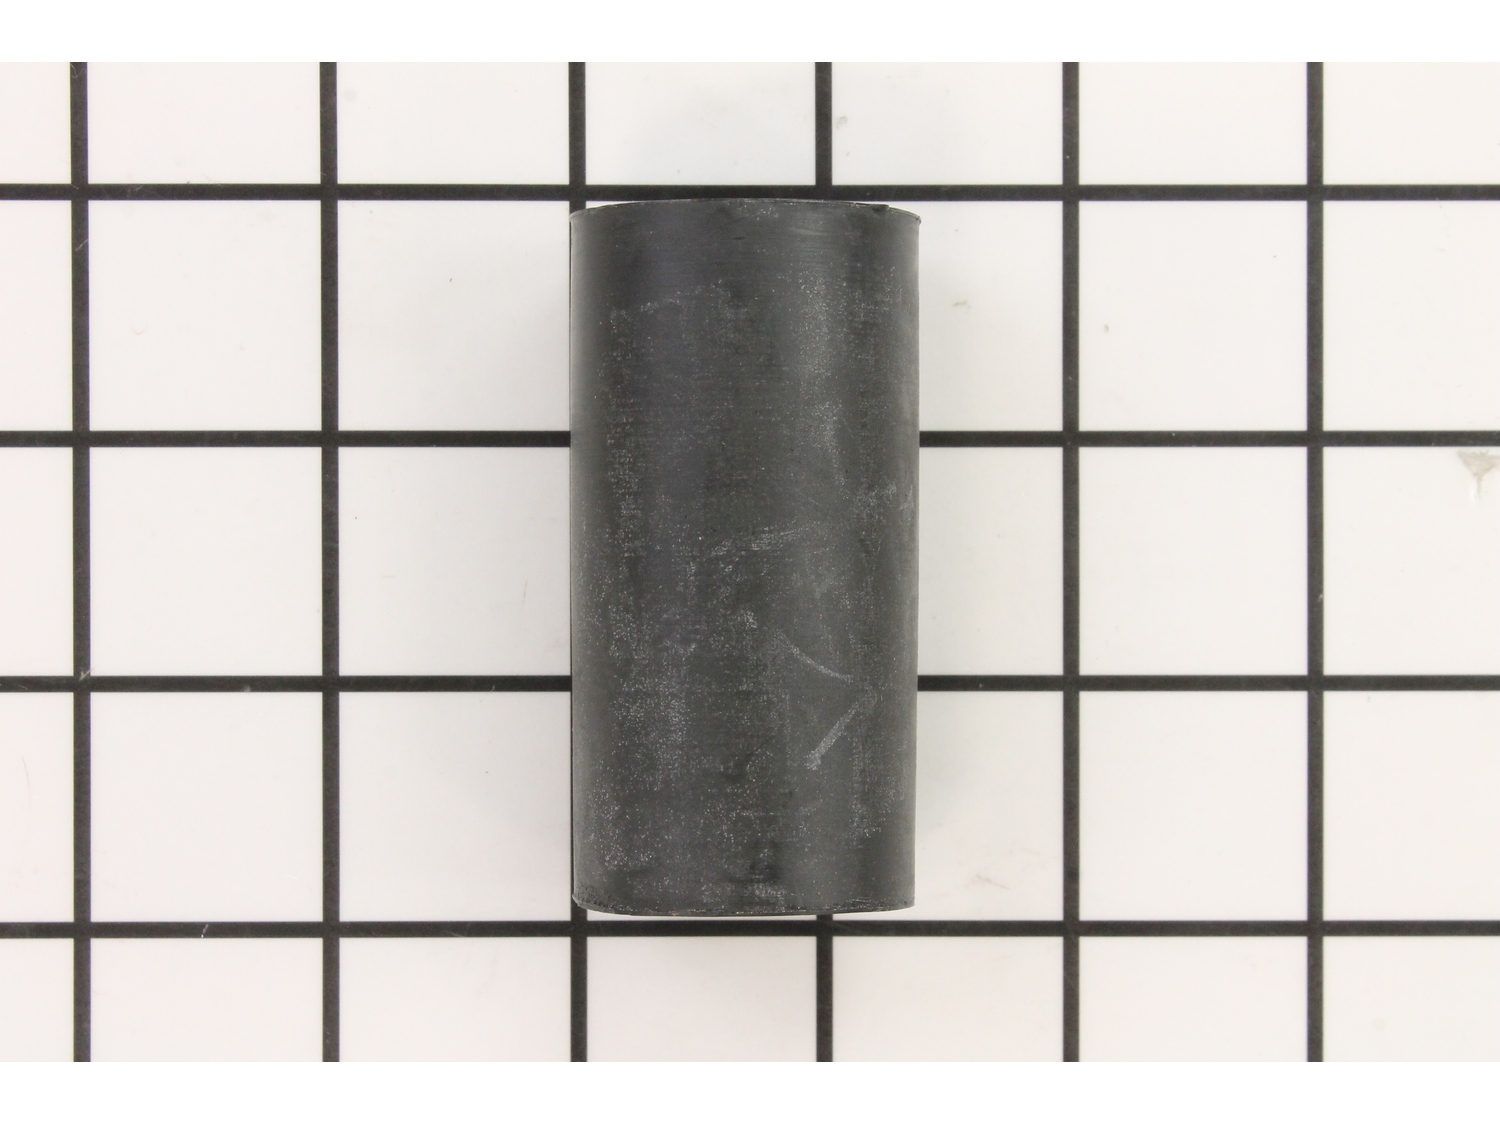
Part Location Diagram of 422032-1 Makita Rubber Sleeve 29
See part 37 in the diagram
( Grid squares measure 1x1 inch )

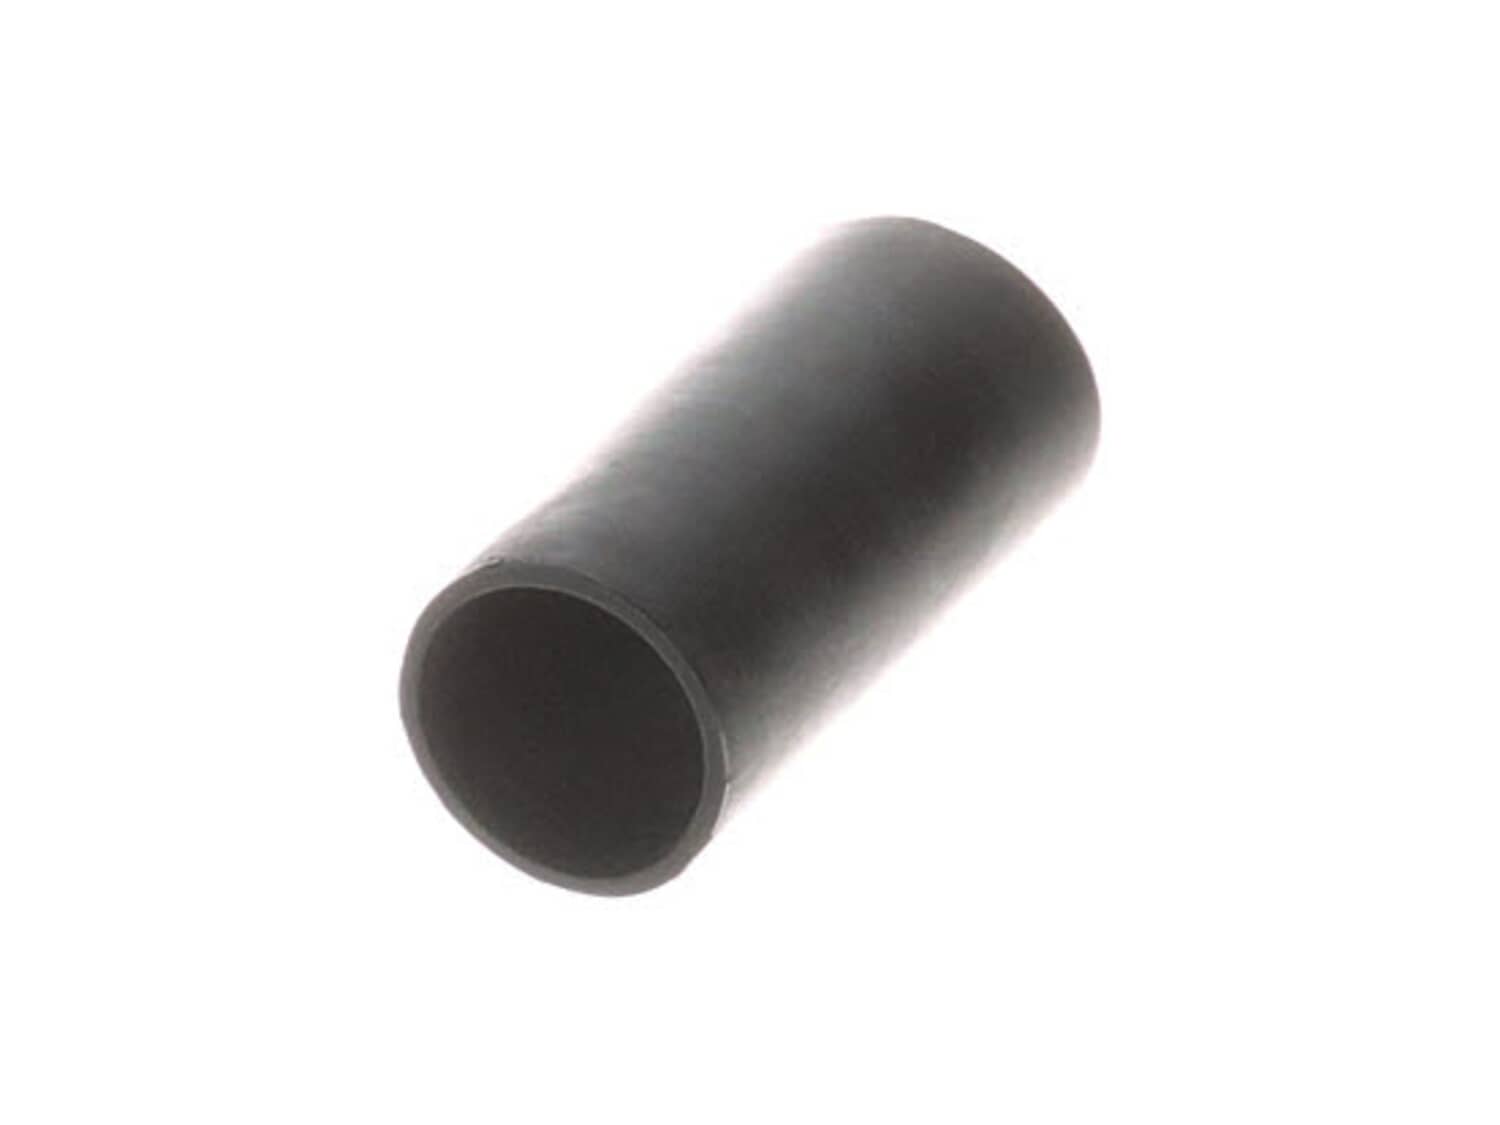
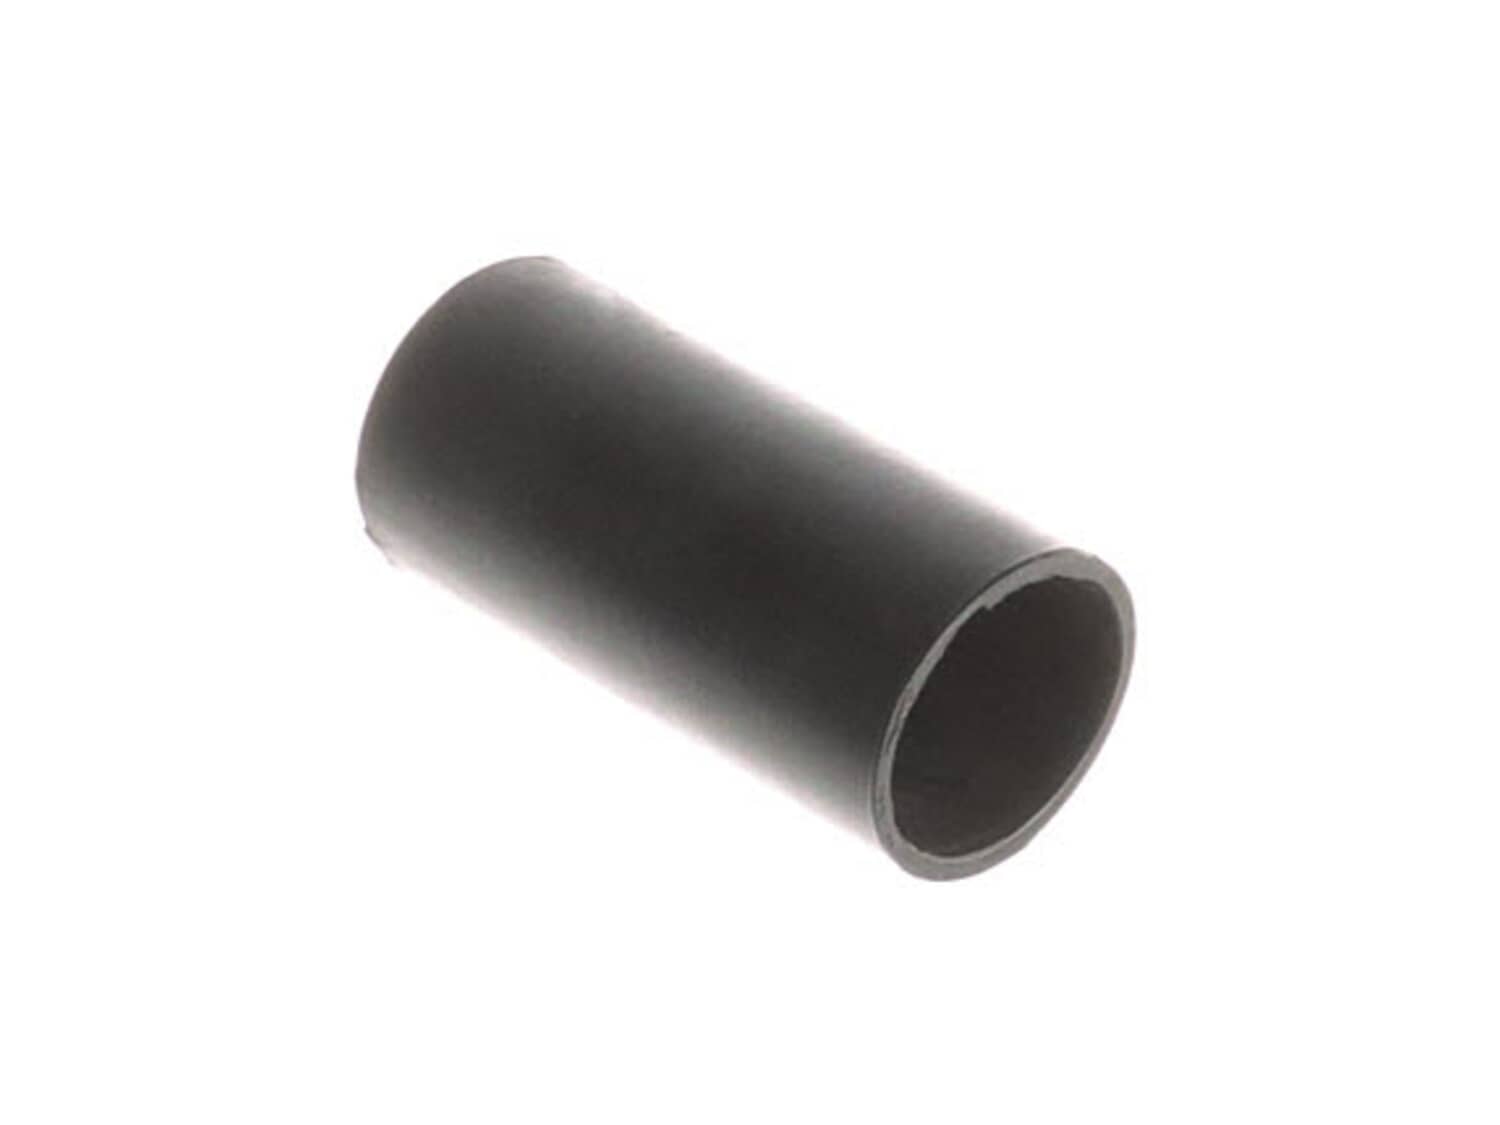
Rubber Sleeve 29 422032-1

$ 6.40
No Longer Available

No Longer Available

Sorry, this part is No Longer Available at Fix.com, which means:

  • The part is no longer sold by the manufacturer.
  • The manufacturer does not stock any substitute parts to replace this one and therefore, unfortunately, we cannot obtain or recommend a substitution for this part.
  • We cannot obtain the part through any other means.

Our call center and online agents are, unfortunately, unable to help you locate this part, but you may still be able to find the part elsewhere. We recommend:

  • Typing your part number into a search engine and checking to see whether another company might stock it.
  • Searching online stores like eBay for your part number.
  • Visiting a local appliance store or parts dealer to see if they have this part in stock.
  • Contacting a local technician, who may be able to repair your existing part or replace it with their own solution.
  • Contacting the manufacturer of your appliance directly to check for their recommendations.
Fix Number:
FIX10151276
Manufacturer #:
422032-1
Manufactured by:
Makita

Product Description

This rubber sleeve, also known as a rubber dam, is sourced from the original manufacturer for use with sanders. It has a length of 3 inches, an outer diameter of 3/8 inches, and an inner diameter of 1-1/8. The sleeve allows the sander belt to spin smoothly by providing it with the necessary grip. It is normal for the rubber sleeve to tear, lose elasticity, or fall off due to aging and frequent use. A faulty sleeve will result in belt slippage, increased noise, overheating, and equipment instability. Remove the equipment housing to access the driving roller. Remove the fasteners that hold the driving roller and pull the roller out. Slide the faulty rubber sleeve off and clean the roller to ensure a good seal for the new sleeve. Place the new sleeve on the roller and return the roller to the equipment. Reinstall the fasteners and reassemble the equipment housing.