Some of the parts we sell are eligible for mail-in rebates since we can recycle them. We will display any applicable rebates in your shopping cart. To redeem your rebate, contact Customer Service after you have received your part.
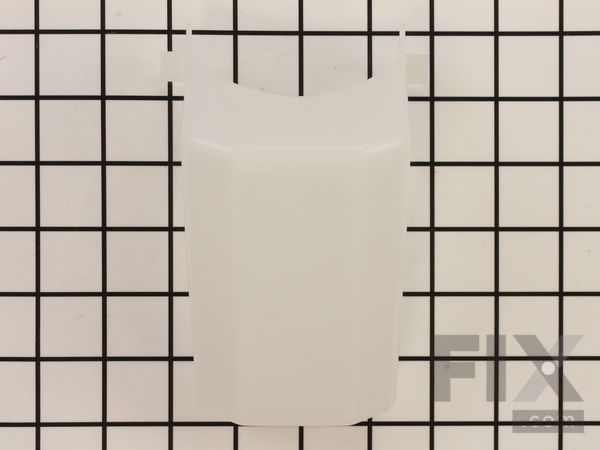
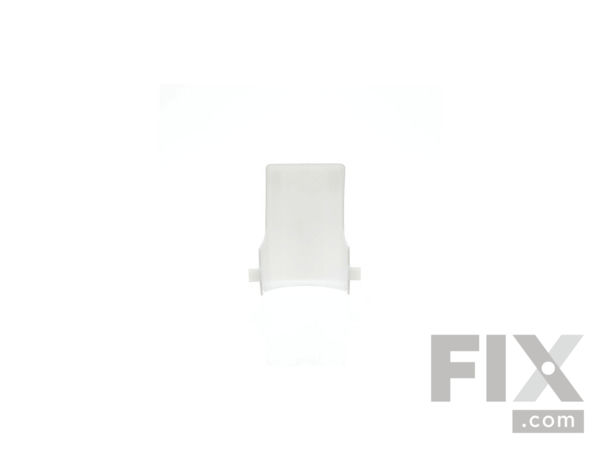
Light Lens
$39.86
In Stock
- Fix Number:
- FIX10281344
- Manufacturer #:
- S99110437
- Manufactured by:
- Broan
- Product Description
- This is an OEM light lens for a range hood and it is sold as an individual part. It is also sometimes referred to as a bulb cover, as this small plastic piece encases the bulb, protects and hides it. This part is easily installed by just snapping it into place, no tools required.
- Works with the following brands:
- Broan, Nutone
- Works with the following products
- Range Hood
Product Description
This is an OEM light lens for a range hood and it is sold as an individual part. It is also sometimes referred to as a bulb cover, as this small plastic piece encases the bulb, protects and hides it. This part is easily installed by just snapping it into place, no tools required.
-
Works with the following brands:Broan, Nutone
-
Works with the following products:Range Hood
Questions and Answers
We're sorry, but our Q&A experts are temporarily unavailable.
Please check back later if you still haven't found the answer you need.
Related Parts Additional or alternate parts to consider.
Installation Instructions Provided by Fix customers like you.
- < Prev
- 1
- Next >
Sort by:
Search filter:
Clear Filter
Your search term must have 3 or more characters.
Keep searches simple. Use keywords, e.g. "leaking", "pump", "broken" or "fit".
Sorry, we couldn't find any existing installation instruction that matched.
The hood light stopped working (switch failure - not the light bulb or socket), the fan switch worked fine, but replaced anyway.
1. Shut off applicable circuit breaker to isolate power to exhaust hood.
2. Unscrewed the single machine screw holding the wiring channel cover in place. Used 1/8" nutdriver.
3. Tape labeled (R & L) the associated electrical wires to light switch and colored wires to fan switch for exact replacement.
4. Pulled off the con ... Read more nector wires by the metal clips using needle nose pliers (some were very stubborn (grease corrosion or tight).
5. Could not pinch the plastic expanders on switches and push through from rear as I expected. Had to pry switches from front with screwdriver, wiggle one side free, and then force switch through from back side. This was the hardest task as they fight to stay in place. They come out the front side only.
6. Inserted from the front both fan and light switches, noting the switch label positions of the new and old to get the wiring and on-off positions to be the same as the old.
7. Reconnected all the labeled wires to the new switch pole connectors.
8. Turned on circuit breaker and tested new switches.
9 . Replaced the wiring channel cover and screwed in the metal holding screw with nutdriver.
Read less
2 of 2 people
found this instruction helpful.
Was this instruction helpful to you?
Thank you for voting!
- < Prev
- 1
- Next >
★
Customer Reviews
Filter By Rating:
- < Prev
- 1
- Next >
Sort by:
Search filter:
Clear Filter
Your search term must have 3 or more characters.
Keep searches simple. Use keywords, e.g. "leaking", "pump", "broken" or "fit".
Sorry, we couldn't find any existing reviews that matched. Try using some different or simpler keywords.
Michelele C - November 4, 2020
Verified Purchase
Excellent
Part fit great no problems. thank you.
Model Compatibility
This part works with the following models:
Fix Number: FIX10281344
Manufacturer Part Number: S99110437
Manufacturer Part Number: S99110437
Brand
Model Number
Description
✖
Mail-In Recycling Rebate


