Jump to:
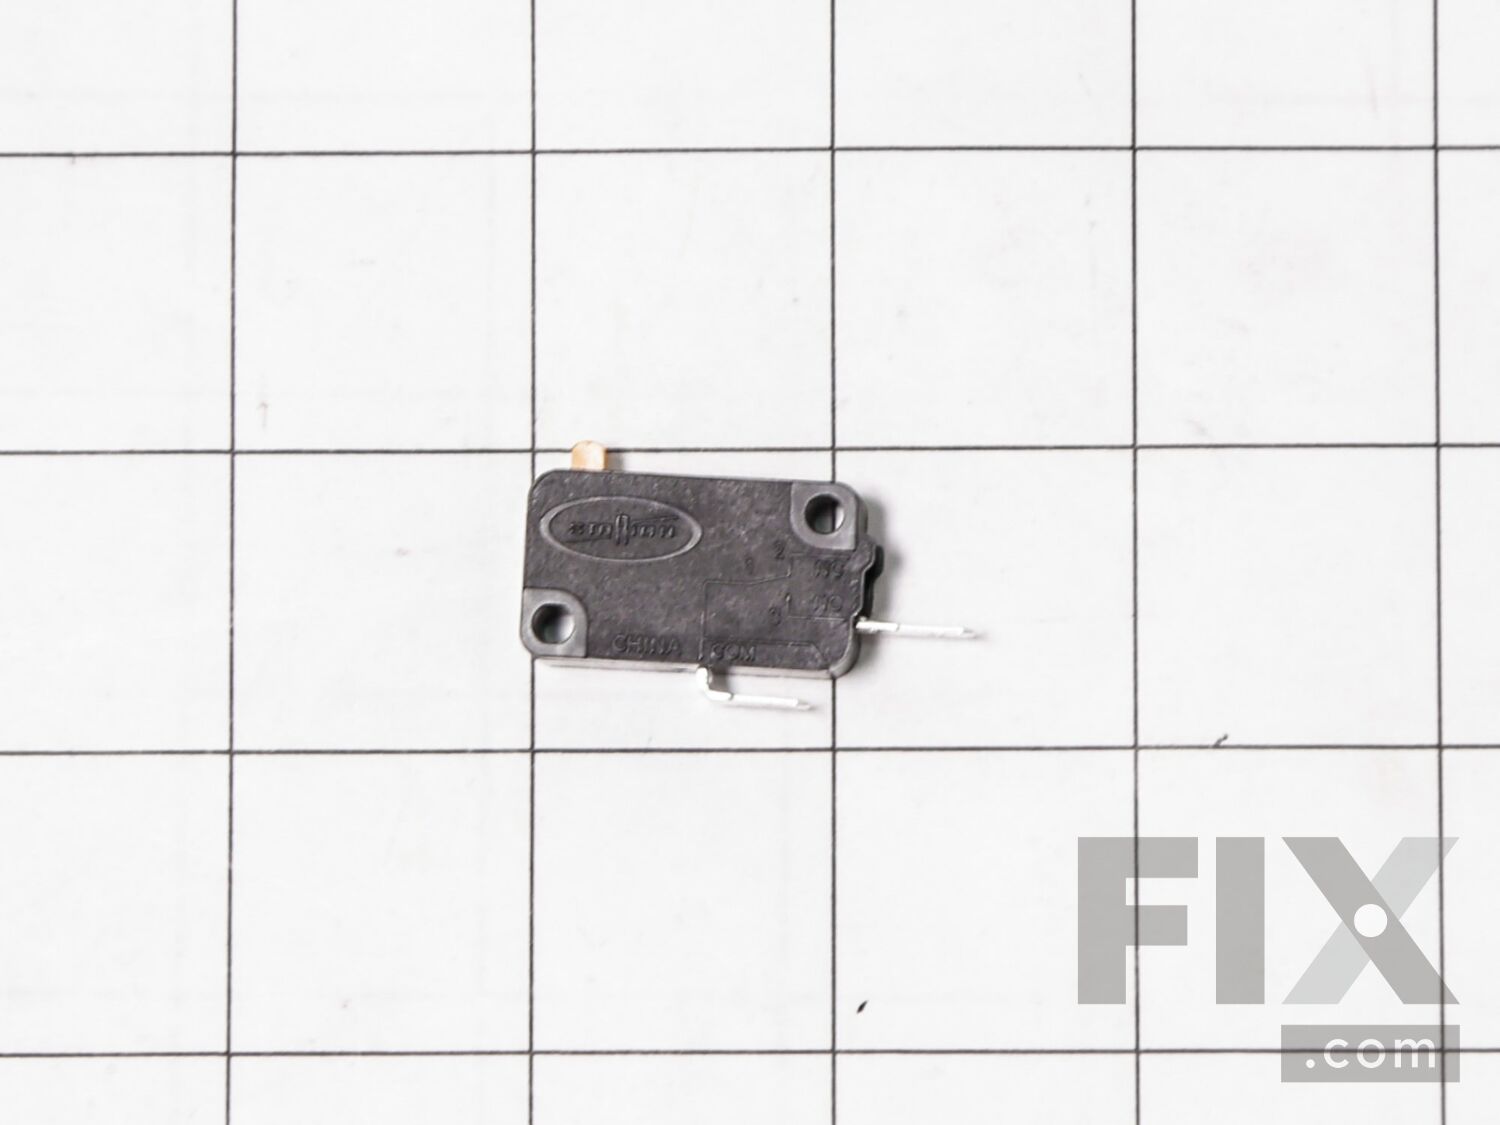
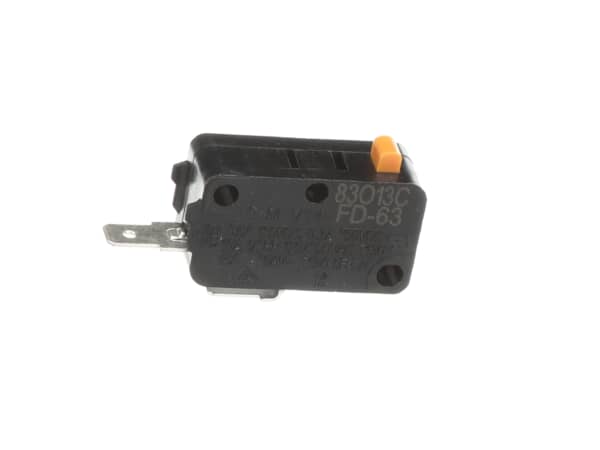
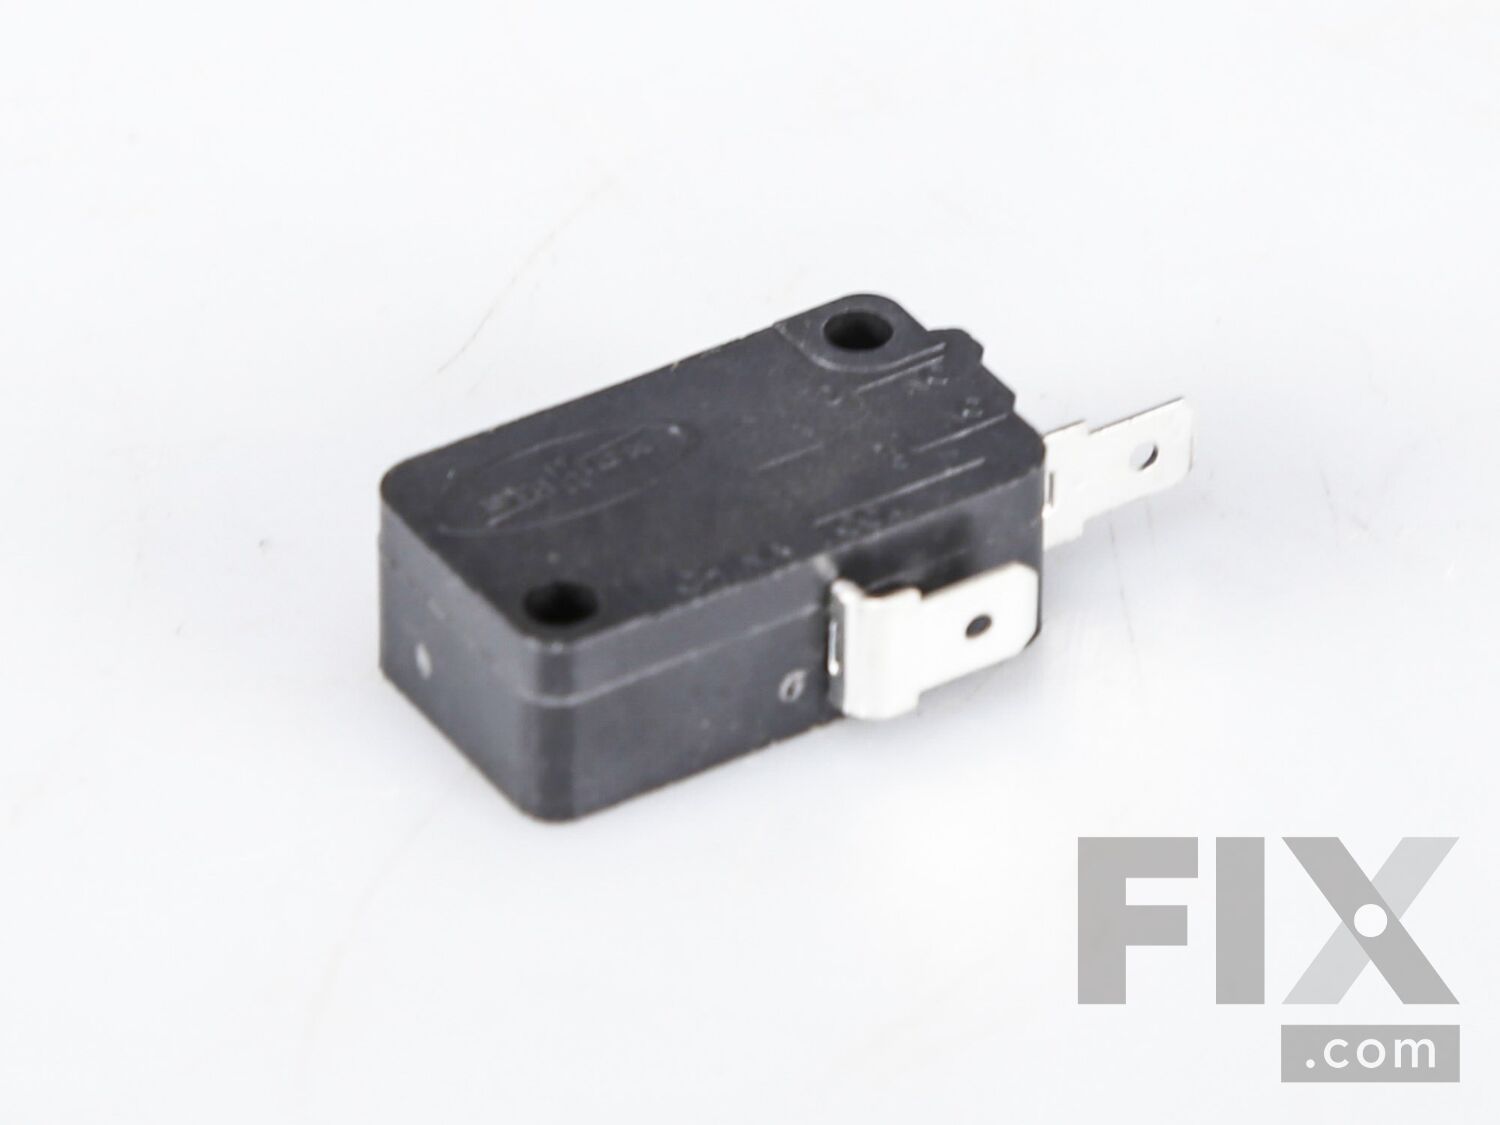
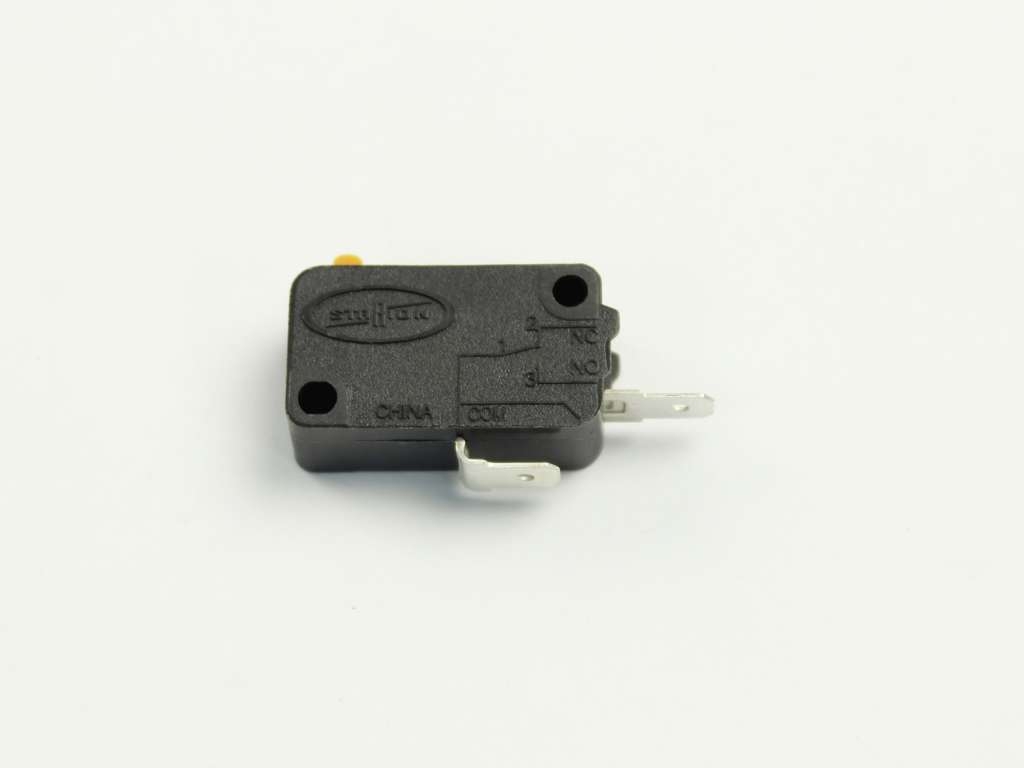
Product Description
-
Works with the following brands:LG, Kenmore
-
Works with the following products:Microwave, Range, Microwave Oven Combo, Wall Oven
-
Fixes the following symptoms:No heat, Won’t turn on, Doesn’t shut off
-
Part# 6600W1K001D replaces these:AP4650824, 3B73362F, 6600W1K003D
- Works with the following brands:
- LG, Kenmore
- Works with the following products
- Microwave, Range, Microwave Oven Combo, Wall Oven
- Fixes the following symptoms
- No heat, Won’t turn on, Doesn’t shut off
- Part# 6600W1K001D replaces these:
- AP4650824, 3B73362F, 6600W1K003D
Part Number Cross Reference
Questions and Answers
Be the first to ask our experts a question about this part!
Ask a Question
Ask our experts a question on this part and we'll respond as soon as we can.
Sorry, we couldn't find a match for "".
Here's a guide for finding your model number.
Something went wrong. Please try again later.
Your Question Has Been Submitted!
Our experts will send you an email as soon as your question has been answered.
Related Parts Additional or alternate parts to consider.
Installation Instructions Provided by Fix customers like you.
- < Prev
- 1
- Next >
Sort by:
Search filter:
Clear Filter
Your search term must have 3 or more characters.
Keep searches simple. Use keywords, e.g. "leaking", "pump", "broken" or "fit".
Sorry, we couldn't find any existing installation instruction that matched.
- Customer:
- rockie from eugene, OR
- Parts Used:
- 6600W1K001C, 6600W1K001D
- Difficulty Level:
- A Bit Difficult
- Total Repair Time:
- 1- 2 hours
- Tools:
- Pliers, Screw drivers
microwave wouldn't heat, door switches failed
First step is to test all 3 door switches. I couldnt find a video of removing the switches on partselect.com, so I had to wing it. Took the case off and eventually found out the switches can be removed from the front. Then I learned another important lesson - replace all 3 switches and the holder as an assembly. I bought 2 switches but fo
... Read more
und out you cant remove the switches without destroying the holder. That was a $17 mistake. The entire assembly is only $3 more than 2 switches.
Read less
19 of 23 people
found this instruction helpful.
Was this instruction helpful to you?
Thank you for voting!
- Customer:
- William from Mechanicsburg, PA
- Parts Used:
- 6930W1A003X, 6600W1K001C, 4510W3A012B, 6600W1K001D
- Difficulty Level:
- Easy
- Total Repair Time:
- 15 - 30 mins
- Tools:
- Pliers, Screw drivers
Microwave would run a few seconds then quit
Removed cover and control panel. Discovered the thermostat had a burned connection. Removed thermostat and replaced. Small issue with new thermostat which is version 2. Both leads were large and while the previous thermostat had one small lead and the other large. I had to expand one of the connectors, cut the plastic sleeve and secure wi
... Read more
th electrical tape. The switches went in very easily and everything went back together without any problems.
Read less
5 of 9 people
found this instruction helpful.
Was this instruction helpful to you?
Thank you for voting!
- Customer:
- Barbara from Chula Vista, CA
- Parts Used:
- 6600W1K001D
- Difficulty Level:
- Easy
- Total Repair Time:
- 30 - 60 mins
- Tools:
- Pliers, Screw drivers
When you open the door, the microwave turns on by itself.
There are 3 switches that get engaged when you open or close the door. One of them, the bottom one, was shorted. To replace it, remove the cover. Take off the control panel, 3 screws, easy to see. Take off the latch/switch bracket, 2 screws, easy to see. The bottom one was bad on mine and that was held in place by a plastic pin that went
... Read more
through a hole in the top corner of the switch and was molded into the bracket. In other words, there was no getting this switch out without cutting off that pin. Carefully use a small finetooth saw and cut off the pin on the switch side only. You need to keep the bracket side of the pin in place. Once the pin is cut off the switch will just pull out.Now you need to find a tiny thin wood screw that will fit totally through the switch corner hole and go into the bracket pin you left behind. You only want the screw to be long enough to engage the bracket pin firmly, not go all the way through. A pointed piece of metal inside the microwave could possibly cause arcing. So once you have located a proper wood screw, drill a tiny pilot hole into the remaining pin. Put the switch into place and screw down the switch to the bracket with the wood screw. To prevent the screw from loosen up put a bit of glue or locitie on the screw head and switch housing. And a dab on where the switch body touches the latch bracket. Then put the latch bracket loosely back in place. Put the control panel back. Once the control panel is in, adjust the latch bracket to open and close and hold the door firmly. Smile and ask your wife what she was worried about.
Read less
4 of 5 people
found this instruction helpful.
Was this instruction helpful to you?
Thank you for voting!
- Customer:
- Patrick from LOS GATOS, CA
- Parts Used:
- 6600W1K001D
- Difficulty Level:
- Easy
- Total Repair Time:
- 30 - 60 mins
- Tools:
- Screw drivers
microwave is dead (no keys, no power)
checked each potential faillure sources (switch, thermostats etc) using manual schematic. Found that Magnetron Thermostat was INOP. Confirmed by-passing the part. Unit back in operation. Great service.
3 of 3 people
found this instruction helpful.
Was this instruction helpful to you?
Thank you for voting!
- Customer:
- Brian from Indianapolis, IN
- Parts Used:
- 6600W1K001D
- Difficulty Level:
- Very Easy
- Total Repair Time:
- Less than 15 mins
- Tools:
- Screw drivers
Bad Microswitch
Replaced it
3 of 4 people
found this instruction helpful.
Was this instruction helpful to you?
Thank you for voting!
- Customer:
- John from CLAIRTON, PA
- Parts Used:
- 6600W1K001D
- Difficulty Level:
- Very Easy
- Total Repair Time:
- 15 - 30 mins
- Tools:
- Screw drivers
Microwave would not turn on
I followed the video on fix website. It was easy to follow. I did it in about 20 minutes.
1. Removed the exhaust cover.
2. Removed the control panel.
3. Removed the door switch.
4. Replaced it with the new door switch.
5. Microwave works like new.
1. Removed the exhaust cover.
2. Removed the control panel.
3. Removed the door switch.
4. Replaced it with the new door switch.
5. Microwave works like new.
1 of 3 people
found this instruction helpful.
Was this instruction helpful to you?
Thank you for voting!
- Customer:
- Hatinder from Cupertino, CA
- Parts Used:
- 6600W1K001D
- Difficulty Level:
- A Bit Difficult
- Total Repair Time:
- 30 - 60 mins
- Tools:
- Screw drivers
Microwave would not heat
Power was on, but microwave would not heat. One of the 3 switches when you close the microwave door was not working anymore. Replaced the switch. Opened the top grill. Removed the right side button area.
1 of 4 people
found this instruction helpful.
Was this instruction helpful to you?
Thank you for voting!
- < Prev
- 1
- Next >
★
Customer Reviews
Filter By Rating:
- < Prev
- 1
- Next >
Sort by:
Search filter:
Clear Filter
Your search term must have 3 or more characters.
Keep searches simple. Use keywords, e.g. "leaking", "pump", "broken" or "fit".
Sorry, we couldn't find any existing reviews that matched. Try using some different or simpler keywords.
John B - October 21, 2020
Verified Purchase
Microwave door switch
I watched the video and decided to purchase the door switch to see if that was the problem with my microwave not turning on....well...it sure was. The video and the switch helped me save hundreds of dollars by not needing to buy a new microwave. Thank you. Fix.....
Model Compatibility
This part works with the following models:
Fix Number: FIX3529294
Manufacturer Part Number: 6600W1K001D
| Brand | Model Number | Description |
|---|---|---|
| Kenmore | 58066291690 | Microwave |
| LG | 62102 | Range - Oven-Range |
| LG | 62109 | Range - Oven-Range |
| LG | 62344 | Wall Oven |
| LG | 62349 | Range - Oven-Range |
| LG | 62462 | Wall Oven |
| LG | 62463 | Wall Oven |
| LG | 62464 | Wall Oven |
| LG | 62469 | Wall Oven |
| LG | 63102 | Range - Oven-Range |
| LG | 63102301 | Range - Oven-Range |
| LG | 63109301 | Range - Oven-Range |
| LG | 63252 | Range - Oven-Range |
| LG | 63259 | Range - Oven-Range |
| LG | 63263 | Range - Oven-Range |
| LG | 63293 | Range - Oven-Range |
| LG | 63299 | Range - Oven-Range |
| LG | 63352 | Range - Oven-Range |
| LG | 63352301 | Range - Oven-Range |
| LG | 63359 | Range - Oven-Range |
| LG | 63992 | Microwave - Microwave |
| LG | 63992303 | Range - Oven-Range |
| LG | 63999 | Microwave - Microwave |
| LG | 63999303 | Range - Oven-Range |
| LG | 64282 | Wall Oven |
| LG | 65002401 | Range - Oven-Range |
| LG | 65022 | Range - Oven-Range |
| LG | 65022401 | Range - Oven-Range |
| LG | 65029 | Microwave - Microwave |
| LG | 65052 | Wall Oven |
Mail-In Recycling Rebate
Some of the parts we sell are eligible for mail-in rebates since we can recycle them. We will display any applicable rebates in your shopping cart. To redeem your rebate, contact Customer Service after you have received your part.