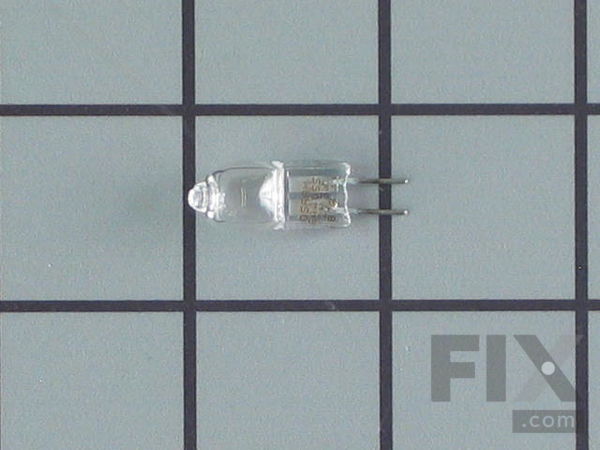
Microwave Halogen Bulb
$32.11
In Stock
Fix Number: FIX11754756
Manufacturer #: WPW10440740
Manufactured by:
Whirlpool
-
Product Description
This is a small light bulb.
-
Works with the following brandsKitchenAid, Whirlpool, Maytag
-
Works with the following productsMicrowave Oven Combo, Microwave
-
Part Number Cross ReferencePart# WPW10440740 replaces these:AP6021432, 4375348, 8186287, W10440740
Product Description
This is a small light bulb.
-
Works with the following brands:KitchenAid, Whirlpool, Maytag
-
Works with the following products:Microwave Oven Combo, Microwave
-
Part# WPW10440740 replaces these:AP6021432, 4375348, 8186287, W10440740
Questions and Answers
We're sorry, but our Q&A experts are temporarily unavailable.
Please check back later if you still haven't found the answer you need.
Installation Instructions Provided by Fix customers like you.
- < Prev
- 1
- Next >
Sort by:
Search filter:
Clear Filter
Your search term must have 3 or more characters.
Keep searches simple. Use keywords, e.g. "leaking", "pump", "broken" or "fit".
Sorry, we couldn't find any existing installation instruction that matched.
-
Customer:William from Palm Springs, CA
-
Parts Used:WPW10440740
-
Difficulty Level:Very Difficult
-
Total Repair Time:1- 2 hours
-
Tools:Screw drivers
Microwave designed by the IRS
How many idiots did it take to make changing a light bulb such an involved process? I claim no engineering skills, but this can NOT be the best they can do. I had a friend that has 40+ years of automotive repair help me. He's taken 'em apart and put 'em back together. The next most important thing is patience and if you are not a logical thinker, call a repairman. There are several layers to remove before you get to the bulb clip. #1. Remove two side trim pieces #2. have a table or stand that you can slide the oven on. #3. Start removing screws. You will see the obvious ones. Have a flat surface across to place all the screws on. #4. Remove each layer and pay attention to how you did it. To get some things out of your way you'll need to disconnect just the ground wires and larger wire harnesses. (Don't touch any on the back of the control panel). #5. Voilà--the clip is in sight. Pinch clip, change bulb, reinsert. #6 reverse process (patience and logic). #6. Pat yourself on the back!!! After I was finished I could sort of see why it was designed this way, but I don't see why bulb couldn't be on side behind one small plate with two screws instead of the multi layer top. Or better, use 25,000 hour LED bulb. It's done and I am glad I did not call a service person. I only ended up with two extra screws (I hear that is very common in auto repair).
Was this instruction helpful to you?
Thank you for voting!
-
Customer:Chuck from WAUKEE, IA
-
Difficulty Level:Really Easy
-
Total Repair Time:30 - 60 mins
-
Tools:Screw drivers
Left side torsion rod broken. Lightbulb burned out.
Torsion rods you sold me are not strong enough to close door.
The light bulb you sold me lasted less than1 minute before failing.
Purchase 2 bulbs for half the price of yours. Working now.
Still need to source the correct torsion rod.
The light bulb you sold me lasted less than1 minute before failing.
Purchase 2 bulbs for half the price of yours. Working now.
Still need to source the correct torsion rod.
Was this instruction helpful to you?
Thank you for voting!
- < Prev
- 1
- Next >
Model Compatibility
This part works with the following models:
Fix Number: FIX11754756
Manufacturer Part Number: WPW10440740
Brand
Model Number
Description