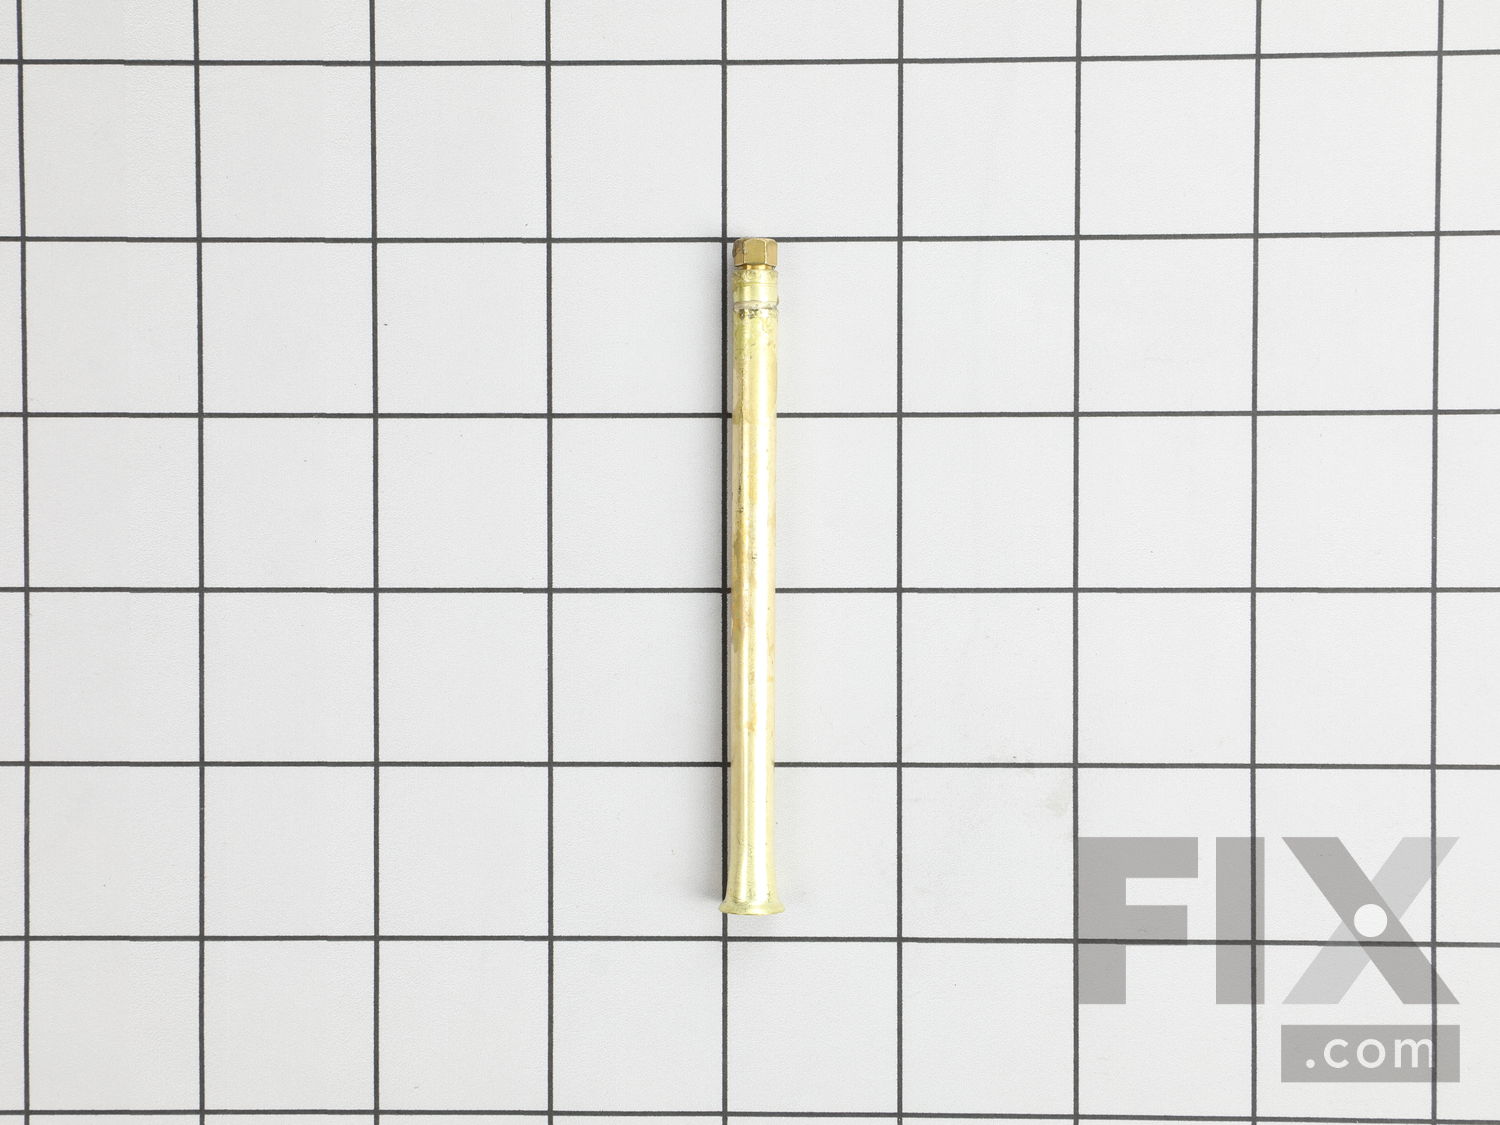
Part Location Diagram of 214B5891 Coleman Kerosene Generator
See part A-9 in the diagram
( Grid squares measure 1x1 inch )

Kerosene Generator 214B5891

$ 10.52
No Longer Available

No Longer Available

Sorry, this part is No Longer Available at Fix.com, which means:

  • The part is no longer sold by the manufacturer.
  • The manufacturer does not stock any substitute parts to replace this one and therefore, unfortunately, we cannot obtain or recommend a substitution for this part.
  • We cannot obtain the part through any other means.

Our call center and online agents are, unfortunately, unable to help you locate this part, but you may still be able to find the part elsewhere. We recommend:

  • Typing your part number into a search engine and checking to see whether another company might stock it.
  • Searching online stores like eBay for your part number.
  • Visiting a local appliance store or parts dealer to see if they have this part in stock.
  • Contacting a local technician, who may be able to repair your existing part or replace it with their own solution.
  • Contacting the manufacturer of your appliance directly to check for their recommendations.
Fix Number:
FIX10240947
Manufacturer #:
214B5891
Manufactured by:
Coleman

Product Description

This is an OEM part sourced directly from Coleman. A generator atomizes liquid fuel, turning it into a gas that can be mixed with air. Installation instructions are printed on the back of the package as well. Installation Instructions: • Turn fuel valve to "OFF". Remove Ball Nut (part # 220-4411) on top of lantern and lift off Ventilator (part # 288-4851) and Glass Globe (part # R214D046C). • Remove spring clip. Unscrew Generator Jamb Nut (part # 288-1621) at bottom of generator. Lift generator and unhook cleaning rod. • One new generator, pull cleaning rod out about 3/4". Hold cleaning rod between thumb and forefinger with generator in upright position. • Slide Generator Nut and Preheater Cup (part # 218-5101) over top of new generator. • Insert top end of generator into opening in air tube and re-hook Cleaning Rod. Carefully lower generator to avoid bending Cleaning Rod. • Tighten Generator Nut firmly to form a leak tight joint. Avoid stripping threads. • Install spring clip. Check mantle for damage and replace if needed. Reassemble lantern. • Visually check for leaks immediately after lighting.