- Product Description
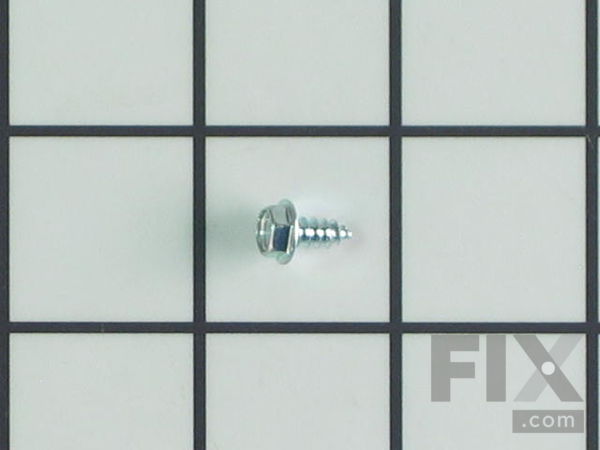
- This is a multi-use screw and can be used on a variety of appliances. The measurements of the screw are: 8/18 x 3/8. *Please note: the screw is sold individually. Refer to the manual provided by the manufacturer for further repair guidance.
- Works with the following brands:
- Amana, Kenmore, Whirlpool, Maytag
- Works with the following products
-
Dryer, Refrigerator, Washer, Air Conditioner
Part Number Cross Reference
- Part# WP90767 replaces these:
-
AP6013613, 0041808, 0041816, 0056267, 0056277, 015446, 03020094, 0312639, 0312642, 046373-03, 046373-04, 05600002, 05600004, 0805221, 0808658, 12990524, 12991603V, 14222402, 2-10587, 2-11294
...
Show more
, 2-12276, 2-14332, 210587, 211294, 212276, 214332, 21626, 22001069, 22003992, 23962, 25-2134, 25-3092, 25-7741, 25-7747, 25-7857, 25-8030, 25-9021, 287853, 3-13559, 3-14082, 3-14568, 3-14848, 3-31026, 300890, 31001119, 31001267, 31001721, 313559, 314082, 314568, 314848, 33001324, 33001690, 33001860, 331026, 3348629, 337686, 338290, 3387057, 3390814, 339439, 339493, 339526, 339527, 400014-1, 40243, 40243-1, 4152204, 4312301, 4315317, 4344833, 4381672, 4389526, 4389709, 488212, 488329, 488606, 488661, 5-1086, 5-80034, 5-80068, 501086, 5027-ZZ, 5078-LL, 55985, 56267, 580034, 580068, 59616, 610.4426, 61005324, 61005481, 67006652, 67006838, 681167, 681450, 697774, 697778, 7-0502, 7-15773, 7-48012, 7-48024, 7-57288, 700502, 7020-0048, 7101P426-60, 715773, 717573, 719522, 748012, 748024, 757288, 777444, 786230, 788110, 788164, 8-4517, 8-5221, 8-8658, 80-5221, 804517, 805221, 808658, 816511, 8181949, 8209219, 8281192, 8281193, 830747, 8533971, 90766, 90767, 98006, 98025, A0229401, A3035201, A3036501, BT1393500, JA99715773, M0211016, M0211216, M0216529, M0216716, M0224416, M1D475, M1D848, R0130882, R0213135, R0213309, R0213329, R0600001, R0600004, R0600097, STD510805, W10106830, W10116760, W10748311, Y0041808, Y0041816, Y0056267, Y0056277, Y015446, Y03020094, Y0312639, Y0312642, Y04637303, Y04637304, Y05600002, Y05600004, Y0805221, Y0808658, Y214332, Y313559, Y580034, Y59616, Y6104426, Y700502, Y748012, Y748024, Y757288
Show less


