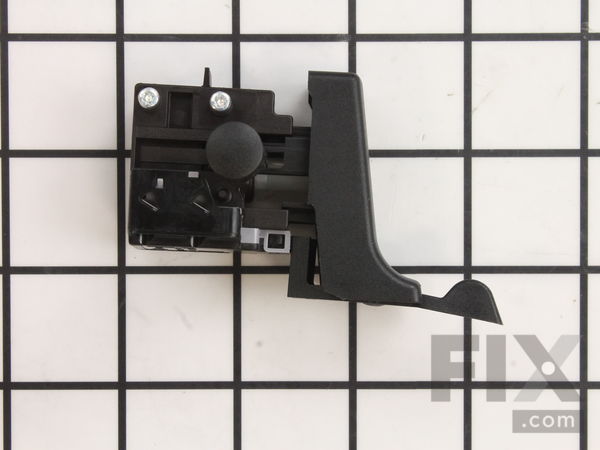
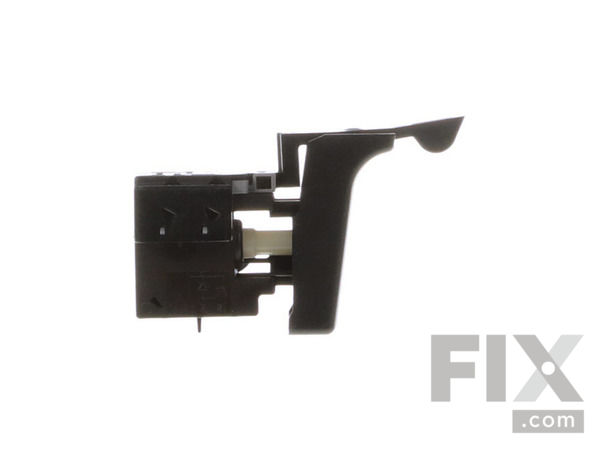
Part Location Diagram of 23-66-1692 Milwaukee Switch
See part 135 in the diagram
( Grid squares measure 1x1 inch )

Switch

Rated by 2 customers 

?

A Bit Difficult 

30 - 60 mins 

Ratings submitted by customers like you who bought this part.

?
$28.39
On Order
Fix Number:
FIX10123676
Manufacturer #:
23-66-1692
Manufactured by:
Milwaukee

Product Description

Questions and Answers

We're sorry, but our Q&A experts are temporarily unavailable.
Please check back later if you still haven't found the answer you need.

Installation Instructions Provided by Fix customers like you.

Average Repair Rating: 2.8 / 5.0, 2 reviews.
  • 1
Sort by:
Sorry, we couldn't find any existing installation instruction that matched.
Customer:
Ray from WEST JORDAN, UT
Parts Used:
23-66-1692
Difficulty Level:
A Bit Difficult
Total Repair Time:
30 - 60 mins
Tools:
Pliers, Screw drivers
Drill died
After testing power and switch, I ordered a switch from fix.com.

To get to the switch, the rear pad comes off by carefully prying it off. Remove 7 screws from the side and only 2 screws from the front of the drill. carefully pry the cover from the drill. there will be 2 slugs (red rubber) that hold the brush holders in plac e. Do not loose them. Under the switch, there will be 1 more.
After the cover is off, take a picture and record the wires and colors. The new switch is updated so the wire placement is different. The original switch No. is 23-66-1690, the new one is 23-66-1692. The instructions are Milwaukee's on web site.
It was easier to replace the switch by removing all the wires from the field and switch. Before doing that, record the brush position. 1 will have the numbers up and the other down. It is important to put them back in the same position.
A jewelers screwdriver works best to remove the wires from the switch as they can be a bit difficult. The switch housing might break but it is bad any way.
The new switch looks a little different and the wires go in different positions so trust the instructions.
I found the wire instructions by typing my drill model and switch no. in my browser and printing from a pdf file.
3 of 3 people found this instruction helpful.
Was this instruction helpful to you?
Thank you for voting!
Customer:
Troy from POCATELLO, ID
Parts Used:
23-66-1692
Difficulty Level:
A Bit Difficult
Total Repair Time:
30 - 60 mins
Tools:
Pliers, Screw drivers
Drill stopped working
Took it apart and tested the trigger with the continuity setting of my digital ohm meter. Found no continuity from black (hot) wire to any of the other 7 wires when the trigger was pressed. Took pictures and created a diagram of all wire color placements so they didn't get messed up. Ordered this new switch and installed it in place of t he other dead switch and it works great again. Have to use a pointed tool to release the old wires from the old switch. Have to use a #1 philips to release the main plug wires. $21 new switch fixed the $150 drill.
1 of 2 people found this instruction helpful.
Was this instruction helpful to you?
Thank you for voting!
  • 1

Model Compatibility

This part works with the following models:
Fix Number: FIX10123676
Manufacturer Part Number: 23-66-1692
Brand
Model Number
Description
Milwaukee
5378-20
Electric Drill - 1/2" Electric Hammer Drill