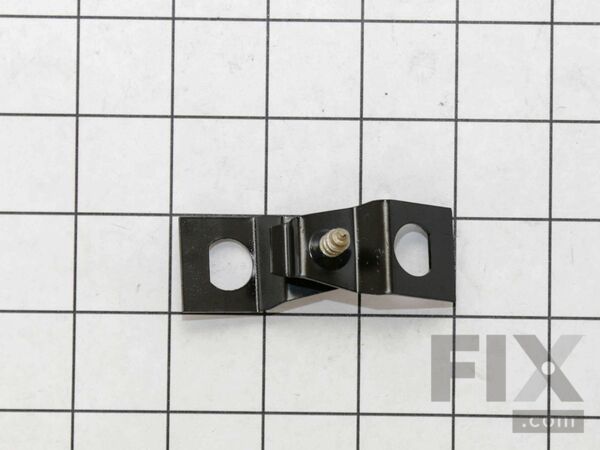
Part Location Diagram of WE1X688 GE CLAMP& SCREW
See part 200 in the diagram
( Grid squares measure 1x1 inch )

CLAMP& SCREW

Rated by 1 customers 

?

Very Easy 

30 - 60 mins 

Ratings submitted by customers like you who bought this part.

?
$21.21
In Stock
Fix Number:
FIX267026
Manufacturer #:
WE1X688
Manufactured by:
GE

Product Description

Questions and Answers

We're sorry, but our Q&A experts are temporarily unavailable.
Please check back later if you still haven't found the answer you need.

Installation Instructions Provided by Fix customers like you.

Average Repair Rating: 4.3 / 5.0, 1 reviews.
  • 1
Sort by:
Sorry, we couldn't find any existing installation instruction that matched.
Customer:
Dexter from Evergreen, AL
Parts Used:
WE16M15, WE1X688
Difficulty Level:
Very Easy
Total Repair Time:
30 - 60 mins
Tools:
Pliers
Blower Wheel fins grinded away in the middle
Safety first (unplug dryer), removed front panel door screws at top (2 ea) using "ph2 bit". I used "S2 bit" for the 2 ea. screws holding panel door and set top cover and panel door aside. Removed belt from motor pulley, and lay drum aside as well. Next, I unscrewed the 2 ea. long bolts and 3 ea. screws (front) from the frame holding the m otor. I unplug the three wires (white, black, yellow) connected to the panel door using "needle nose pliers". I unscrew the two bolt/screws holding the motor in place. Pulled the motor back to expose the "blower wheel", use 3/8" nut socket to remove and install new clamp and screw. To remove the "blower wheel", I just gently rocked it back and forth until it came off, which was easy since it was worn. *Prior to installing the new blower wheel, I made sure the "slotted side" align with the slot on the motor shaft. Then I gently tap it with a small rubber mallet into place. Also, I notice how the clamps were facing so they could be installed correctly, which I did. Once I install the new "blower wheel w/new clamps", I just "reversed" the process of putting things back together and took my time (didn't take long). Plug the dryer in to the wall socket, set the timer, turned it on and what do you know, "NO MORE GRINDING NOISE"! Peace, to the ears. It took me close to an hour to complete, because I took my time. I'm sure I could have done it quicker, but when you're "retired", time is on your side.
0 of 1 people found this instruction helpful.
Was this instruction helpful to you?
Thank you for voting!
  • 1

Model Compatibility

This part works with the following models:
Fix Number: FIX267026
Manufacturer Part Number: WE1X688
Brand
Model Number
Description
Kenmore
363DDE8109VML
Dryer
Kenmore
363DDE8200GAL
Dryer
Kenmore
363DDE8509RCMAA
Dryer
Kenmore
363DDE8509RCMWW
Dryer
Kenmore
363DDE9200GAL
Dryer
Kenmore
363DDE9600RCMAA
Dryer
General Electric
61140418
Dryer
General Electric
61140419
Dryer
General Electric
61148418
Dryer
General Electric
61148419
Dryer
General Electric
62140418
Dryer
General Electric
62140419
Dryer
General Electric
62148418
Dryer
General Electric
62148419
Dryer
General Electric
62160T3WB
Dryer
General Electric
62160T5WB
Dryer
General Electric
62170419
Dryer
General Electric
62180419
Dryer
General Electric
62188419
Dryer
General Electric
62190419
Dryer
General Electric
62190429
Dryer
General Electric
62190439
Dryer
General Electric
62190449
Dryer
General Electric
62190459
Dryer
General Electric
62190479
Dryer
General Electric
62198419
Dryer
General Electric
62198429
Dryer
General Electric
62198439
Dryer
General Electric
62198449
Dryer
General Electric
62198459
Dryer