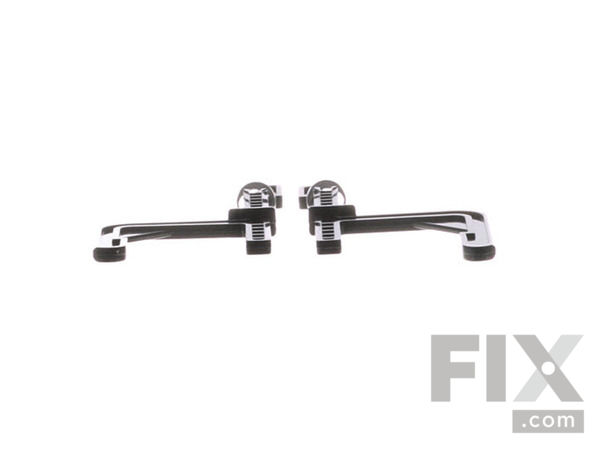
Part Location Diagram of B-200-0010 Bissell Left & Right Elevator Lever
See part 26 in the diagram
( Grid squares measure 1x1 inch )

Left & Right Elevator Lever B-200-0010

$ 0.00
No Longer Available

No Longer Available

Sorry, this part is No Longer Available at Fix.com, which means:

  • The part is no longer sold by the manufacturer.
  • The manufacturer does not stock any substitute parts to replace this one and therefore, unfortunately, we cannot obtain or recommend a substitution for this part.
  • We cannot obtain the part through any other means.

Our call center and online agents are, unfortunately, unable to help you locate this part, but you may still be able to find the part elsewhere. We recommend:

  • Typing your part number into a search engine and checking to see whether another company might stock it.
  • Searching online stores like eBay for your part number.
  • Visiting a local appliance store or parts dealer to see if they have this part in stock.
  • Contacting a local technician, who may be able to repair your existing part or replace it with their own solution.
  • Contacting the manufacturer of your appliance directly to check for their recommendations.
Fix Number:
FIX10270241
Manufacturer #:
B-200-0010
Manufactured by:
Bissell

Product Description

These are the right and left elevator levers for a variety of vacuum models. These levers are responsible for adjusting the height of the vacuum and its brush to suit different floor types, levels, and cleaning requirements. Crafted from high-quality OEM plastic, this pair of levers is sold individually and includes two levers and necessary springs. As these levers are made of plastic, they can break under excessive stress, use, or when clogged with dirt and debris. If broken, noticeable signs include difficulty in raising or lowering the vacuum, being stuck in place, or failure to pick up dirt effectively. To replace these levers, a Philips-head and flat-head screwdriver are all that is needed. Begin by carefully disassembling your vacuum, unscrewing the screws around the chassis, and removing the top to access its interior. Once the top portion is removed, unscrew and remove the motor cover or any obstructing part that blocks access to the lever(s). If necessary, remove the carry handle and/or brush roll to access the levers. The levers are located on each side of the vacuum interior and can be carefully removed by prying them out with a flathead screwdriver. Replace the levers, then reassemble the top portion, carry handle, and brush roll of the vacuum.