



Models
>
BNQ11CVANA0
BNQ11CVANA0 Whirlpool Washer
Jump to:
Find Part by Name
Keep searches simple, eg. "belt" or "pump".
Models for BNQ11CVANA0
Click on the best match to narrow your results.
Diagrams for BNQ11CVANA0
Viewing 7 of 7


Keep searches simple, eg. "belt" or "pump".
In Stock
Order now and your part arrives by Oct 22
$7.60
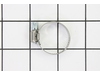
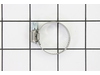
This hose clamp extends from half an inch to an inch in diameter. It is made entirely of metal and is intended for use with Maytag brand washing machines.
In Stock
Order now and your part arrives by Oct 22
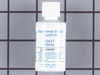
This 18 ml bottle of white appliance touch-up paint is used to cover scratches or marks on your appliance. The white touch-up paint can be used on refrigerators, microwaves, ranges, clothes dryers, an...
No Longer Available
$132.64
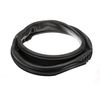
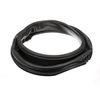
If your front-load washer is leaking, the door gasket might be the problem. This gray rubber seal wraps around the door opening to keep water inside and protect the machine’s inner parts. It’s easy to...
On Order
$94.36
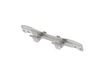
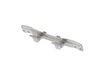
This sturdy metal hinge helps your front-load washer or dryer door open and close smoothly. If your door is sagging or not closing right, replacing the hinge can fix the issue. It’s built to last and ...
In Stock
Order now and your part arrives by Oct 22
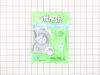
This three count package of Affresh Washing Machine Cleaner helps remove odor causing residue from inside the washer, each slow dissolving tablet works throughout the wash cycle and is suitable for al...
Special Order
In Stock
Order now and your part arrives by Oct 22
$38.56
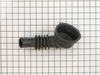
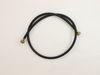
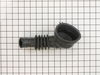
This hose attaches to water pump assembly.
NOTE: As per the manufacture if the washer has an Eco Ball, it's no longer needed when the new hose is installed.
In Stock
Order now and your part arrives by Oct 22
In Stock
Order now and your part arrives by Oct 22
In Stock
Order now and your part arrives by Oct 22
$165.58
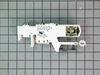
This door lock/latch assembly is a genuine OEM part for front-load washers. It keeps the door securely closed during wash and spin cycles, ensuring safe operation. A damaged lock can prevent the washe...
In Stock
Order now and your part arrives by Oct 22
Common Problems and Symptoms for BNQ11CVANA0
Viewing 12 of 12Leaking
Fixed by these parts
How to fix it
Lid or door won’t close
Fixed by these parts
How to fix it
Door won’t close
Fixed by these parts
How to fix it
Door Sags
Fixed by these parts
How to fix it
Will Not Start
Fixed by these parts
How to fix it
Locking Issues
Fixed by these parts
How to fix it
Does not dispense fabric softener or detergent
Fixed by these parts
How to fix it
Shaking and Moving
Fixed by these parts
How to fix it
Will not drain
Fixed by these parts
How to fix it
Marks left on clothes
Fixed by these parts
How to fix it
Draining Issues
Fixed by these parts
How to fix it
Water Filling Issues
Fixed by these parts
How to fix it

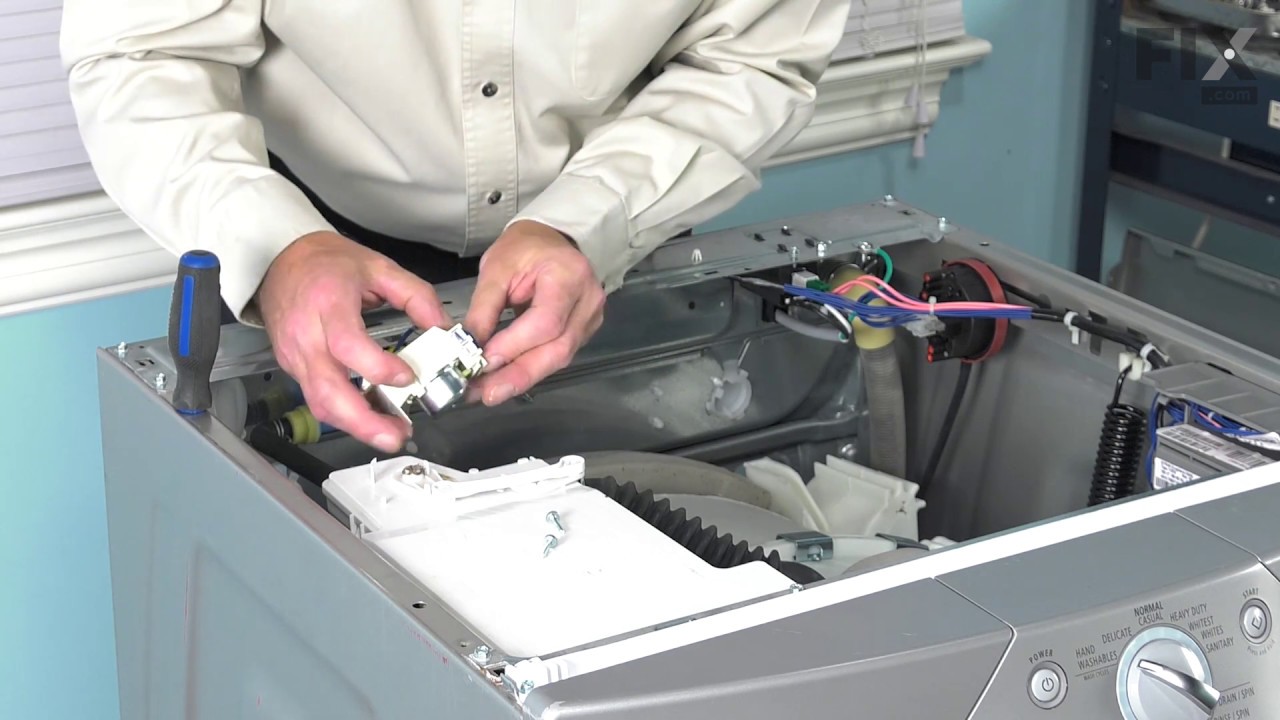

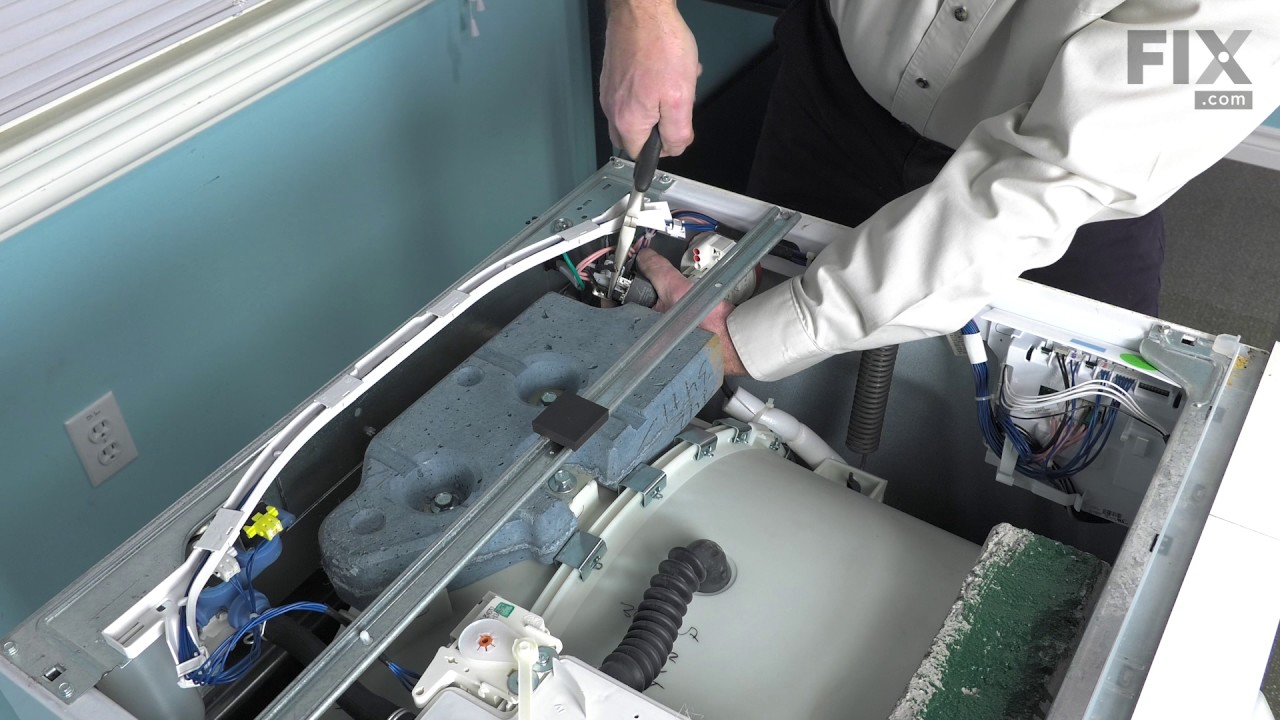
Keep searches simple. Use keywords, e.g. "leaking", "pump", "broken" or "fit".
- Customer:
- Alexander from Miami, FL
- Parts Used:
- WPW10467168
- Difficulty Level:
- A Bit Difficult
- Total Repair Time:
- 30 - 60 mins
- Tools:
- Pliers, Screw drivers
Washer leaking
Opened the front panel with 3 crews T-25 or socket wrench. Panel comes off right away.
Look for the leak. Determined it was the hose. Use power pliers to remove the clamp.
The small clamp was easy. The big one I had to use my yoga to get to it. It probably would had been easy from the back panel but moving the machi ... Read more ne requires brute force.
Once the hose was out I found some bra under wires which is what probably punctured the hose.
Removed the front filter and found a bunch of nails.
Assembly was much easier and placed clamps so that if needed it would be a lot easier to remove and replace.
Look for the leak. Determined it was the hose. Use power pliers to remove the clamp.
The small clamp was easy. The big one I had to use my yoga to get to it. It probably would had been easy from the back panel but moving the machi ... Read more ne requires brute force.
Once the hose was out I found some bra under wires which is what probably punctured the hose.
Removed the front filter and found a bunch of nails.
Assembly was much easier and placed clamps so that if needed it would be a lot easier to remove and replace.
Read less
Was this instruction helpful to you?
Thank you for voting!
- Customer:
- Sandy from MILWAUKIE, OR
- Parts Used:
- WPW10208415
- Difficulty Level:
- Easy
- Total Repair Time:
- 1- 2 hours
One of the hinges broke, making the door sag
Using the Torx Screwdriver, we removed the door from the unit. Then we removed all of the screws on the inside of the washer door. After that we flipped it over and opened it up exposing the inside. We couldn't separate them entirely because there was a screw under the latch piece that we couldn't figure out how to get to. However with a
... Read more
ll the screws out on the inside of the door, we did have enough room to open it up and access the place cover that holds the hinges in. Once we accessed that we removed the roller tips from the old unit and placed them on the new one. Then we reversed the process. With a couple screws in we realized we had put the hinge in reversed from what it needed to be, so we reopened it and switched it around. Then completed replacing all the screws and reattached it to the washer. It opens and closes perfectly and we saved a couple hundred dollars for sure, as the quote to come out had been a $150 trip charge.
Read less
Was this instruction helpful to you?
Thank you for voting!
- Customer:
- Edward from Clinton, MD
- Parts Used:
- WPW10467168
- Difficulty Level:
- Easy
- Total Repair Time:
- 15 - 30 mins
- Tools:
- Pliers
Worn out hose had a hole it it.
I romoved the front of the washer access panel. I then used the pliers to remove the clamps from the old hose and to replaceit with the new one.
Was this instruction helpful to you?
Thank you for voting!