



Models
>
WF405ATPASU
WF405ATPASU Samsung Washer
Jump to:
Find Part by Name
Keep searches simple, eg. "belt" or "pump".
Models for WF405ATPASU
Click on the best match to narrow your results.
Diagrams for WF405ATPASU
Viewing 8 of 8


Keep searches simple, eg. "belt" or "pump".
In Stock
Order now and your part arrives by Oct 16
In Stock
Order now and your part arrives by Oct 16
$52.13
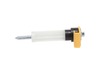
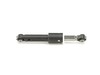
A washer that walks across the floor or becomes unusually noisy may have a weak suspension damper. The rear shock absorbs tub movement during washing and spinning, helping the machine run more smoothl...
In Stock
Order now and your part arrives by Oct 16

On Order
In Stock
Order now and your part arrives by Oct 16
$57.11
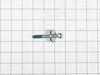
Shipping bolts are installed through the back of the washing machine, and hold the wash tub and basket in place while your washer is being transported. The tub suspension holds the tub correctly in pl...
In Stock
Order now and your part arrives by Oct 16
In Stock
Order now and your part arrives by Oct 16
On Order
In Stock
Order now and your part arrives by Oct 16
$56.02
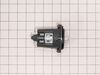
Washer drain pump DC31-00054D is an original equipment manufacturer (OEM) part that fits some Samsung front-load and top-load washers. The drain pump is used to remove any water from the washer after ...
In Stock
Order now and your part arrives by Oct 16
In Stock
Order now and your part arrives by Oct 16
On Order
Common Problems and Symptoms for WF405ATPASU
Viewing 6 of 6Shaking and Moving
Fixed by these parts
How to fix it
Leaking
Fixed by these parts

How to fix it
Will not drain
Fixed by these parts
How to fix it
Spinning Issues
Fixed by these parts
How to fix it
Lid or door won’t close
Fixed by these parts
How to fix it
Water Filling Issues
Fixed by these parts
How to fix it


Keep searches simple. Use keywords, e.g. "leaking", "pump", "broken" or "fit".
- Customer:
- John from MOUNT JULIET, TN
- Parts Used:
- DC92-00773J
- Difficulty Level:
- Really Easy
- Total Repair Time:
- 30 - 60 mins
- Tools:
- Screw drivers
Was this instruction helpful to you?
Thank you for voting!
- Customer:
- Fredric from ROCKMART, GA
- Parts Used:
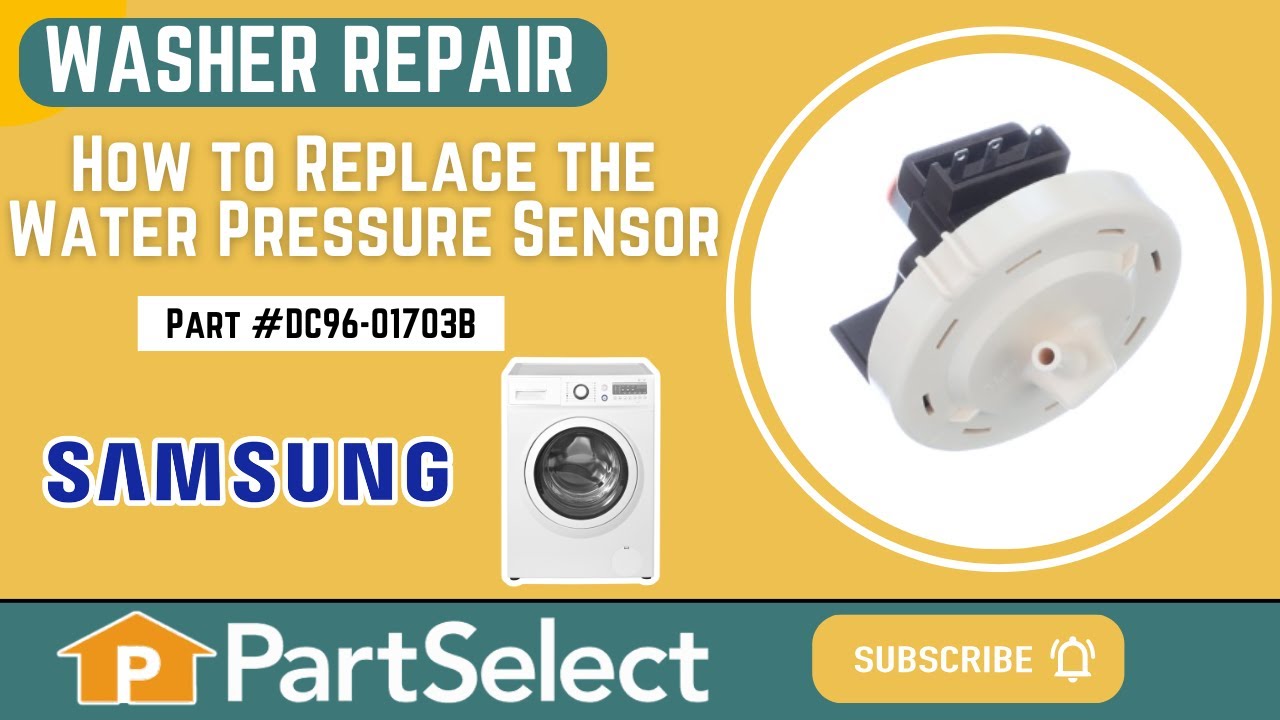
- DC96-01703B
- Difficulty Level:
- Really Easy
- Total Repair Time:
- 15 - 30 mins
- Tools:
- Pliers, Screw drivers
The water level was lower than normal.
First unplug or turn off thee circuit breaker. Then remove the two screws to the top cover. Slide the cover back about three inches then remove the cover. Next take out the screw to the old sensor. Then unplug the electrical connection by squeezing and the pulling to disengage. Now set the old unit aside. You then grad your eight inch wi
... Read more
re tie and hold the with flat side to the right and just to the right of the screw hole for the bracket is a square hole. Feed to wire tie into the square hole with your left hand then loop down left side of the end of new sensor and back up threw the square hole and tighten with the pliers. Your new sensor will be positioned just like it was mounted to the metal bracket. And pretty ridged. Now connect the vacuum hose and electrical connector.
Read less
Was this instruction helpful to you?
Thank you for voting!
- Customer:
- Thomas from Leesburg, FL
- Parts Used:
- DC67-00244A
- Difficulty Level:
- Really Easy
- Total Repair Time:
- Less than 15 mins
The drain hose disappeared.
The new hose arrived without a plug, so I found a golf tee that fit securely.
I put a few drops of dish soap on the machine end and it slid on with a little resistance.
I ran a few light cycles, and the leak has stopped.
Thank you
I put a few drops of dish soap on the machine end and it slid on with a little resistance.
I ran a few light cycles, and the leak has stopped.
Thank you
Was this instruction helpful to you?
Thank you for voting!