



Models
>
WM4200HBA
WM4200HBA LG Washer
Jump to:
Find Part by Name
Keep searches simple, eg. "belt" or "pump".
Models for WM4200HBA
Click on the best match to narrow your results.
Diagrams for WM4200HBA
Viewing 3 of 3


Keep searches simple, eg. "belt" or "pump".
$42.85
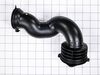
This washer hose with bellows, also known as a dispenser hose, is a genuine OEM replacement part for your washer. Replacing this part can be helpful if your washer is leaking. The dispenser hose conne...
In Stock
Order now and your part arrives by Oct 13
$44.95
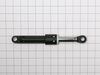
Keep your washer steady and quiet with this replacement friction damper assembly. It helps absorb vibrations and stabilize the drum, especially during fast spin cycles. If your machine is shaking or m...
Special Order

$21.82
The locking pin is used to hold the shock absorber on the washer. There is a pin used at the bottom and top of the shock absorber. Sold individually.
Special Order

In Stock
Order now and your part arrives by Oct 13
In Stock
Order now and your part arrives by Oct 13

In Stock
Order now and your part arrives by Oct 13
In Stock
Order now and your part arrives by Oct 13
$11.98
This drain hose plug, also known as a hose cap, is a genuine OEM part for your washing machine. This plug caps the drain hose from the pump housing, and helps prevent leaks from your washer. Before be...
In Stock
Order now and your part arrives by Oct 13
In Stock
Order now and your part arrives by Oct 13
In Stock
Order now and your part arrives by Oct 13
$29.98
This levelling leg is a genuine replacement part. It is used to help keep your washing machine stable and balanced. It helps support your appliance. It screws into the base of your washer, and you can...
Special Order

In Stock
Order now and your part arrives by Oct 13
Common Problems and Symptoms for WM4200HBA
Viewing 4 of 4Leaking
Fixed by these parts

How to fix it
Spinning Issues
Fixed by these parts
How to fix it
Shaking and Moving
Fixed by these parts
How to fix it
Water Filling Issues
Fixed by these parts
How to fix it
Keep searches simple. Use keywords, e.g. "leaking", "pump", "broken" or "fit".
- Customer:
- mark from AUBURN, CA
- Parts Used:
- 4738ER1004B
- Difficulty Level:
- A Bit Difficult
- Total Repair Time:
- 30 - 60 mins
- Tools:
- Pliers, Screw drivers
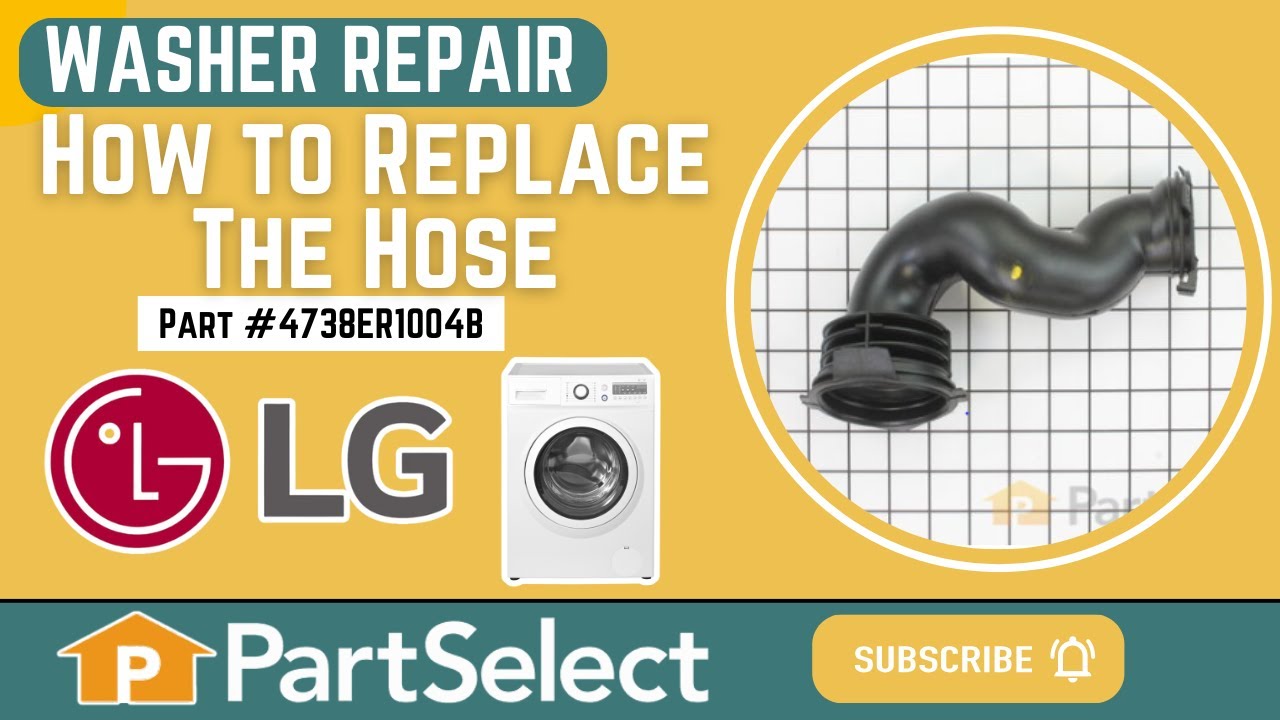
LG washing machine flooded the Landry room.
Wife called me and said the washing machine just flooded the Landry room. I looked at it and didn't see anything wrong. Took the top off and the back off and started looking for a leak, did not see anything. Took the front part of the washer apart thinking the drain hole was plugged up where the rubber boot is. It was ok after taking the
... Read more
big rubber boot off or whatever that is called i was not getting anywhere. I put it back together left the top and the back off. I turned the water on and started the washer on a quick cycle looking for a leak. I found the bellows at the inlet had a small leak fixed that and started the washer again. So what i found out was the clean out drain plug was not in tight letting water out as it was washing after i tightened it all was ok. So i did find a leak that was small that we never saw. The hardest part was putting that wire clamp on the rubber boot it took two people to do that.
Read less
Was this instruction helpful to you?
Thank you for voting!
- Customer:
- Marcia from TROY, OH
- Parts Used:
- 5221ER1003S
- Difficulty Level:
- Very Difficult
- Total Repair Time:
- More than 2 hours
- Tools:
- Screw drivers, Wrench (Adjustable)
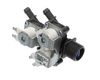
Water inlet valve relacement
Installed correctly but PartsSelect sent WRONG part, but part number on bag was correct. Installation of WRONG part fried the main board. A $100 fix is now costing me about $1300.00 for technician service and new unit. I asked PartsSelect to help with cost since outcome is due to their error. Totally unsatisfied. Will not suggest company
... Read more
to other DIYers.
Read less
Was this instruction helpful to you?
Thank you for voting!
- Customer:
- Jason from S HAMILTON, MA
- Parts Used:
- 4738ER1004B
- Difficulty Level:
- Very Easy
- Total Repair Time:
- Less than 15 mins
- Tools:
- Screw drivers
Leak in top washer hose
Super straightforward to diagnose and repair.
There was puddle under the washer.
I removed the top (screws in rear, slide top toward rear slightly and lift) and followed the trail of water up to the top washer hose between the drum and detergent tray.
Two hose clamps to remove and replace, then replace the ... Read more top and ready to go.
There was puddle under the washer.
I removed the top (screws in rear, slide top toward rear slightly and lift) and followed the trail of water up to the top washer hose between the drum and detergent tray.
Two hose clamps to remove and replace, then replace the ... Read more top and ready to go.
Read less
Was this instruction helpful to you?
Thank you for voting!