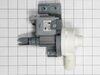
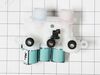
The water inlet valve plays a crucial role in your washing machine’s operation by controlling the flow of hot and cold water into the tub. If the valve is damaged or worn out, you may experience slow ...
This clutch slider kit is part of the washer’s transmission system, helping control the agitator’s speed and direction during wash and spin cycles. It includes the clutch band, slider, and lock ring. ...
This drum shaft assembly is for washers. Drum shaft assembly connects the spin basket to the drive motor to spin the basket. Unplug the washer before installing this part. Wear work gloves to protect your hands.
This clutch component is essential for the proper operation of top-load washing machines, helping to activate the transmission during both the agitation and spin cycles. If your washer is struggling t...
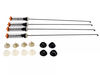
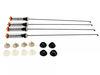
This OEM suspension rod kit helps stabilize your washer drum and reduce shaking. It includes four 27-inch rods and the necessary hardware. If your washer is noisy or off-balance, replacing these rods ...
Ask our experts a question about this part and we'll get back to you as soon as possible!
1 question answered by our experts.
< Prev
1
Next >
Sort by:
Search filter:
Clear Filter
Your search term must have 3 or more characters.
Keep searches simple. Use keywords, e.g. "leaking", "pump", "broken" or "fit".
Sorry, we couldn't find any existing answers that matched. Try using some different or simpler keywords, or submit your new question by using the "Ask a Question" button above!
Vern
June 7, 2026
Why is the fabric softner filling up with water once softner is dispensed.
Have to remove water to put softner in
For model number 11027132410
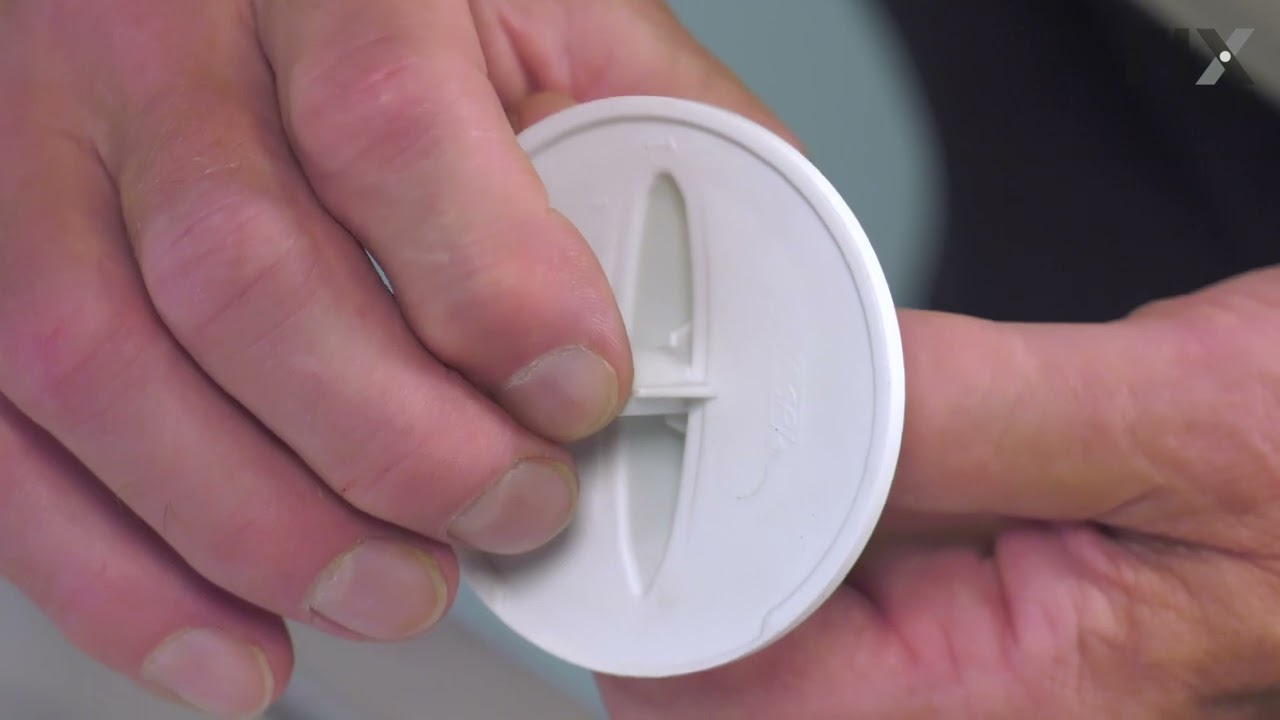
Hello Vern, thank you for getting in touch. During the rinse cycle, the washer floods the compartment with water to push the fluid level above a built-in siphon tube. This action automatically creates a vacuum suction that pulls all the liquid down into the drum. If the siphon tube or its removable cap is blocked by thick, gooey softener buildup, the suction fails, leaving the flush-water trapped inside the cup. Remove the dispenser drawer. Look closely at the fabric softener compartment. There is a small plastic cap or cover fitted directly over a vertical plastic tube. Pull or snap this cap off. Soak the entire drawer and the cap in a sink filled with hot water and white vinegar for 10 to 15 minutes. Use an old toothbrush to scrub away the residue inside the small tube and underneath the plastic cap. Turn the drawer upside down and ensure the drainage hole at the bottom is completely clear of debris. We hope this helps.
Was this helpful?
Thank you for voting!
Ask a Question
Ask our experts a question on this part and we'll respond as soon as we can.
1.) disconnect power to your washer. Turn off water supply and disconnect from the washer.
open the washer top and remove plastic cap from the wash plate
2.) using 7/16 socket, remove bolt from the wash plate. If you can't remove it with a socket , I recommend using impact wrench.
3.) remove wash plate
... Read more( you might need to spray penetrating oil or wd40 inside the bolt hole to loosen it. Check to make sure the wash plate gear grooves are not worn down, if they are, replace it.
4.) using your Maytag specific spaner nut wrench, remove the spaner nut from the shaft of the gear case. This should be right underneath where the wash plate was. If you can't turn it by hand , use a rubber mallet or hammer to encourage it.
5.) some people remove the wash basket at this point. I don't think it is necessary.
6.) close your washing machine. Tape the top closed to keep it from flying open. Tilt your washer back and prop it up where you have access to the underside of the washing machine.
7) remove motor rotor bolt and pull rotor off of the motor.
8.) disconnect the two wire connectors that supply power to motor. using a socket, remove bolts that are keeping motor attached to the gear case.
9.) Now that the gear case is all the is remaining on the underside, you can remove the 4 bolts that are holding the gear case to the washer. Now try to pull gear case out.
10.) if gearcase will not pull out, lower washer back to upright position. Spray penetrating oil or wd40 around the shaft of the gearcase and allow it to sit for 5-10 minutes. Using a hammer, lightly tap on the shaft of the gearcase and it should now fall out. ( you might have to apply penetrating oil again, or apply more force with the hammer.
11.) reinstall motor to new gearcase. Insert new gear case to the washer. Reinstall bolts and reconnect power supply wires.
12. ReInstall spaner nut inside the washer, reinstall wash plate.
Removed two screws on back of lid to raise top removed tub one bolt and one spanernut pulled tub lowered top reinstalled screws laid washer down to get to bottom of washer unplugged wiring removed four bolts pulled gear box and motor removed motor from gear box installed motor on new gear box reassemble washer
DIY'er working on a Maytag Centennial type washing machine should be aware that replacing a a transmission or agitator due to worn out splines is only half a job done well. I originally replaced my transmission due to worn splines, only to discover later that the worn agitator splines caused the new transmission splines to wear out at an
... Read more accelerated rate. Transmission and Agitator should be replaced together, along with a new Agitator mounting bolt. There are plenty of video's online of how to do this repair so I won't get into that here. Just wanted to drop the above sage advice. Transmissions for these washers aren't cheap.